Anywhere Mobility Portal Documentation
Deploy Anywhere Portal on Azure
You can deploy the Anywhere Portal as a web app in Azure by following these steps.
Download latest portal files
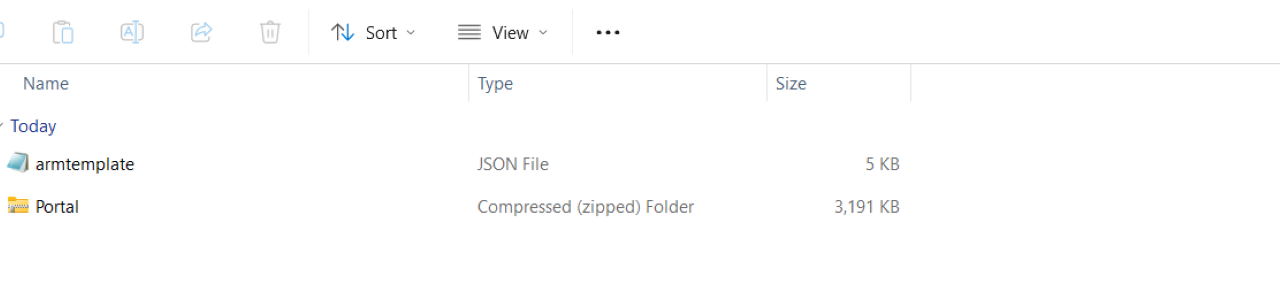
Download the release package for the portal from the partner portal. The package includes a zip file containing the portal files and an ARM template.
 An ARM template deploys several resources at once. See Azure Resource Manager Templates for more information.
Deploy the required resources on Azure
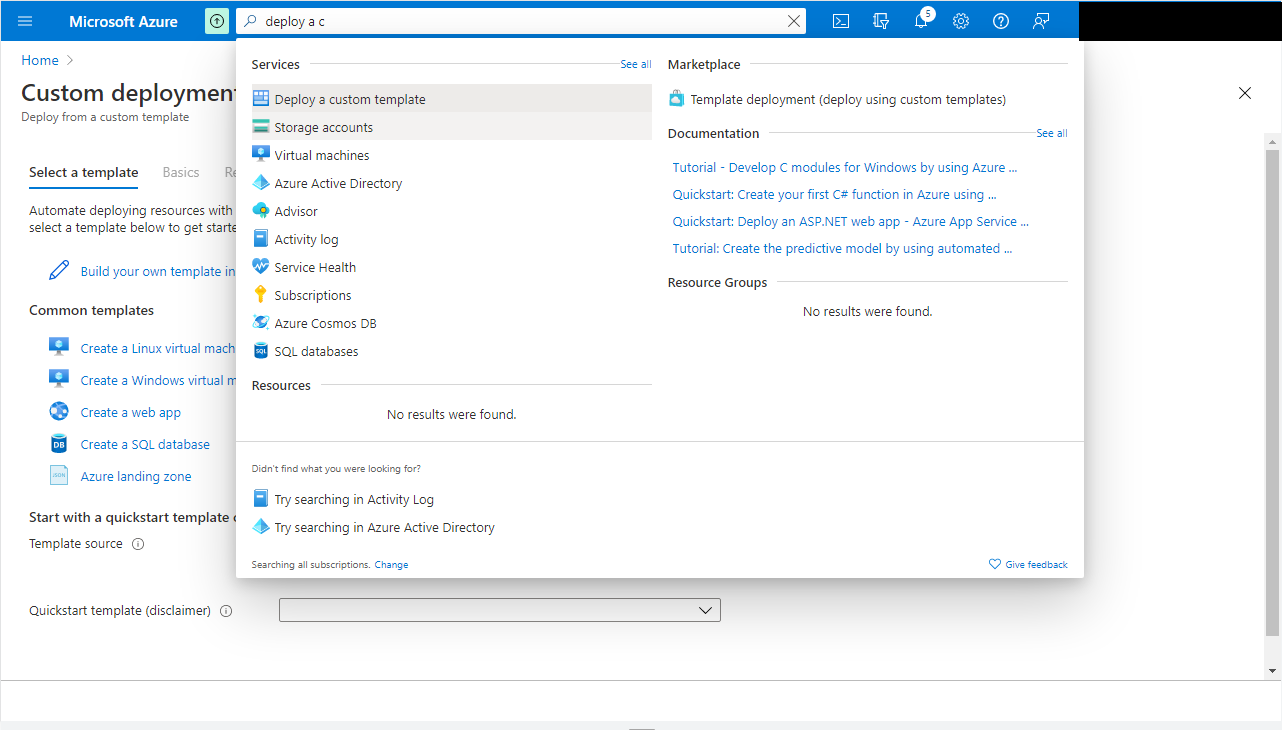
Go to your Azure Portal and search for Deploy a custom template.
Select Build your own template in the editor and upload the ARM template using the Load file action.
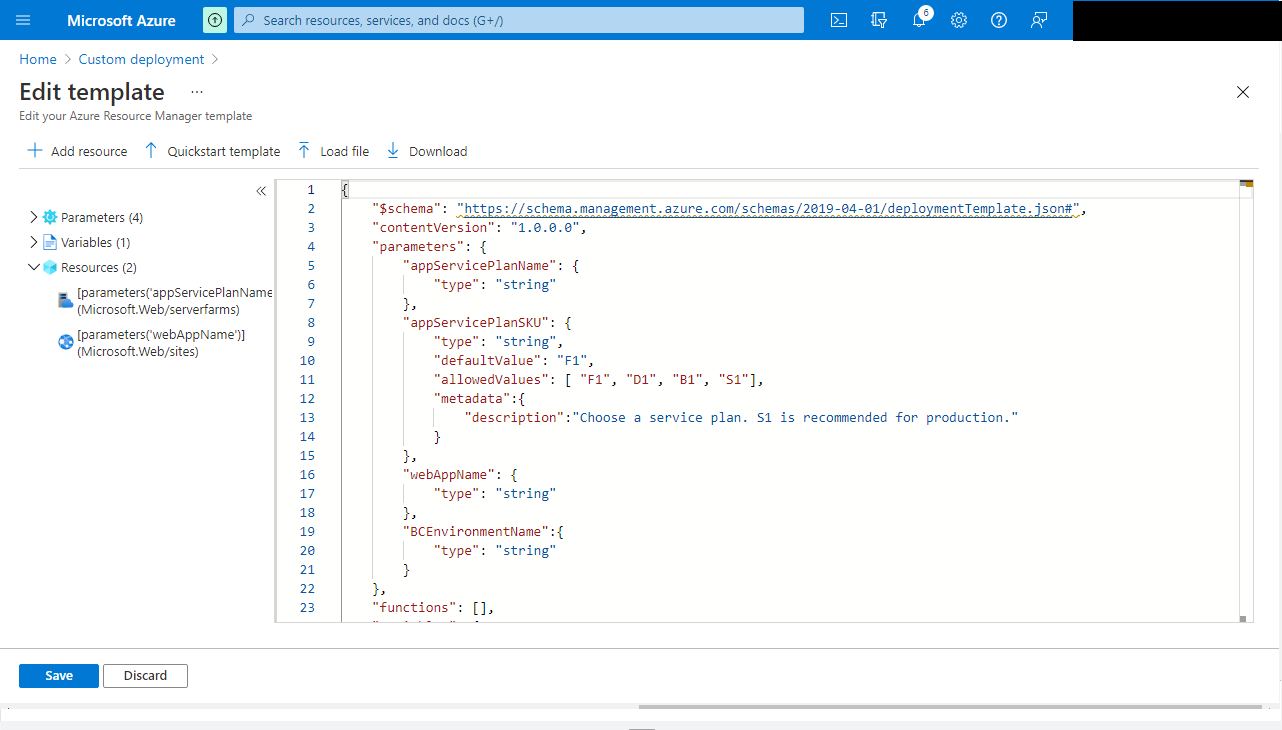
Select Save. Fill in the parameters:
Parameter Description Resource Group The resource group where the resources will be deployed. Select an existing one or create a new one. Region Determined by the resource group. App Service Plan Name The app service plan represents the server the web app runs on. Choose a name. App Service Plan SKU Represents the type of app service plan. F1is a free version for testing only.S1is the recommended plan for production. See the pricing differences.Web App Name The web app name, which also forms part of the portal domain. Must be unique worldwide. The deployment fails if the name is not unique, repeat the steps if needed. If the resource group and app service plan name are the same on a second attempt, the app service plan will be replaced. BC Environment Name The Business Central environment name to use with this portal. Can be a sandbox or production environment. 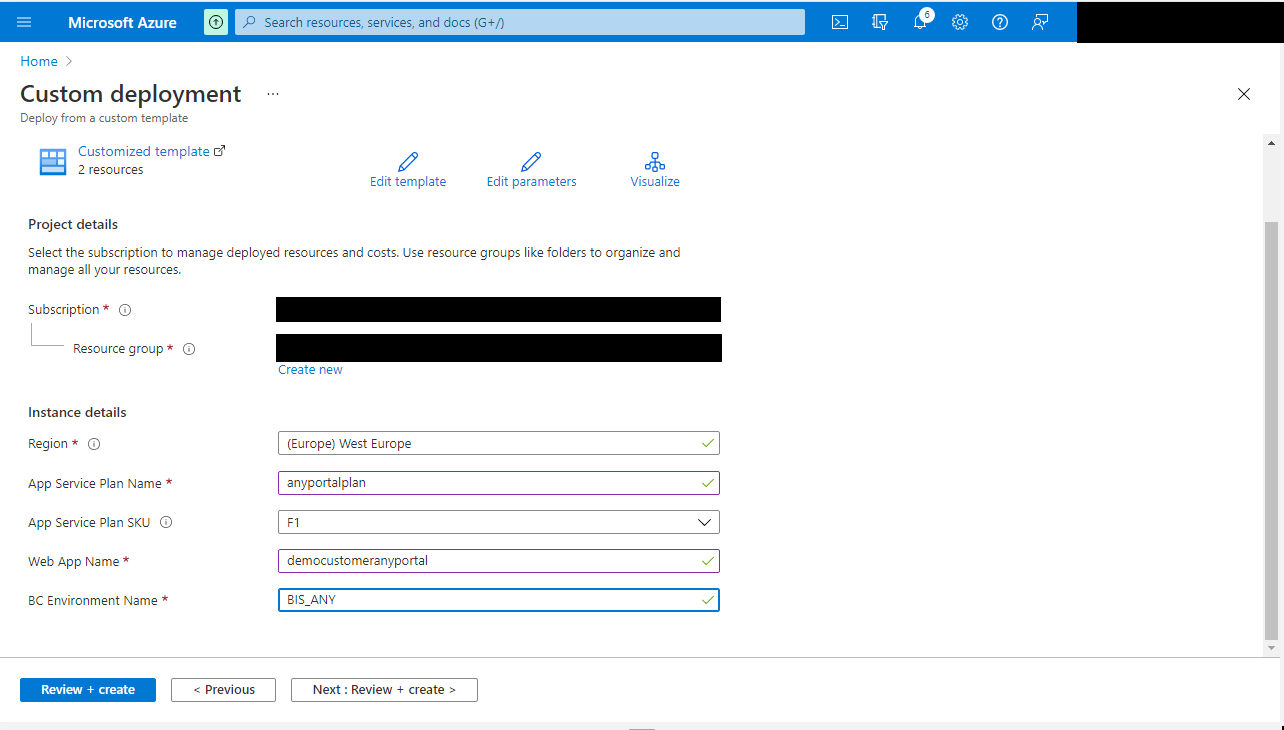
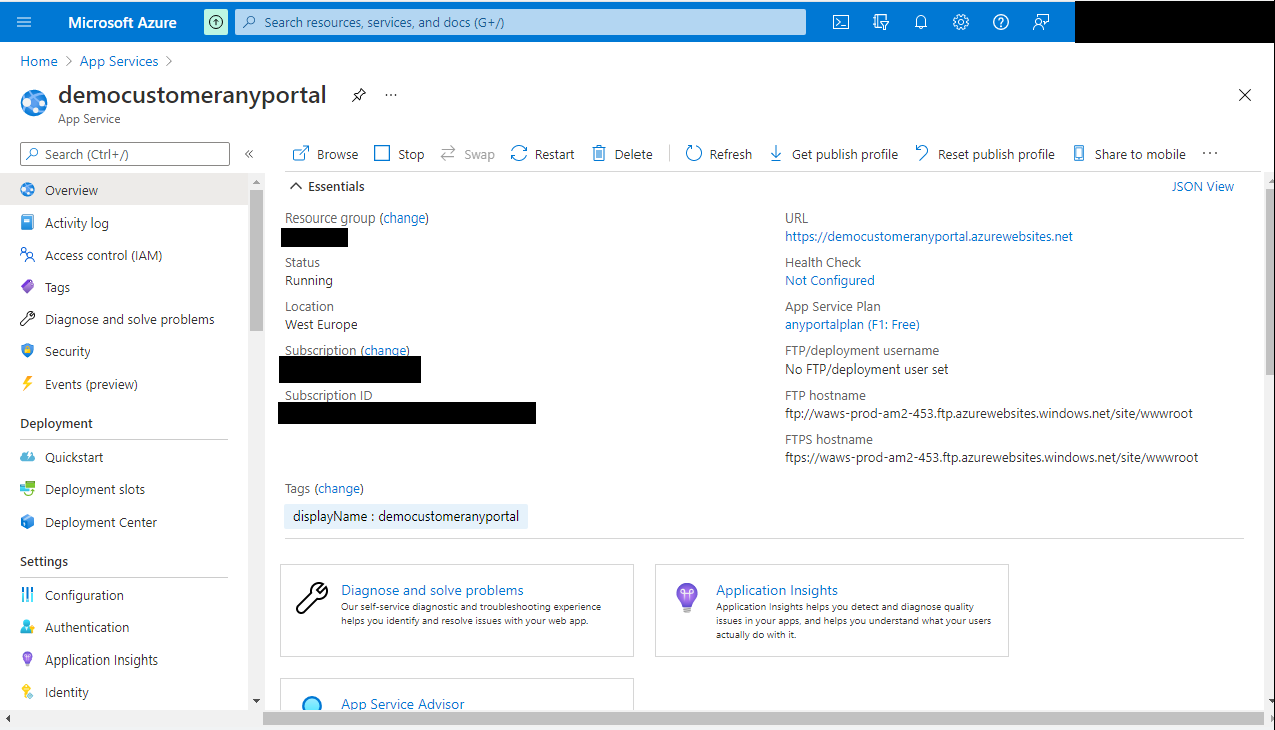
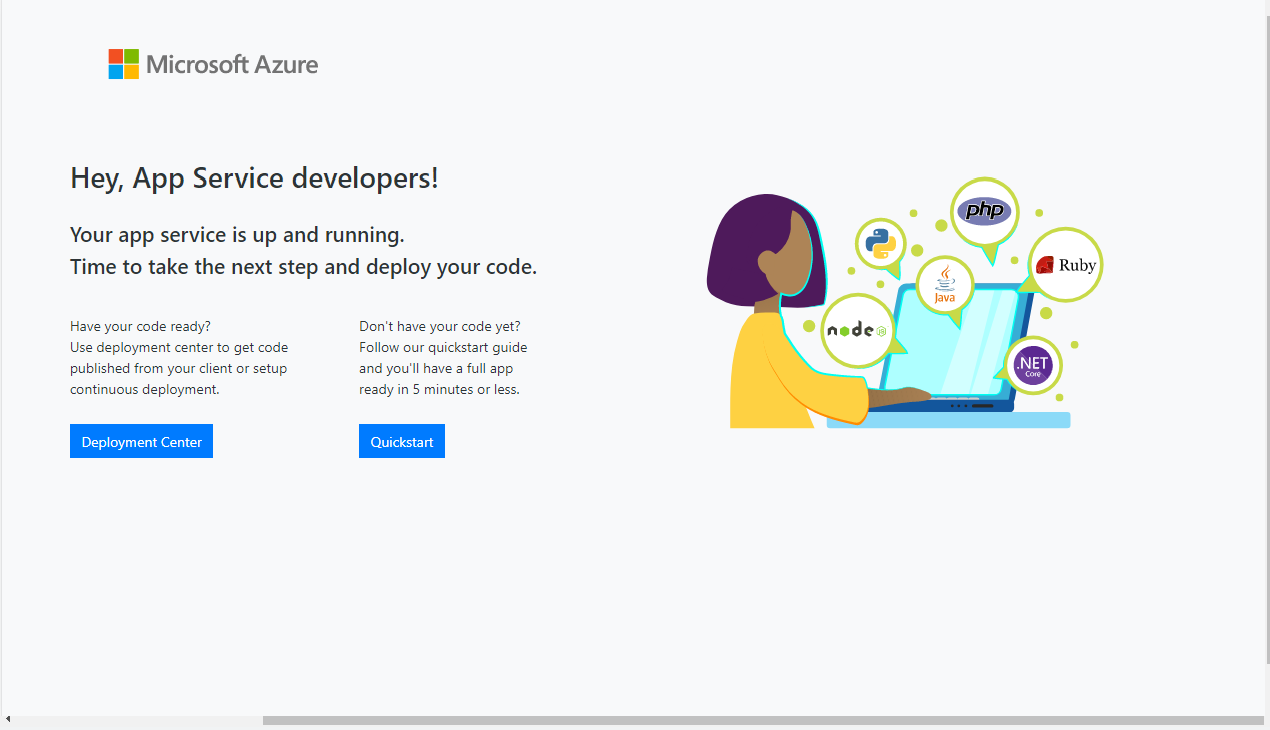
Select Review & Create, then select Create to run the deployment. When the deployment completes, go to App Services and select the newly created web app. Select Browse, the default Azure web app page appears. The resources are ready for the portal deployment.
Deploy the portal files
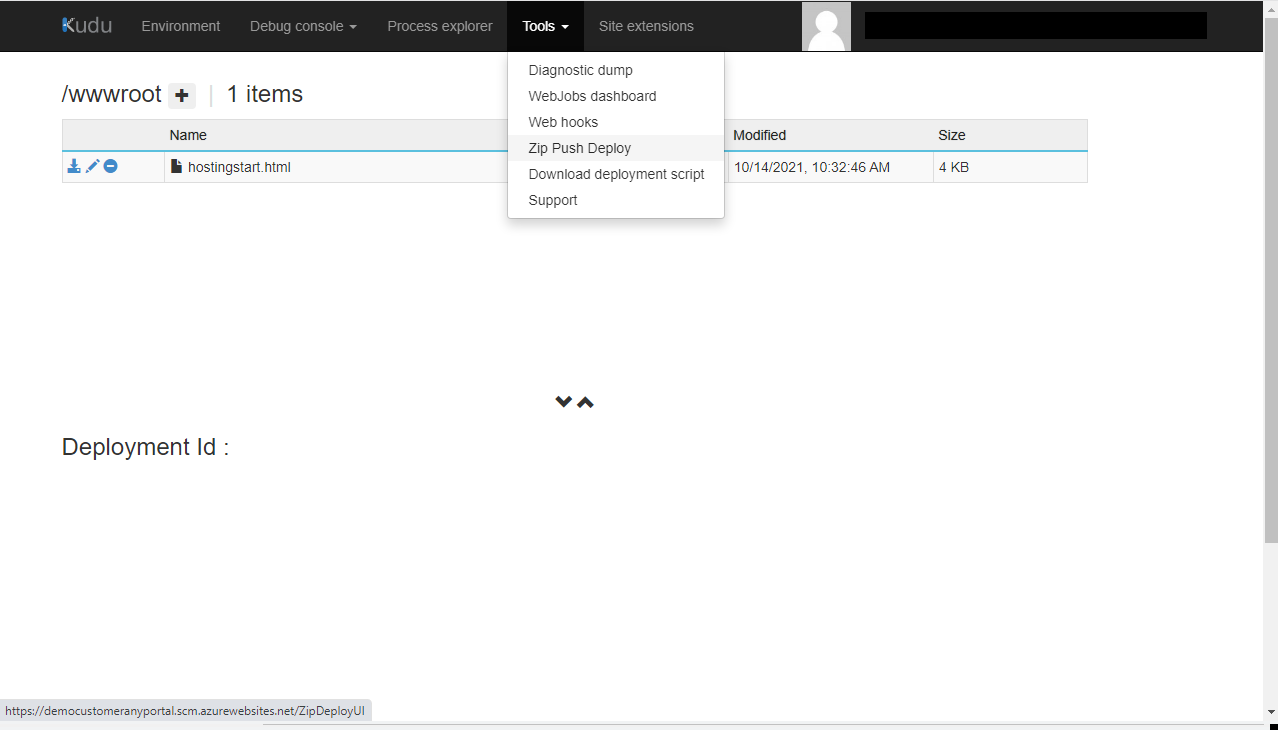
Go to the KUDU portal by selecting Advanced tools in the left menu in the web app resource, then select Go.
Select Tools > ZIP Push Deploy and drag the zip file containing the portal code to the page to upload the necessary files.
Refresh the portal by selecting Browse again on the web app, or navigate to
<webappname>.azurewebsites.net.The login page appears. Ignore any errors for now, some application settings still need to be configured.
Create an app registration
Configure the app registration and set up valid users in Business Central as described on the following page.
It is assumed that the tenant ID is the same as the tenant of the Azure subscription. If this is not the case, update the app settings to reflect the correct tenant ID.
Make sure the redirect URLs include the new portal domain. Keep track of the Client ID and the Client Secret, you need them in the next step.
Update application settings
You can update application settings from within the Azure portal. Open the created web app, go to Settings, and select Environment variables in the web application menu. The first tab shows the application settings.
Values in this page override the ones deployed in the files, so subsequent updates will not automatically update settings configured in the Azure portal.
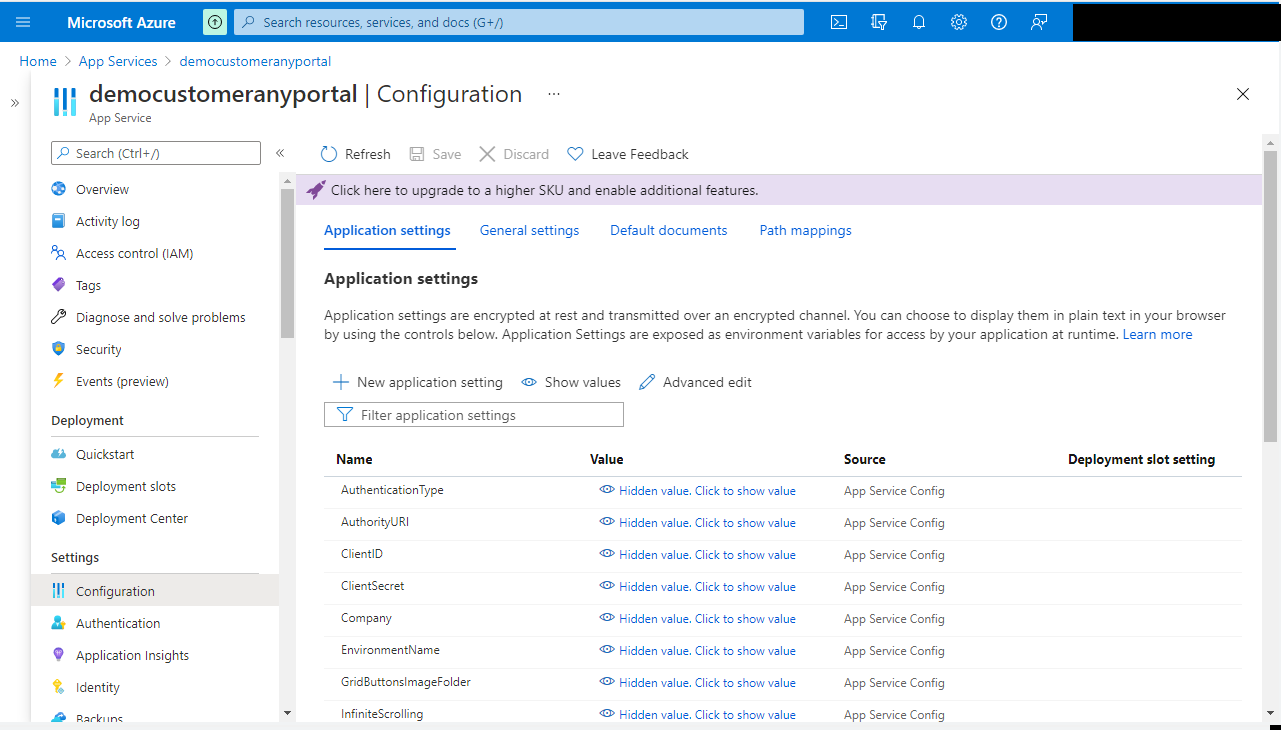
Add the client ID and the client secret from the app registration here and save. This restarts your web app.
For more information about Portal settings, see Portal Setup.
Refresh the web app. You can now refresh the token and log in, provided that Business Central has valid users set up. See Granting Access for more information.
Deploying updates
Deploy any updates to the portal in the same way via the KUDU portal. Make sure any custom files, such as custom CSS files, are uploaded to the correct location after an update. Do not use the ARM template after the resources are created the first time.