
Business Integration Solutions documentation
How to: Install Business Integration Solutions
BIS installation process
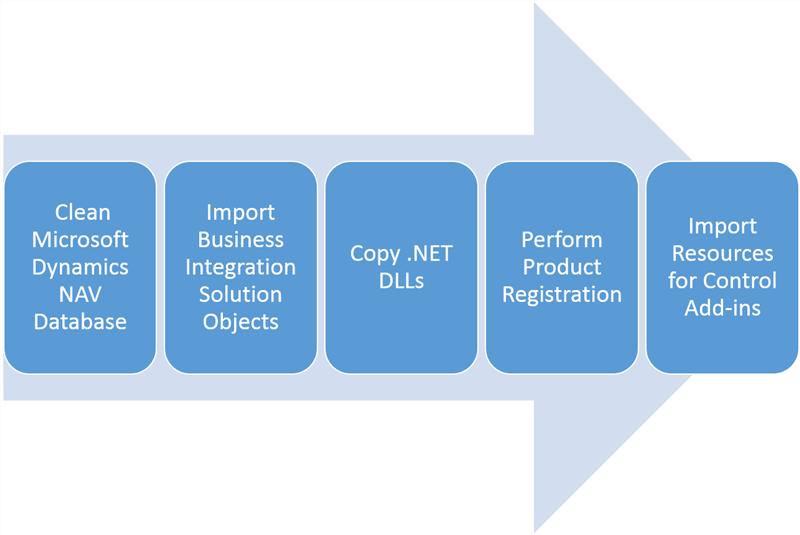
Import object set
Download the latest software release package from the STAEDEAN Partner Portal. When downloaded, open ReadMe.html to review the contents.
- Start the Microsoft Dynamics NAV development environment.
- Select File > Import.
- Browse to the location in the software release package and import the objects.
- On the Import Worksheet page, select Replace All and select OK.
Copy third-party assemblies
Stop the Microsoft Dynamics NAV server before copying or updating the add-in folders.
From the software release package, run
NAV BIS Installer.exeand follow the instructions.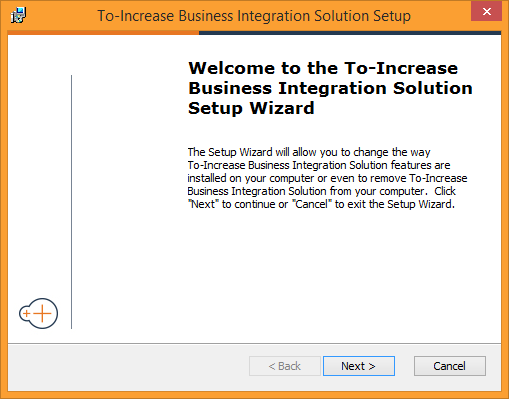
The DLLs store in the following location:
C:\Program Files\Microsoft Dynamics NAV\90\Service\Add-ins\To-Increase\NAVBIS
Product registration
Product registration automates the installation and activation of Business Integration Solutions. For more information, refer to How to: Register Products.
After the Business Integration Solutions products are registered, installed, and enabled, you can use their features.
Import resources
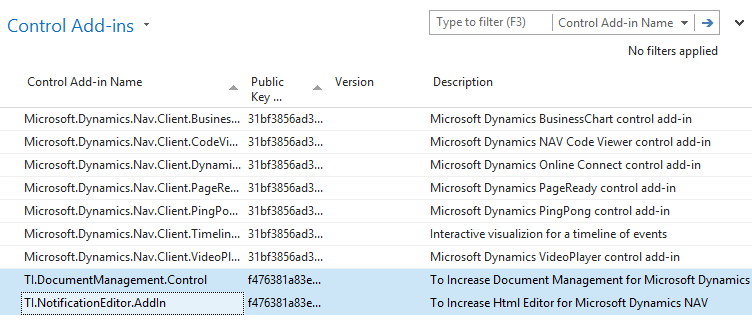
To work with Notification Management and Document Management, first import resources for the Control Add-in. This is a one-time activity.
- Start Microsoft Dynamics NAV RTC.
- Go to Departments > Administration > IT Administration > General > Control Add-ins.
- For Notification Management, on the Control Add-ins page, select TI.NotificationEditor.AddIn and select Import.
- Browse to the Resource folder in the software release package.
- Import
NotificationResource.zip.