Business Integration Solutions documentation
How to: Set up the Attachment Generator activity
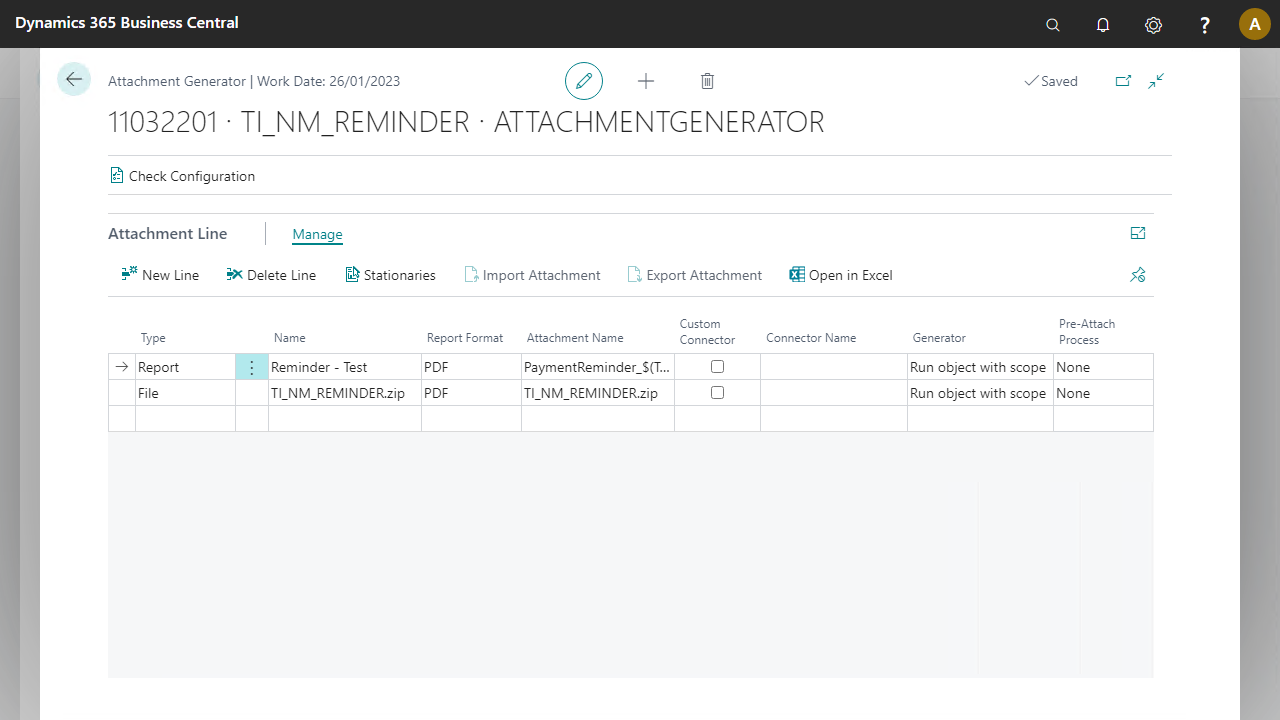
Use an ATTACHMENTGENERATOR to attach Microsoft Dynamics 365 Business Central reports or files to an outgoing message.
Settings
| Field | Description |
|---|---|
| Type | Select a type. Report: attach a report. File: attach a file, uploaded via Import Attachment. |
| Name 1 | Either the report name or the file name. |
| Report Format | PDF only. Word and Excel formats are no longer supported. |
| Attachment Name | Provide an attachment name. You can add a string value to generate a unique name for each attached file, for example, date and time values, a message number, and/or a field value such as the related sales order number. |
| Custom Connector | When selected, a custom connector is used for the attachment. |
| Connector Name 2 | You can use a custom connector to implement custom functionality. For more information, refer to the Software Development Kit document. |
| Generator | When a report is selected, it can run in scope of the record in the message or without. |
| Pre-Attach Process | A pre-attach extension manipulates the file or report before attaching, for example, applying stationeries or watermarks, encrypting, or signing documents. |
To set up the Attachment Generator activity:
- Create a notification and insert the element
ATTACHMENTGENERATOR. - On the elements line, select Edit.
- In the Attachment Generator Setup page, fill in the fields.
- Select Check Configuration to see if there are any configuration errors.
- Select OK.
Notes
- The name can refer to a network location without uploading a file. This is limited to on-premise versions only.
- The Custom Report Connector is only supported in on-premise versions.
- The stationeries option is limited to on-premise. The pre-attach process can be an alternative to bring this support to the cloud.