ANY Process Demo: WMS Shipment - Prerequisites
To fully demonstrate the capabilities of the warehouse shipment process, a location without pick is required.
Execute the following steps in Microsoft Dynamics Business Central.
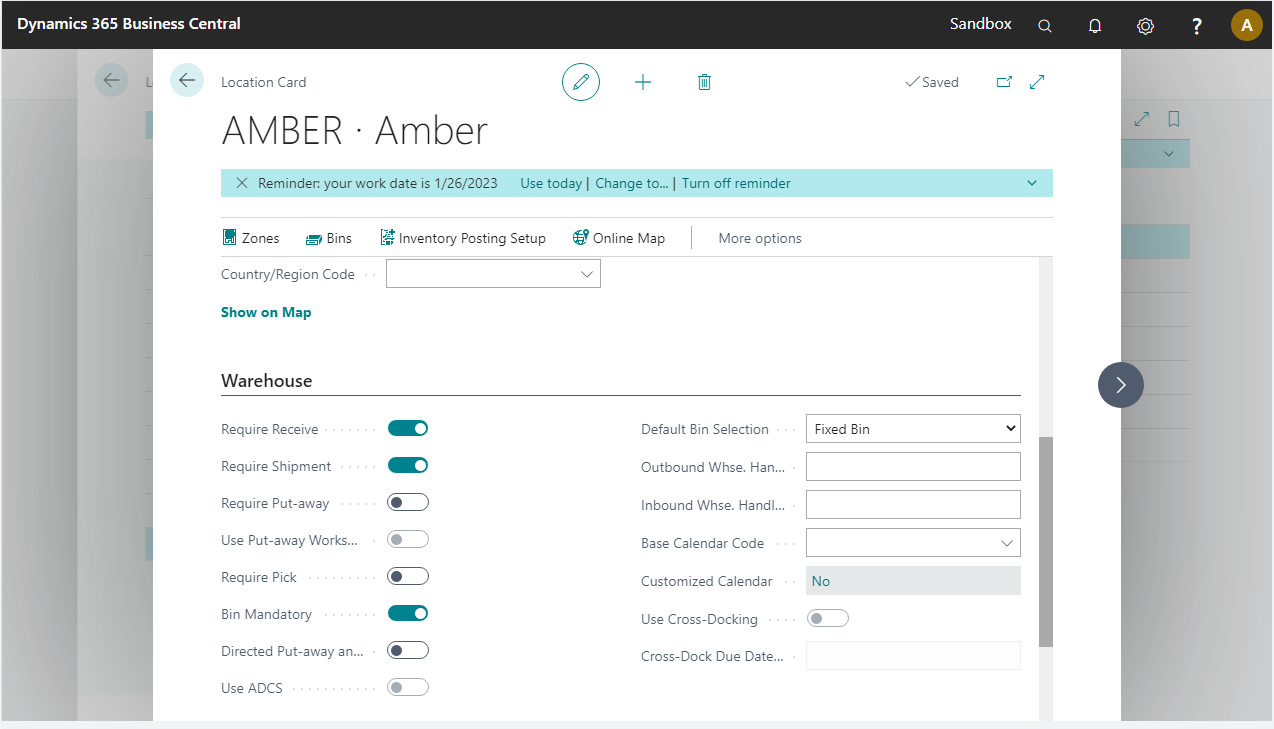
Add Amber location
- Go to the Locations page and create a new location called Amber.
- Open the Warehouse fast tab and check the following:
- Require Receive
- Require Shipment
- Bin Mandatory
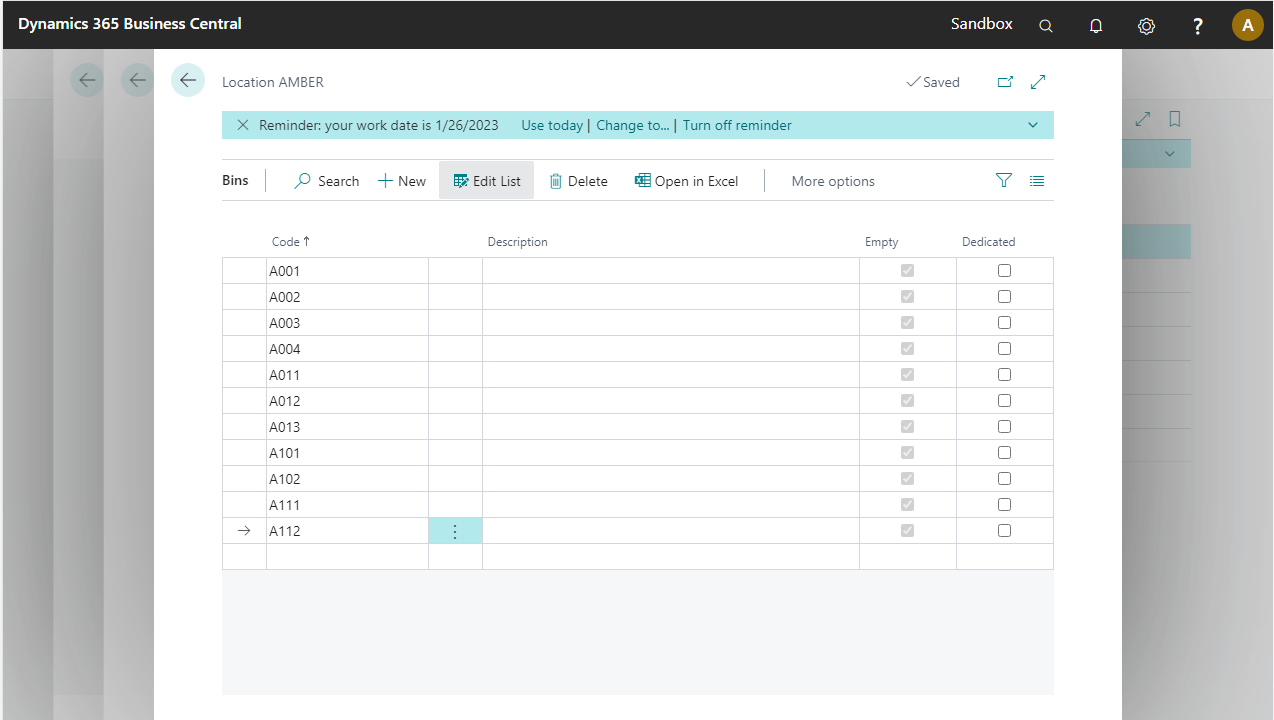
Select Bins and add some bins.
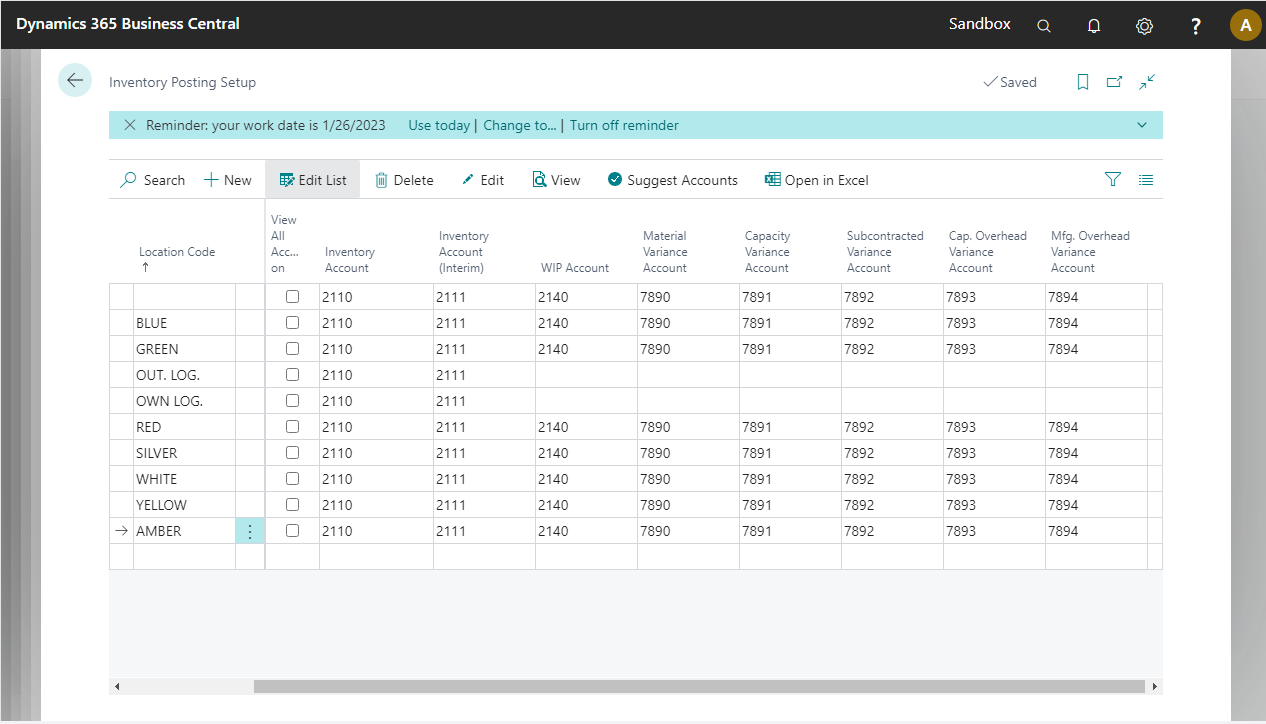
Go to the Inventory Posting Groups page.

Select the RESALE line and select Setup. Add the line for Amber as shown below.
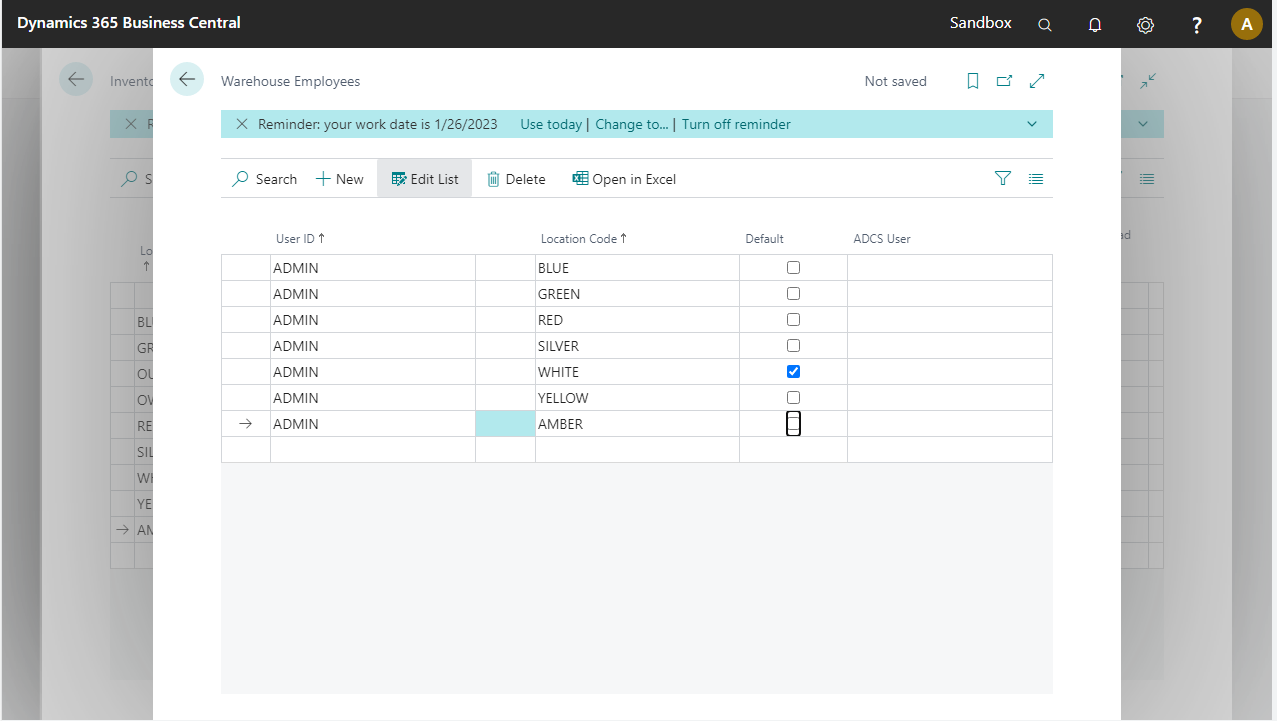
Go to the Warehouse Employees page and add the Amber location to the user.
Create inventory
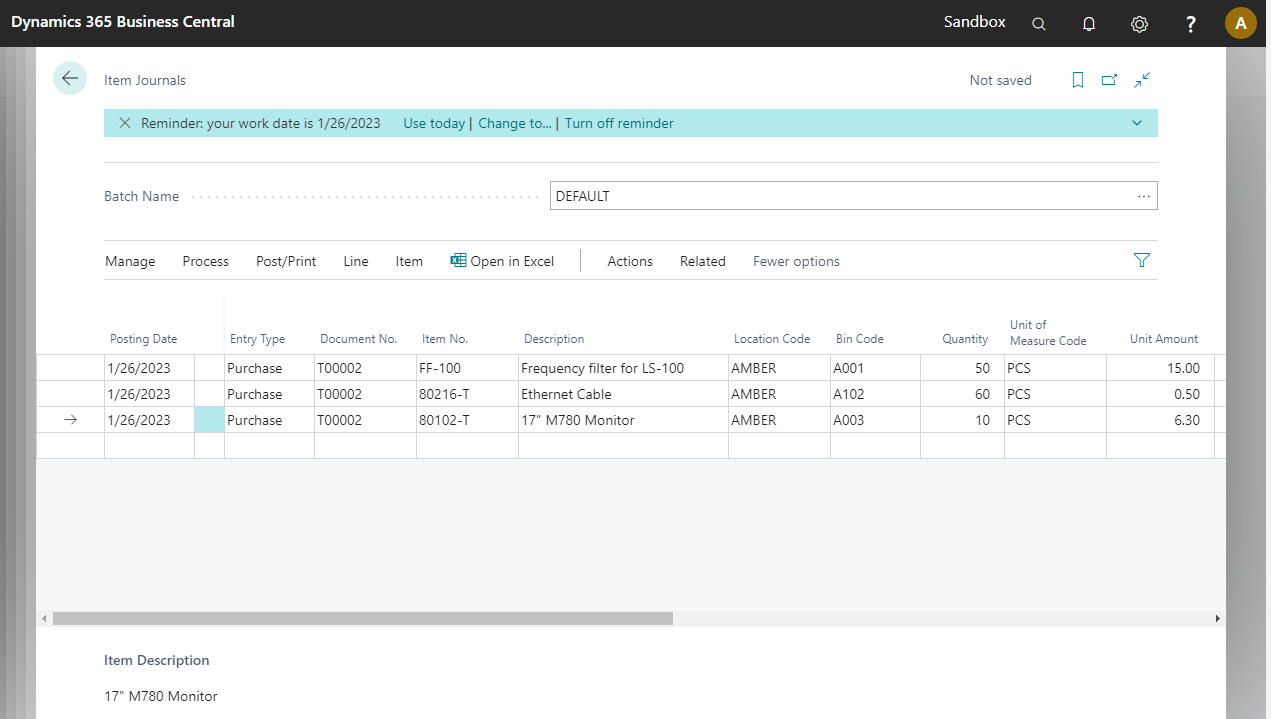
Go to the Item Journals page and add the Bin Code field using personalization.
Add the following lines:
| Item | Location | Bin Code | Quantity |
|---|---|---|---|
| FF-100 | AMBER | A001 | 50 |
| 80216-T | AMBER | A102 | 60 |
| 80102-T | AMBER | A003 | 10 |
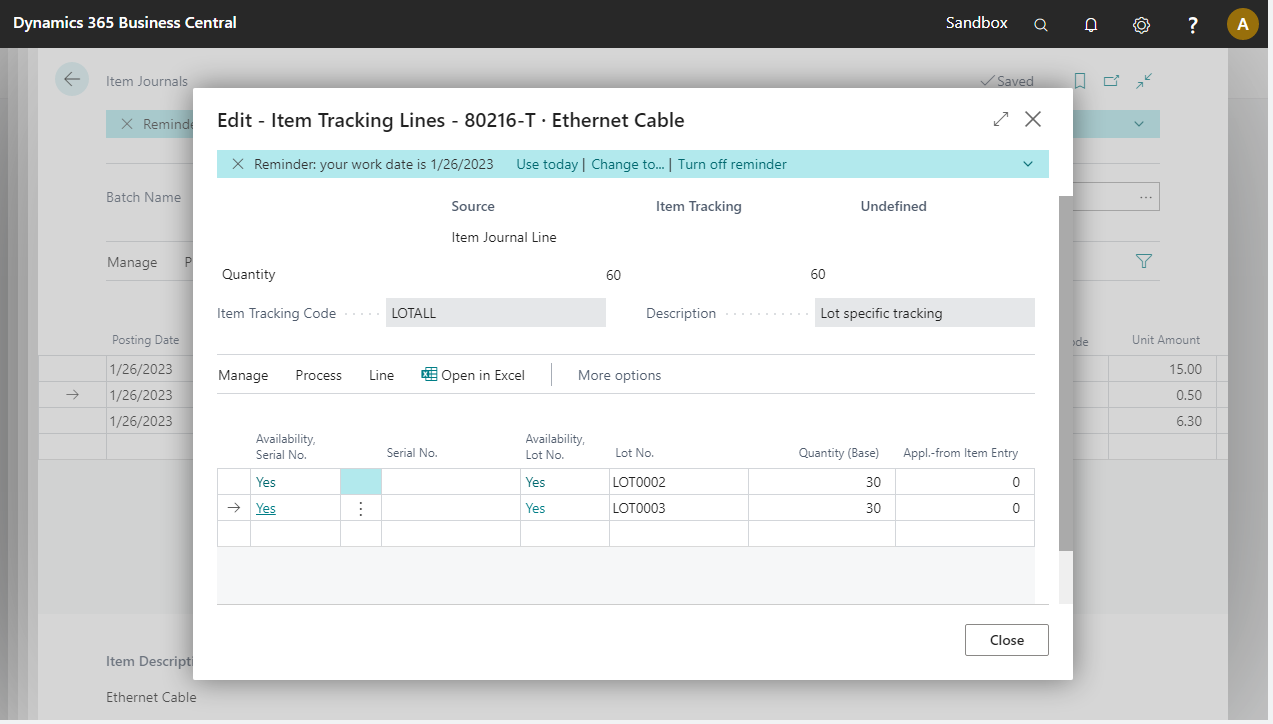
Select the line for 80216-T and select Line > Item Tracking Lines. In the new page, add two lots each consisting of 30 pieces. You can use the Assign Lot No. button to use the lot numbering.
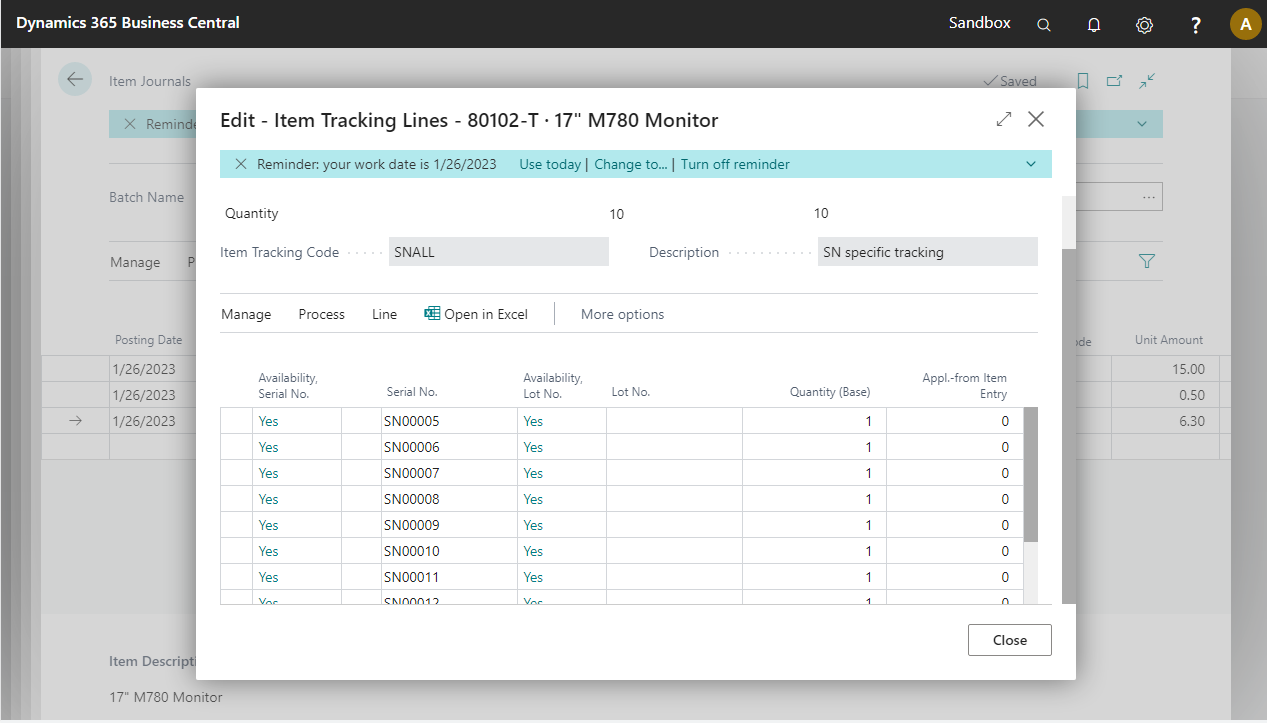
Select the line with item 80102-T and select Line > Item Tracking Lines. In the new page, add serial numbers using the Assign Serial No. button to assign serial numbers automatically. Select OK to save your changes.
Post the journal lines to add the inventory.
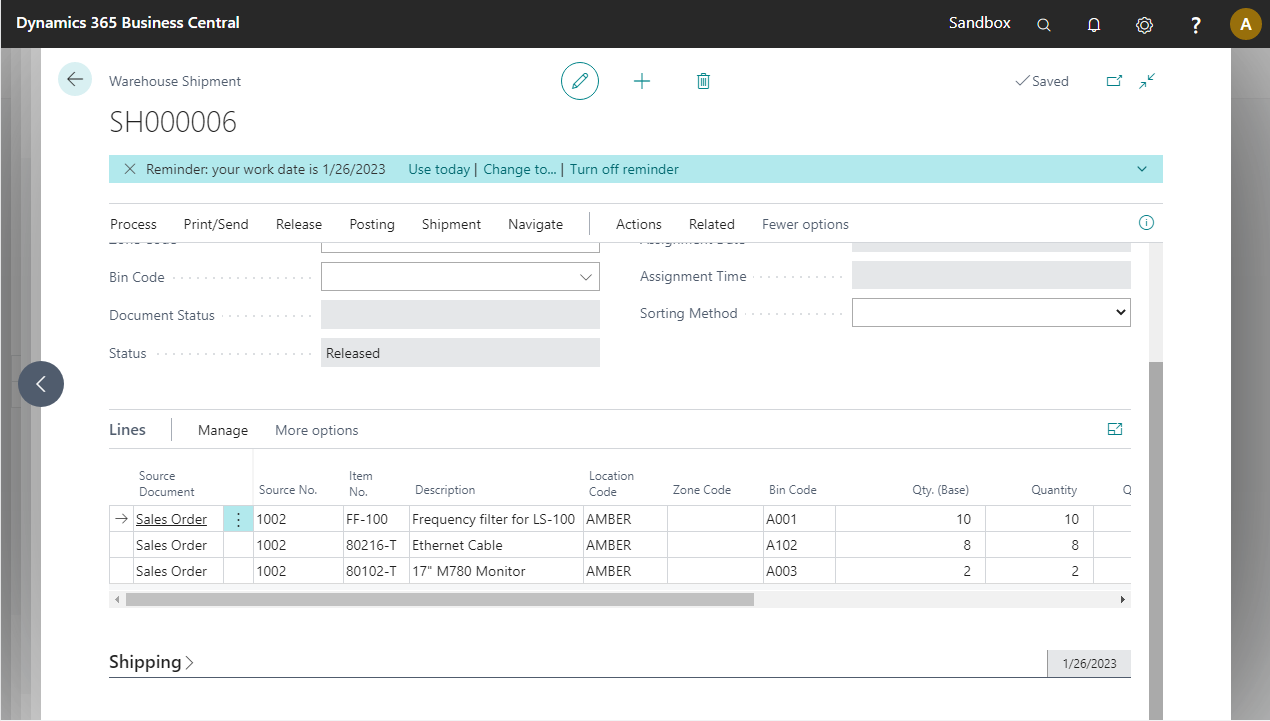
Sales order and Warehouse Shipment
In this demo script, a released sales order is used as source document for a Warehouse Shipment. Create this released sales order before using the WMS Shipment pre-configured process.
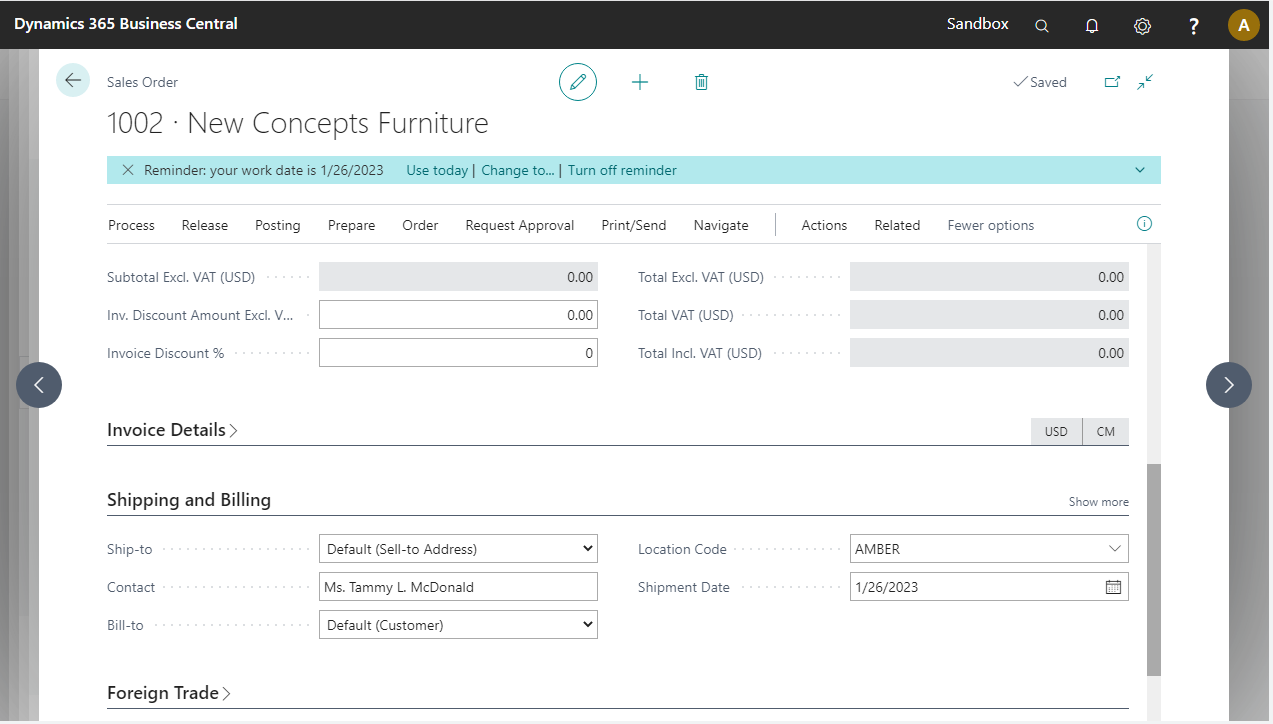
Go to the Sales Order page and create a new sales order with customer 01454545 New Concepts Furniture. Enter location AMBER in the Shipping & Billing fast tab.
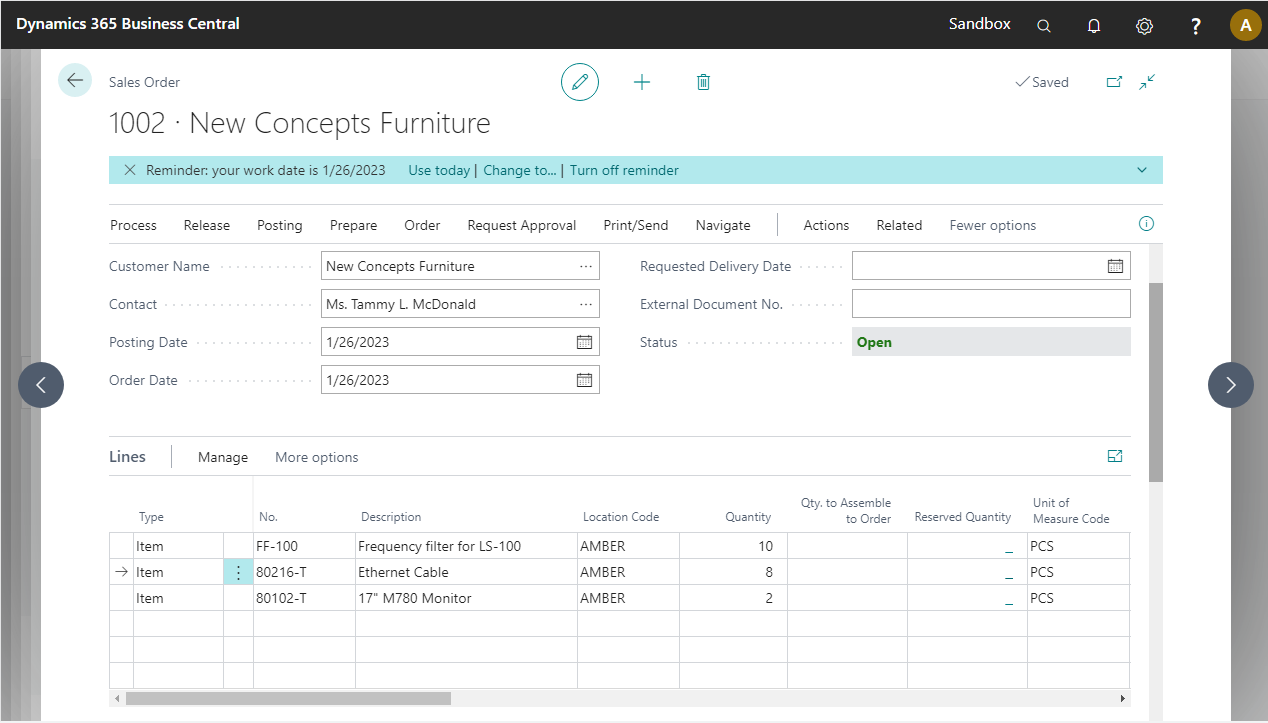
Add the following items:
| Item No. | Quantity |
|---|---|
| FF-100 | 10 |
| 80216-T (as lot controlled item) | 8 |
| 80102-T (as a serial-controlled item) | 2 |
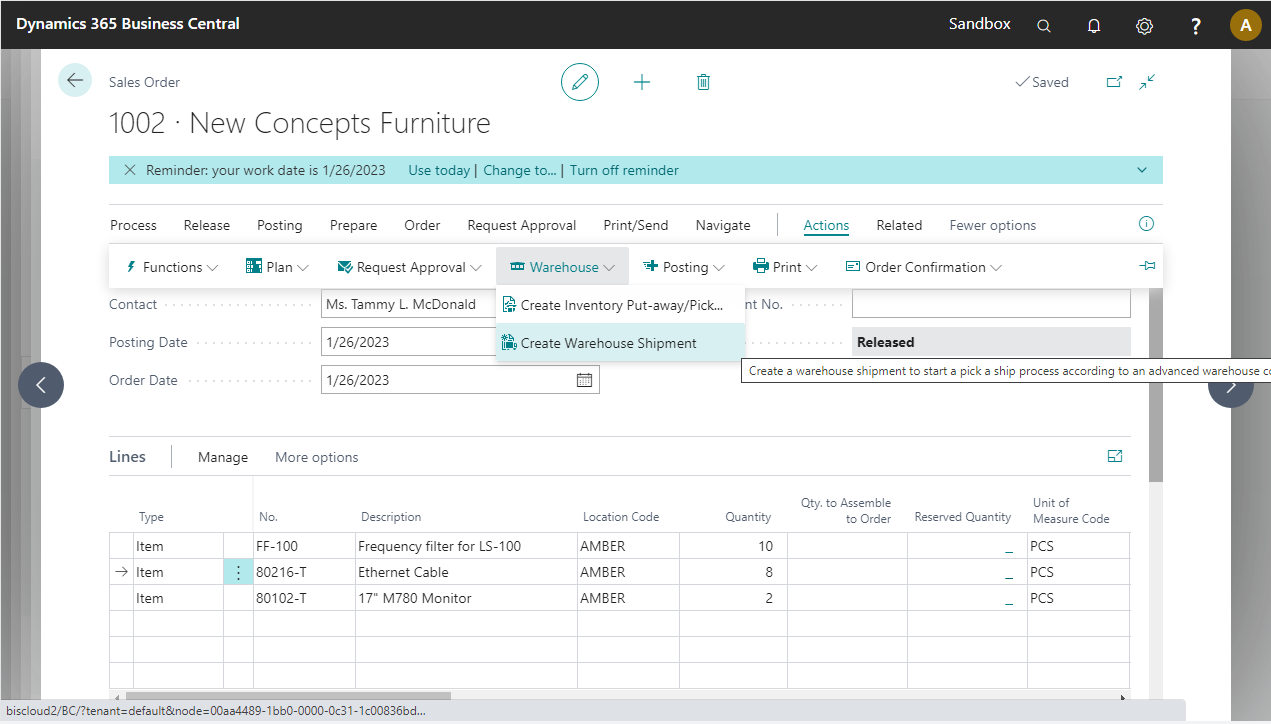
Release the order and select Actions > Warehouse > Create Warehouse Shipment.
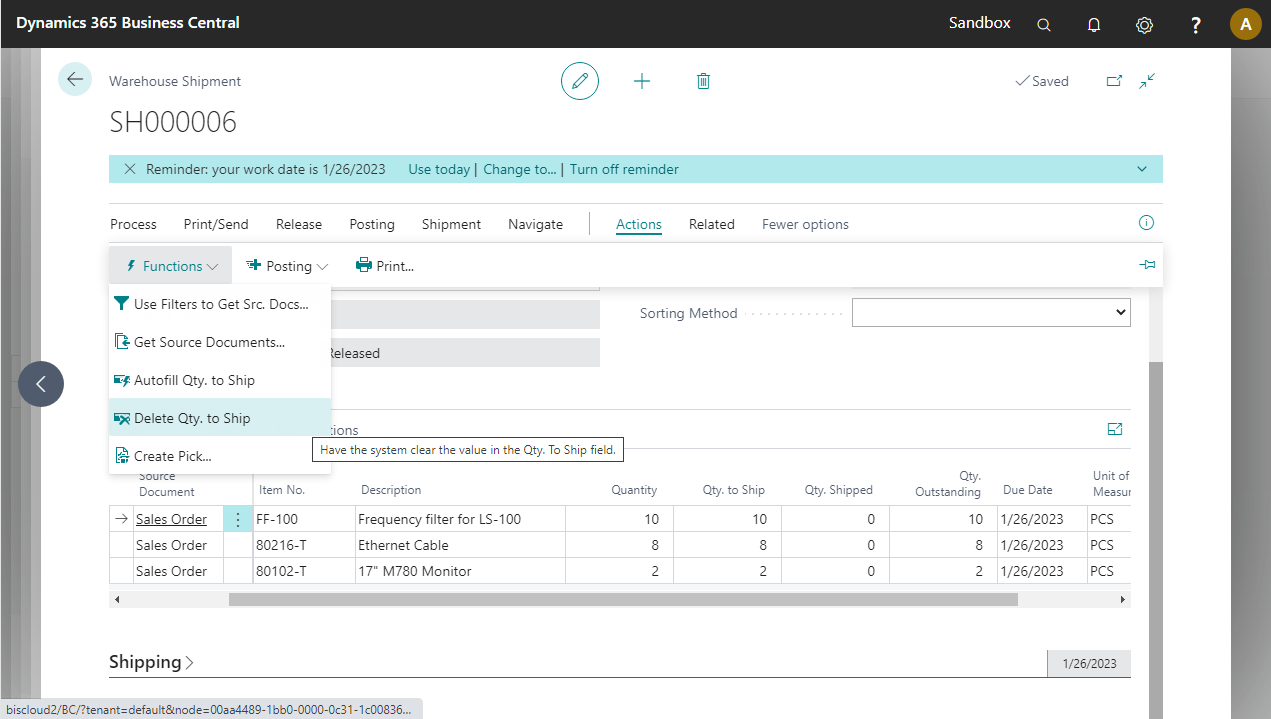
The warehouse shipment opens automatically. Release the shipment and select Actions > Functions > Delete Qty. To Ship to enable the lines to be handled by the WMS Shipment pre-configured process.
Using personalization, add Location Code, Zone Code, and Bin Code after the description fields in the lines.