ANY Process Demo: WMS Receipt
Overall process flow
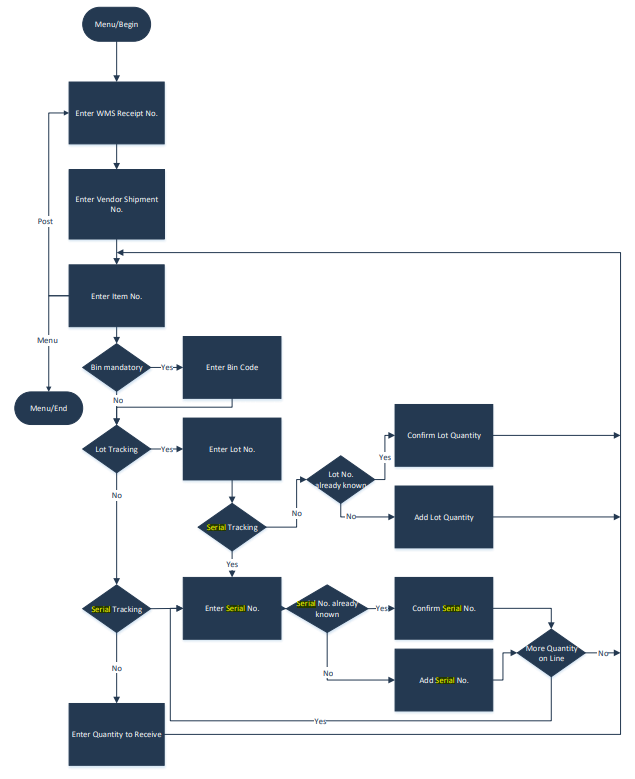
The WMS Receipt process supports the goods receipt process in the warehouse based on a Warehouse Receipt document generated in advance in Microsoft Dynamics BC.
After selecting a Warehouse Receipt document, the user can enter a Vendor Shipment number. The Warehouse Receipt Header is updated after confirmation, including the user ID of the mobile user as Assigned User.
Next, enter the item code for each item to receive. Then, depending on the location's setup, enter a bin code. Afterwards, several scenarios are handled:
When the item has Lot No. tracking: the user enters the Lot Number. Depending on the lot number, it can be either a new lot number or an existing one. If it is an existing one, the quantity already registered for the lot is shown, and the current quantity to register can be added or can replace the total quantity. If it is a new lot, the quantity can only be added. Afterwards, a new item can be scanned.
When the item has Serial No. tracking: the user enters the serial number. The system then checks whether the serial number already exists. If it exists, the user is warned it is already registered, and the serial number can be confirmed or removed. If it is a new serial number, it is confirmed. Afterwards, if more of the same item is received, the user can scan the next serial number. If no more of the same item is expected, a new item number can be scanned.
When the item has no item tracking, the quantity to receive is requested. Afterwards, a new item can be scanned.
Each time a new item can be scanned, the process updates the line before the user can continue with the next item or serial number.
Steps
Make sure you have already set up the prerequisites for this process.
Select the Warehouse Management button in the menu, then select the WMS Receipt button in the WMS Menu.
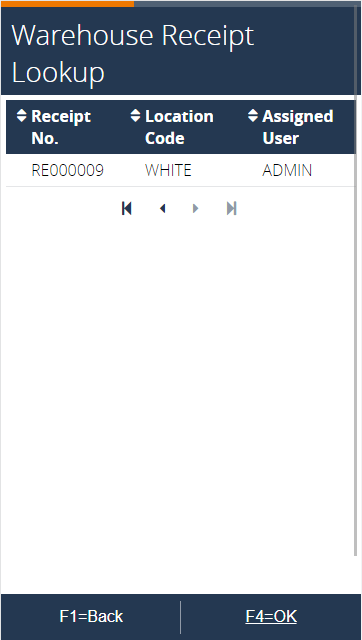
In the next page, enter the receipt number created during the prerequisites, or select it from the lookup.
Enter a Vendor Shipment No.
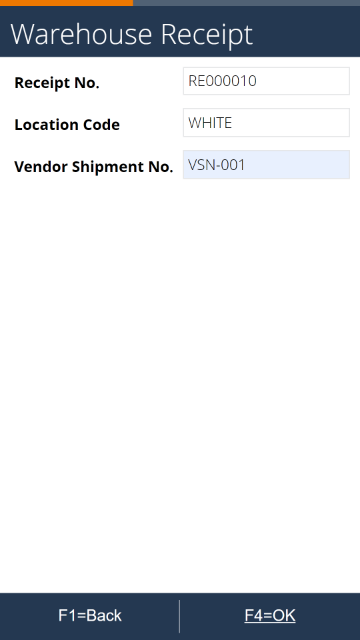
Press F4=OK. The Vendor Shipment No. is updated in BC.
 To see the result in BC, review the field in the Warehouse Receipt card.
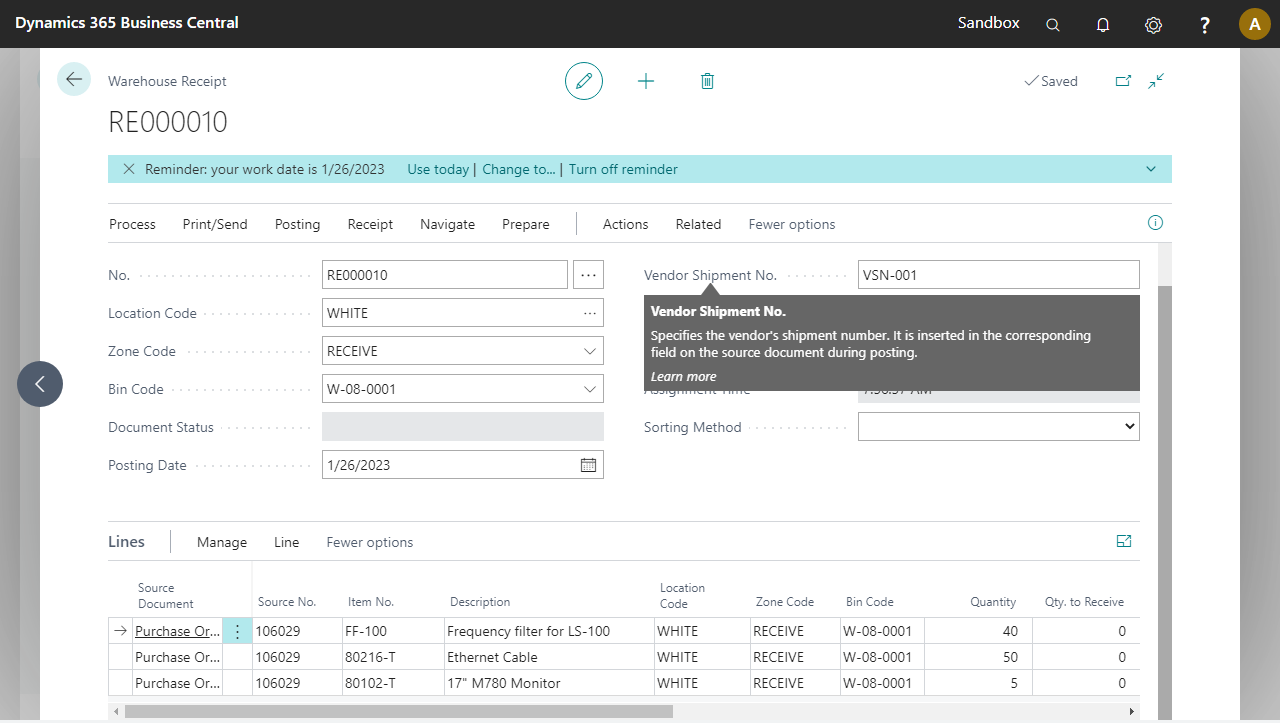
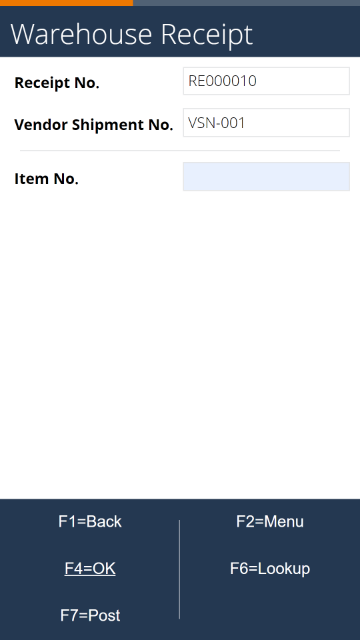
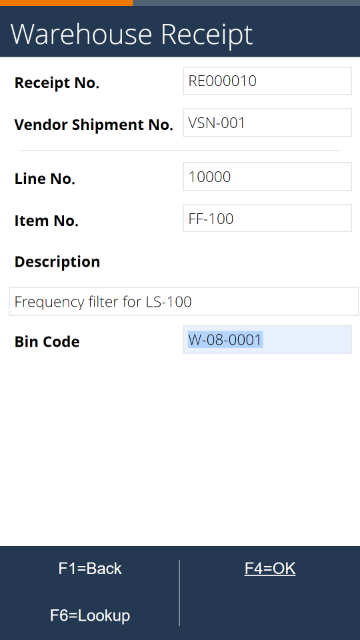
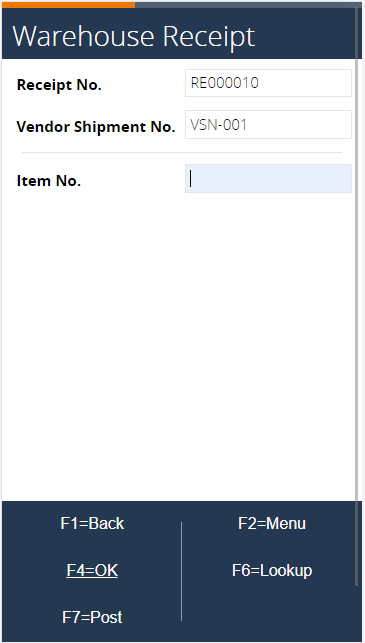
In the next step, specify the item code of the item physically received.
Enter a wrong item code (for example, LS-100). An error appears. Only items present on the Warehouse Receipt can be entered.
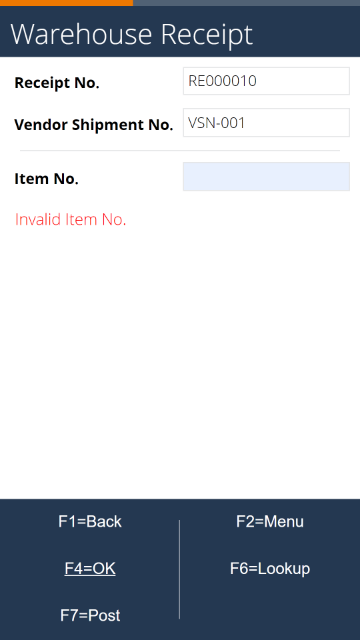
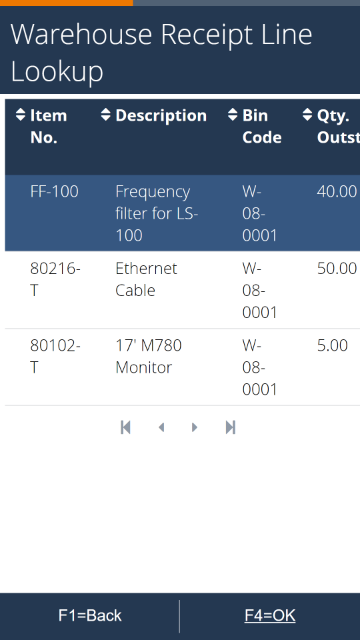
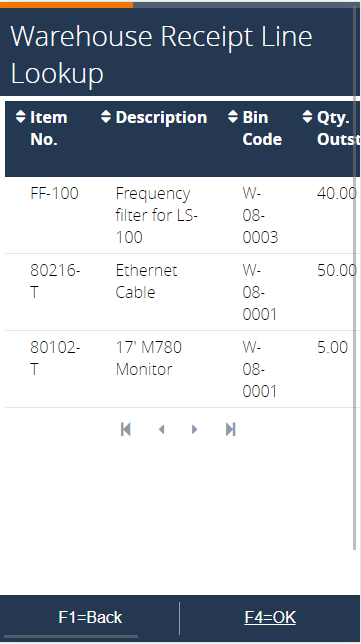
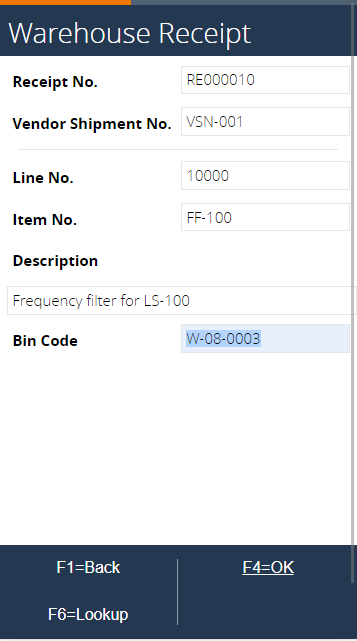
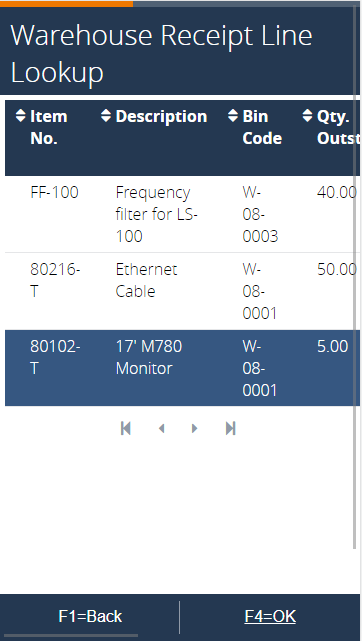
Use F6=Lookup to select the receipt line not yet completely handled. Select the first line (FF-100) and press F4=OK.
The Bin Code is defaulted from the Warehouse Receipt document generated in BC. Enter a bin because it is mandatory for location WHITE.
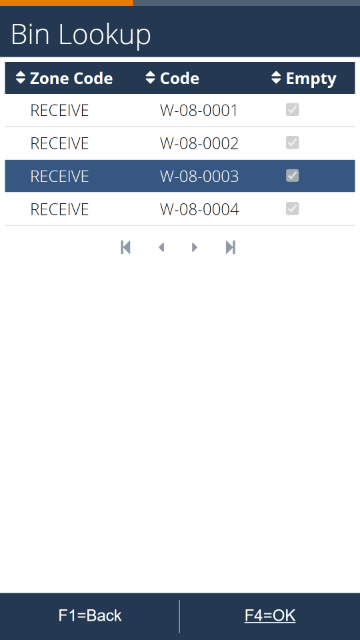
Use F6=Lookup to select another bin. Notice that only bins of the Receive Zone are allowed. Select a bin and press F4=OK.
After selecting a bin, the data in the Warehouse Receipt document is updated in BC.
To see the result in BC, open the Warehouse Receipt card. The new bin code appears on the line of the item selected (FF-100).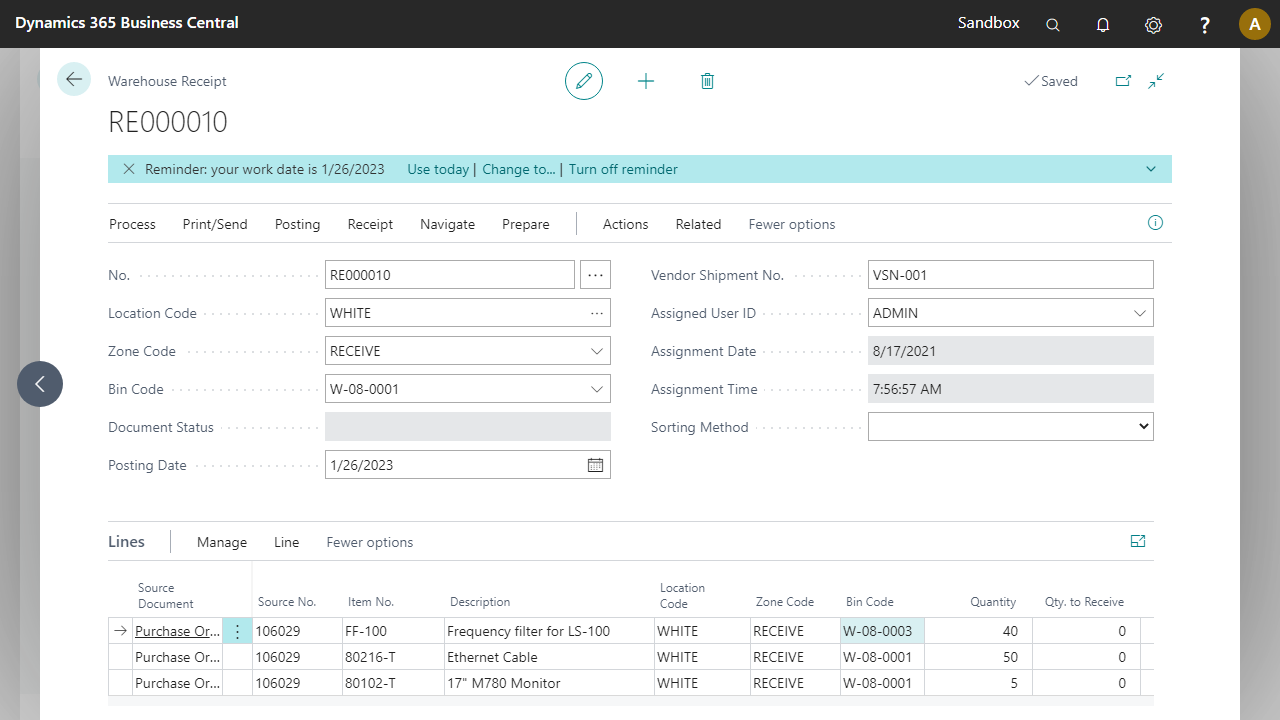
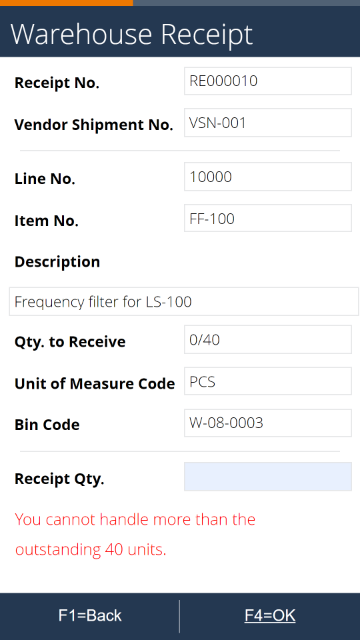
Enter the quantity of the item to receive (for example, 60). An error message appears. This is the same error that would appear in BC when entering an invalid quantity in Qty. to Receive.
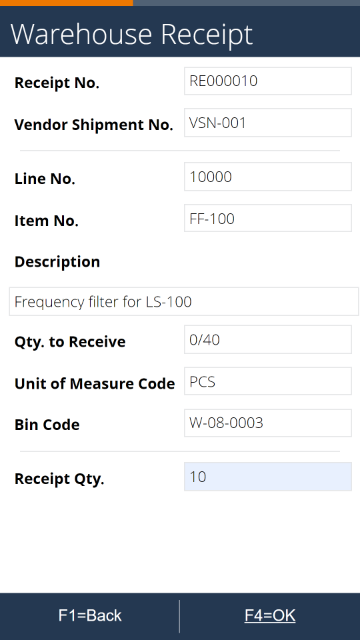
Enter a quantity to receive of 10 and press F4=OK.
The Warehouse Receipt line in BC is updated.
To see the result in BC, go to the warehouse receipt card. The Qty. to Receive field of the first line (FF-100) is updated.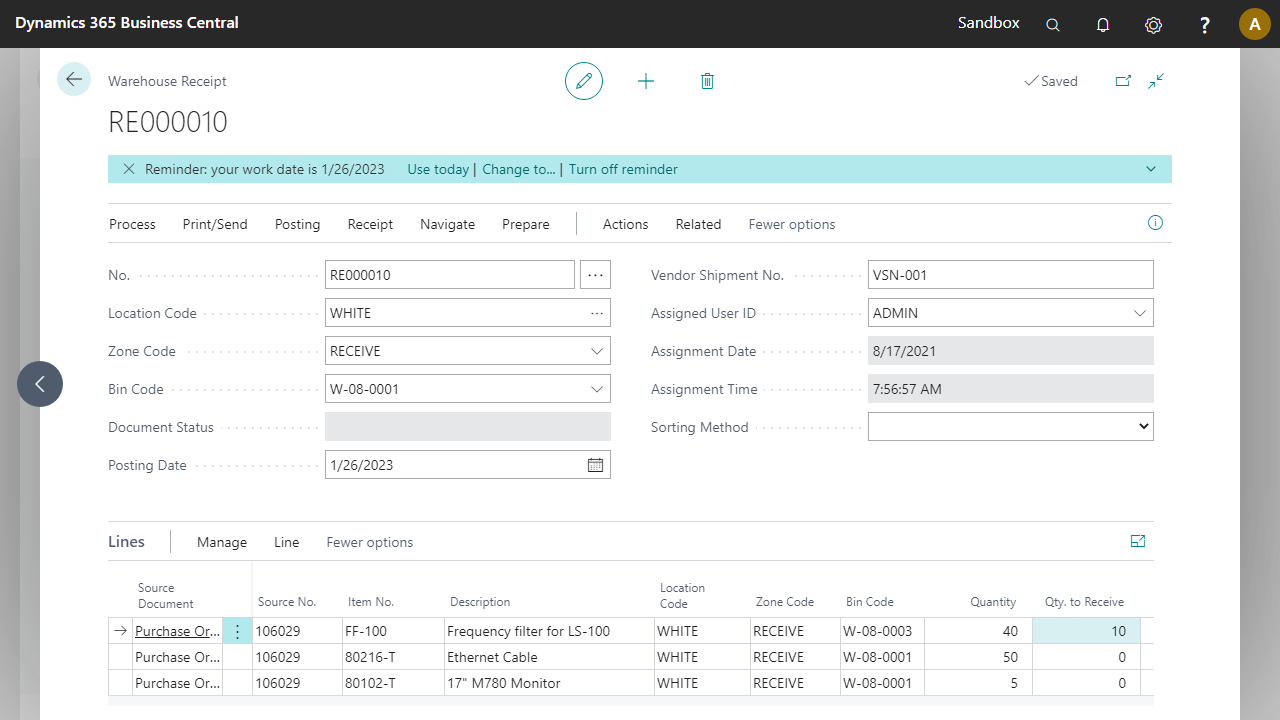
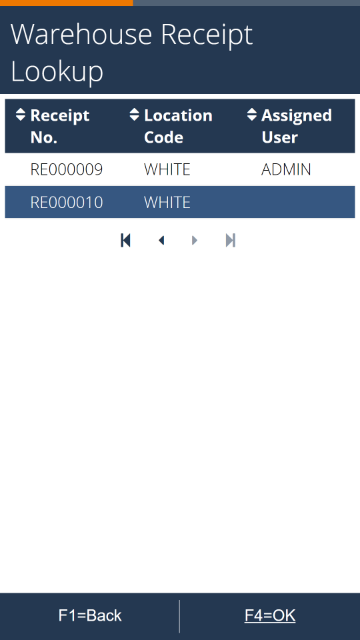
The process returns to the Item No. step. Open the lookup and notice that the Bin Code and Qty. to Receive fields are updated.
Select item FF-100 again and accept the suggested Bin Code.
Enter a receipt quantity of 30 and press F4=OK. This warehouse receipt line is updated and the process returns to the page for entering the item code.

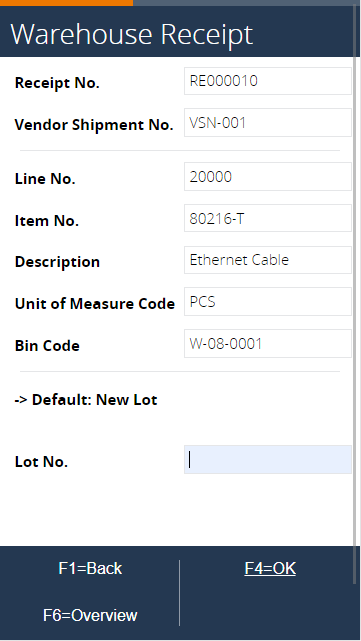
Press F6=Lookup and notice that the Qty. to Receive field is updated again. Select the second line (80216-T) and leave the default bin code.

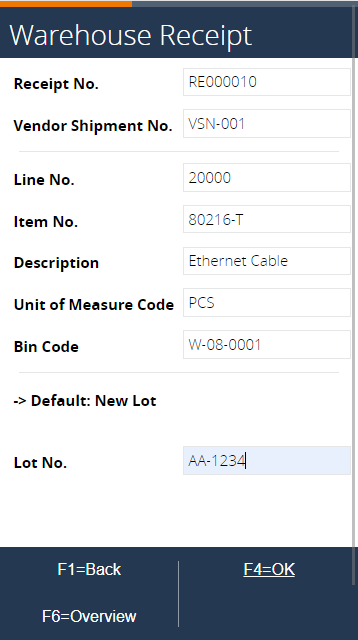
Next, scan a lot number because the item requires item tracking details for the receipt. Leaving the Lot No. empty generates a lot number based on the lot number series defined on the Item card.
Enter the received lot quantity of 20.
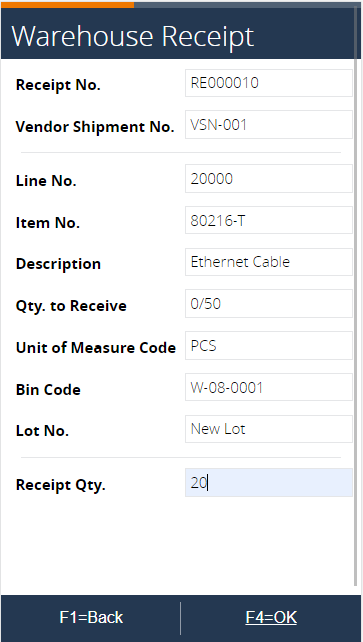
Press F4=OK. The quantity to receive is updated in BC.
To see the result in BC, check the item tracking lines via Line > Item Tracking Lines.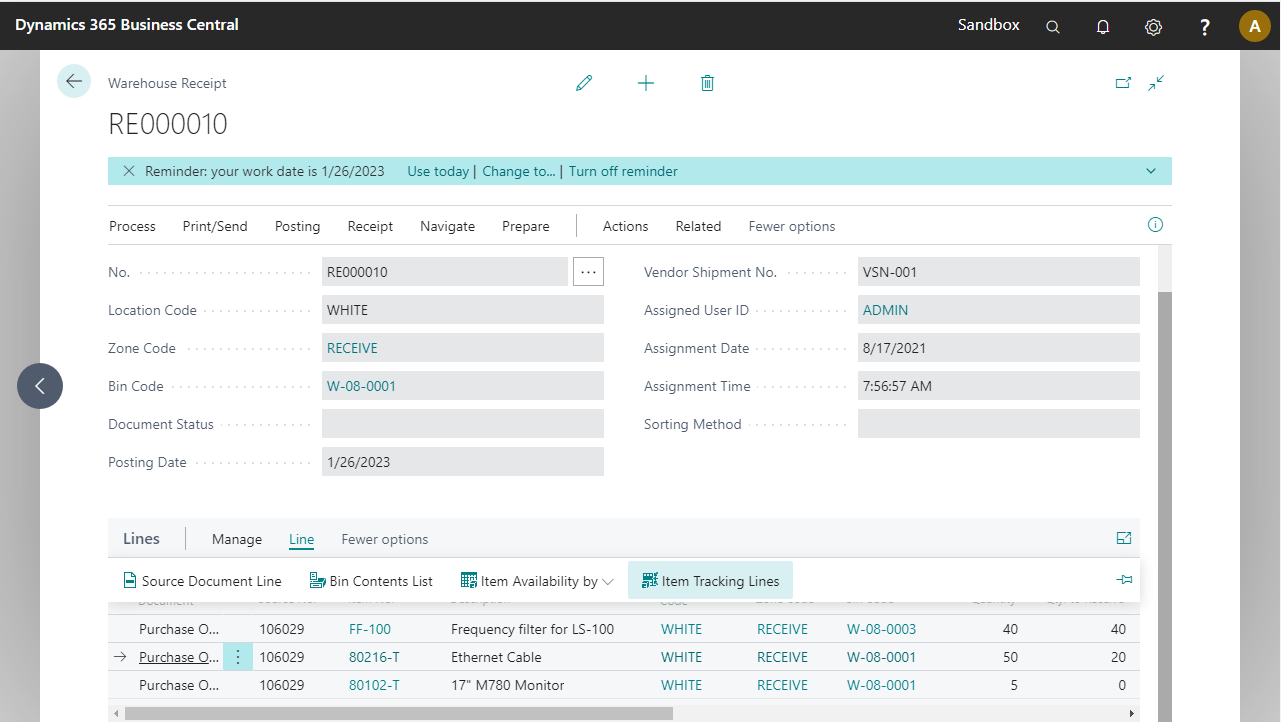

Return to the process and select the same item. This time, enter a custom lot number (for example, AA-1234) and a receipt quantity of 30.
Press F4=OK. In the Item Tracking Lines in BC, the new lot number is shown.
To see the result in BC,go to the Item Tracking Lines.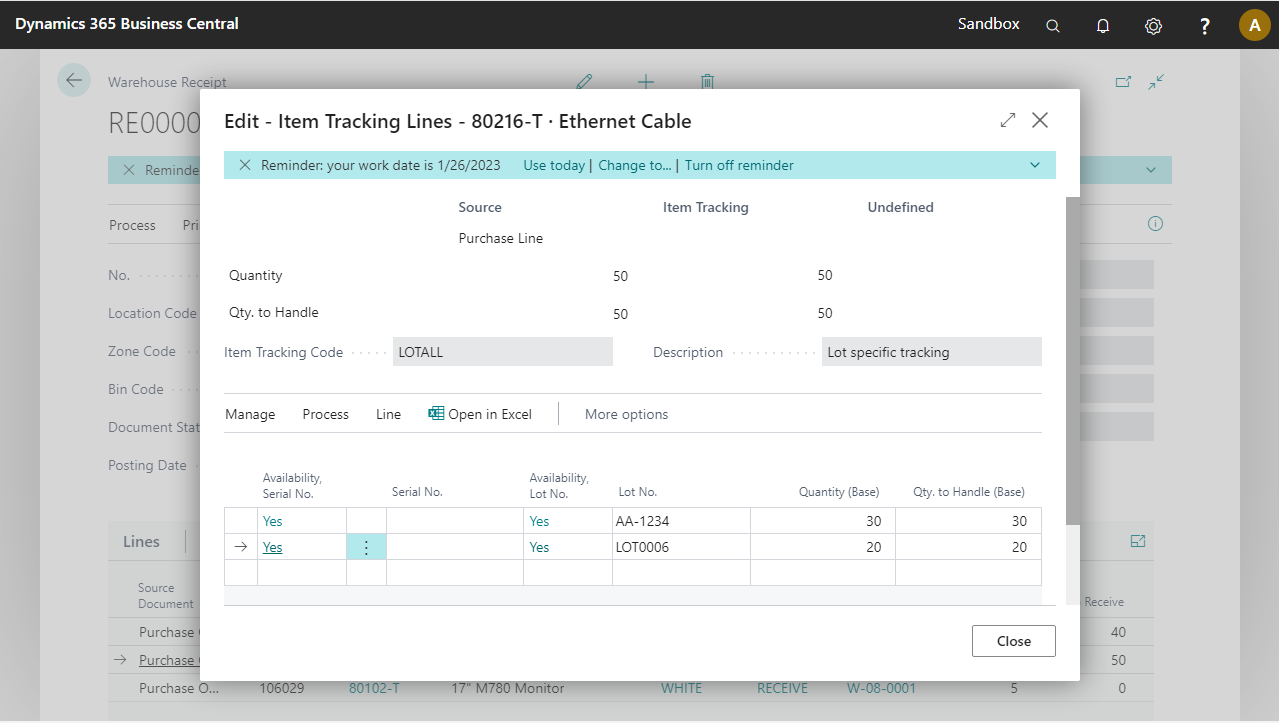
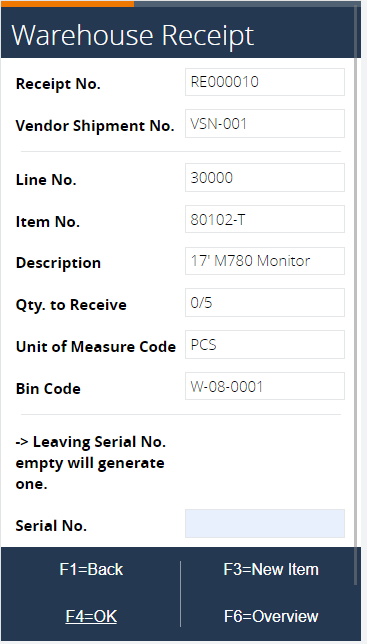
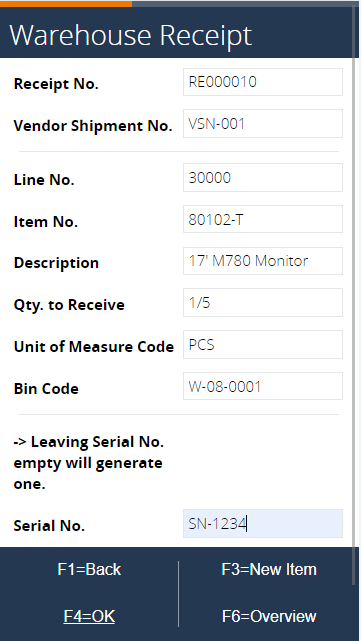
The process returns to the page for selecting an item. Select the last one from the lookup and accept the bin code.
Leaving the Serial No. empty causes the system to create a new serial number based on the allocated Serial Nos.
Press Add to add the serial number to the item. Note that the quantity is not requested, as it is always one for a serial number.
 To see the result in BC, go to Line > Item Tracking Lines on the last line to see the new entry.
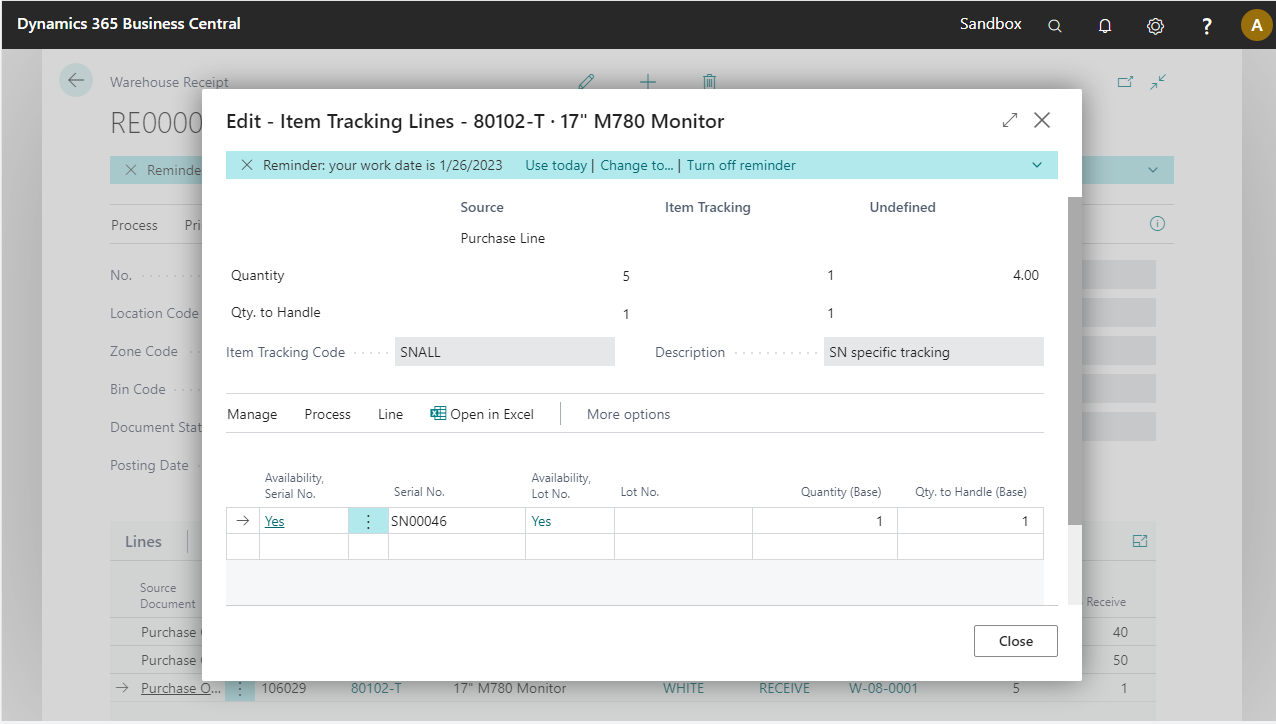
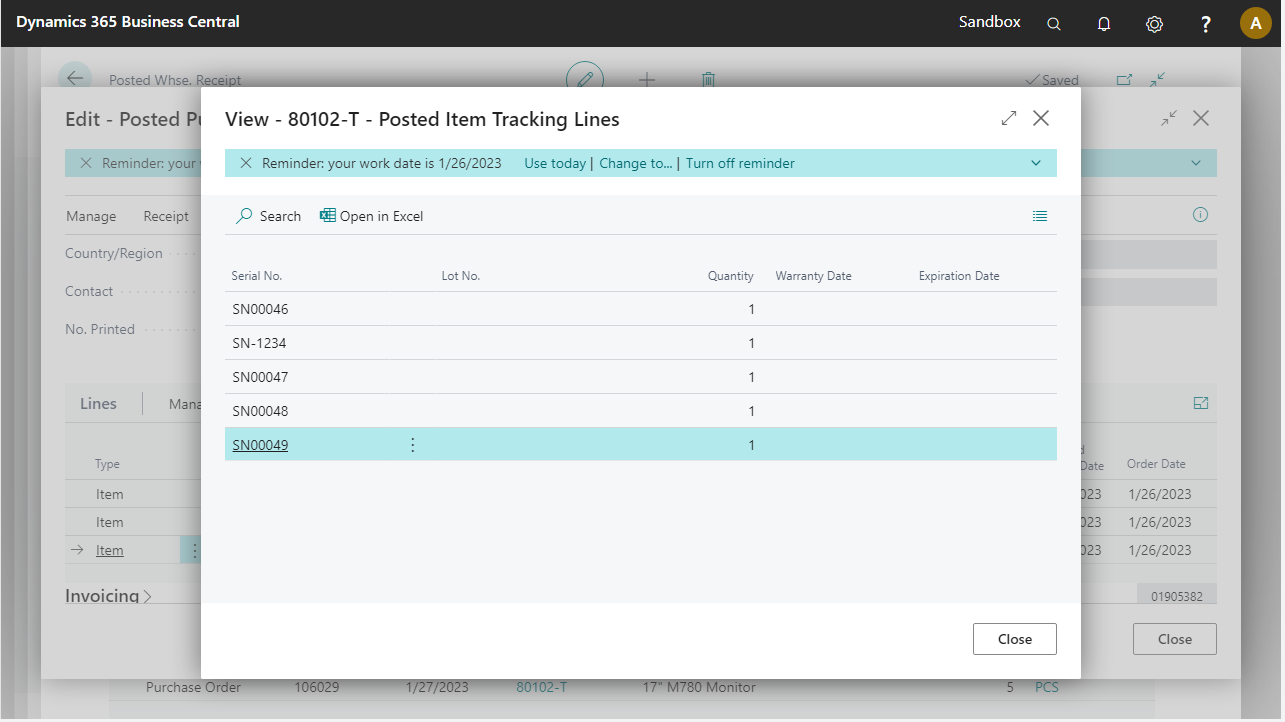
Back in the process, add a custom serial number SN-1234 and add it.
The item tracking lines now show the custom serial number.
To see the result in BC, go to the Item tracking Lines.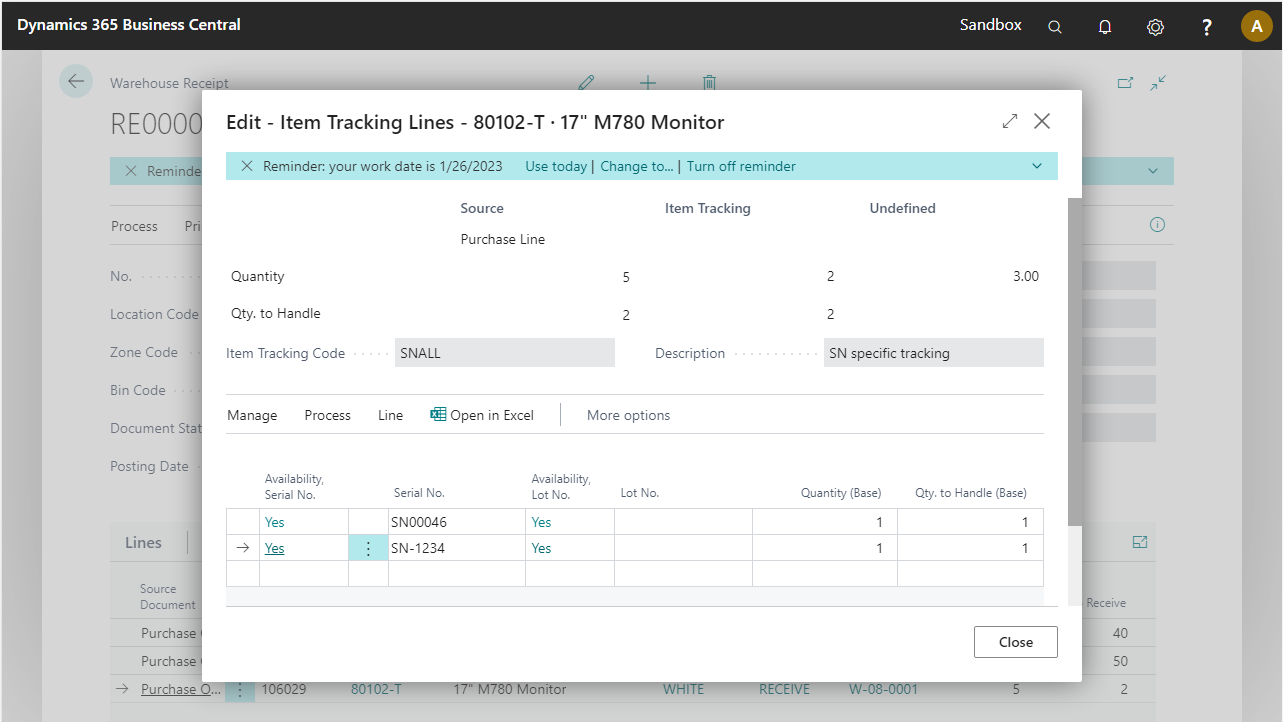
When all five serial numbers are added, the process returns to selecting an item.
 Check the result in BC
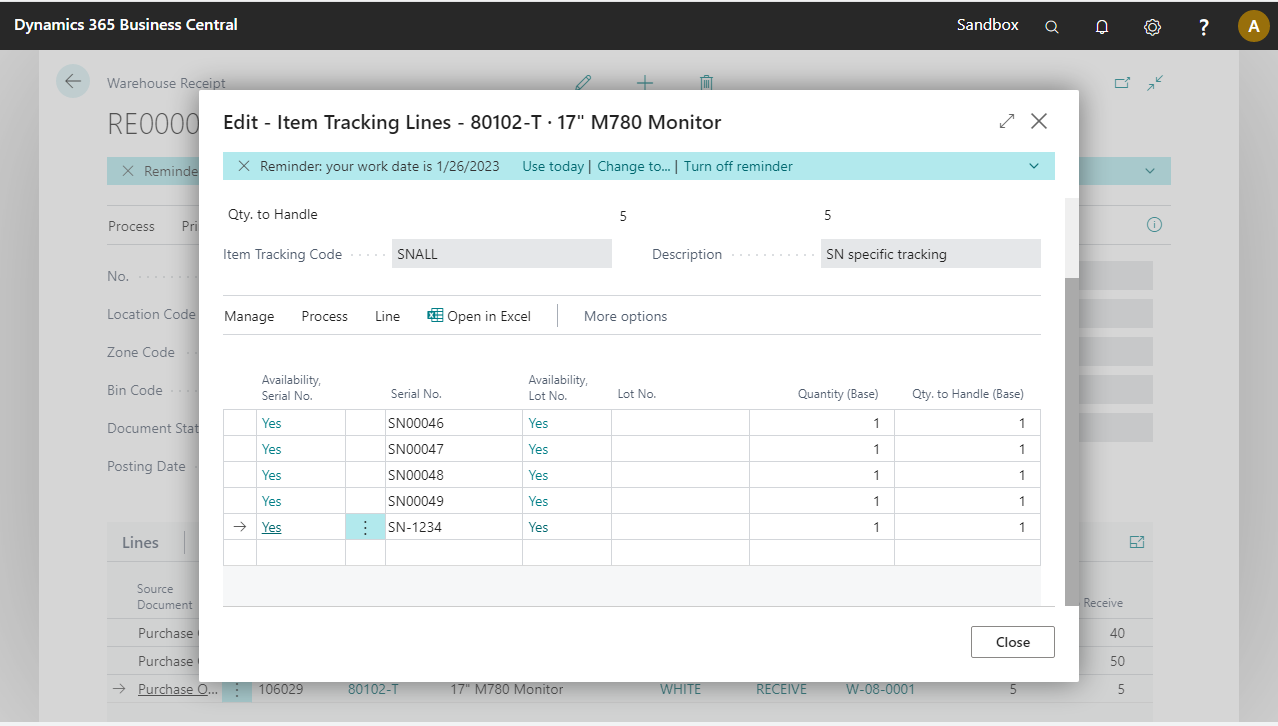
Press F7=Post. This posts the Warehouse Receipt document and subsequently the receipt of the purchase order. Afterwards, the Warehouse Receipt document is deleted. A posted Warehouse Receipt is available in the history. Because of the settings of location WHITE, a Warehouse Put-Away document is generated.
In BC, the Warehouse Receipt is does no longer exist in the list of receipts.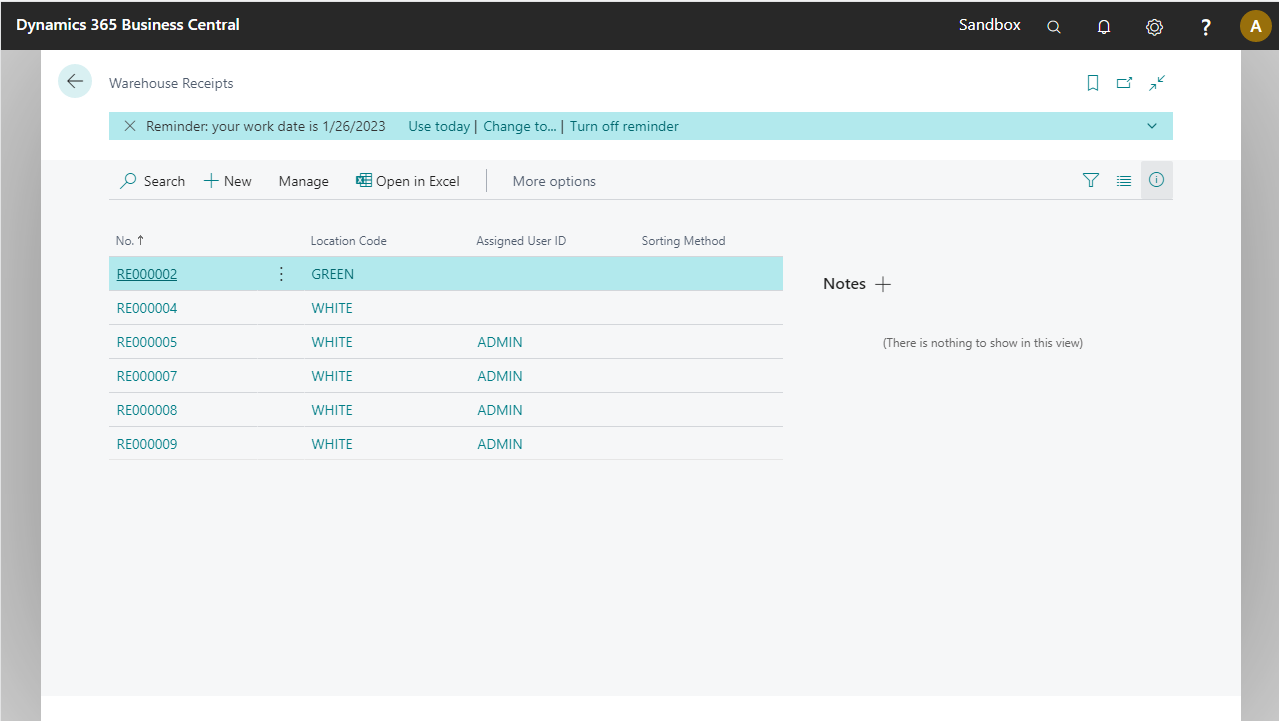
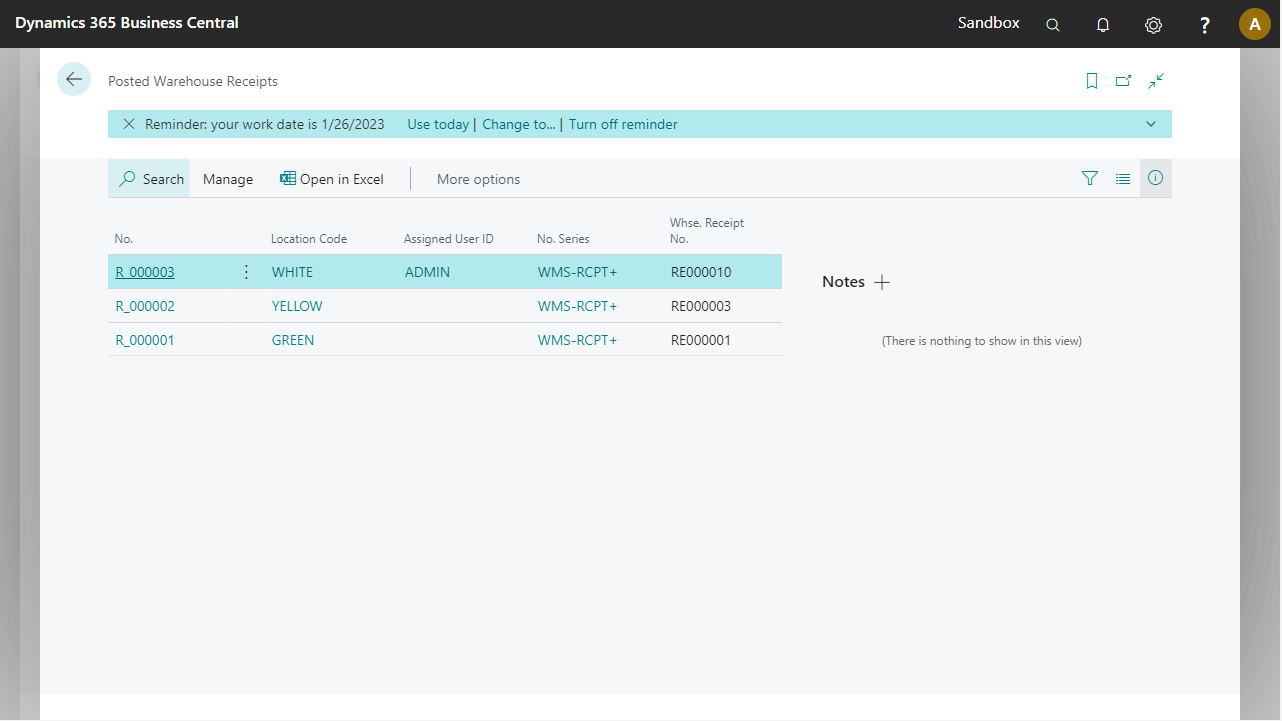
A posted warehouse receipt document appears in the Posted Whse. Receipts page.
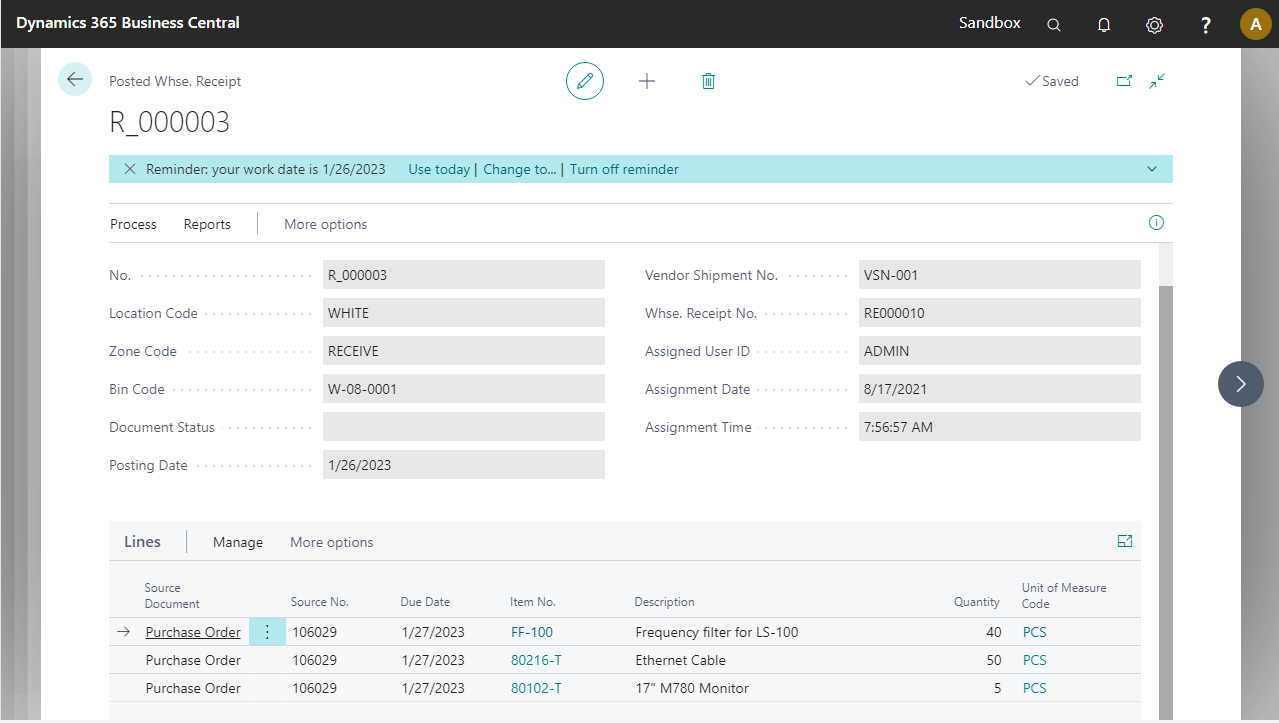
The posted warehouse receipt lines are shown in the posted warehouse receipt document.
Select Line > Posted Source Document to open the posted purchase receipt and from each line open the tracking lines.
Selecting the lookup in the process no longer shows the processed receipt.*