ANY Process Demo: WMS Pick SP (Sequential Process)
Overall process flow
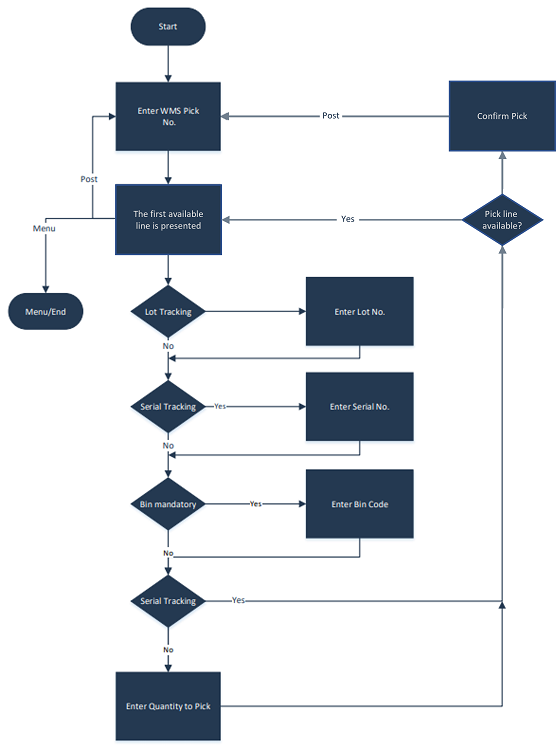
The WMS Pick SP process supports the pick process in the warehouse based on a Warehouse Pick document generated in advance in Business Central. After selecting a Warehouse Pick document, the Warehouse Pick Header is updated, including the user ID of the mobile user as Assigned User.
Next, the sequential process goes through each item one by one automatically. Optionally, depending on the location setup, enter a bin based on the available bin inventory.
Next, enter the quantity to pick. This quantity is added to the already handled quantity and then compared with the ordered quantity. If the quantity to pick plus the handled quantity plus the outstanding quantity exceeds the ordered quantity, an error message appears.
After accepting the quantity to pick, the Warehouse Pick line is updated. Optionally, enter a lot number or serial number if the item is lot/serial-controlled.
Finally, the pick document is registered and the related Warehouse Shipment is updated as well.
Steps
Make sure you have already set up the prerequisites for this process.
Select the Warehouse Management button in the menu, then select the WMS Pick SP button in the WMS Menu.
The next page appears.
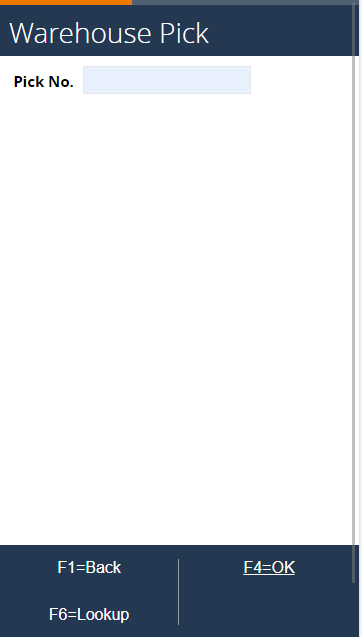
Press F6=Lookup and take note of which Warehouse Pick documents are to be processed. Select the first document and press F4=OK.
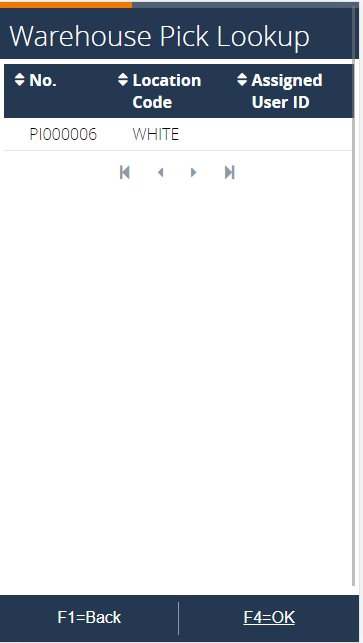
After pressing F4=OK, the Assigned User ID, Assignment Date, and Time fields are updated in the Warehouse Pick document.
 To see the result in BC, open the Warehouse Pick document and check the updated fields.
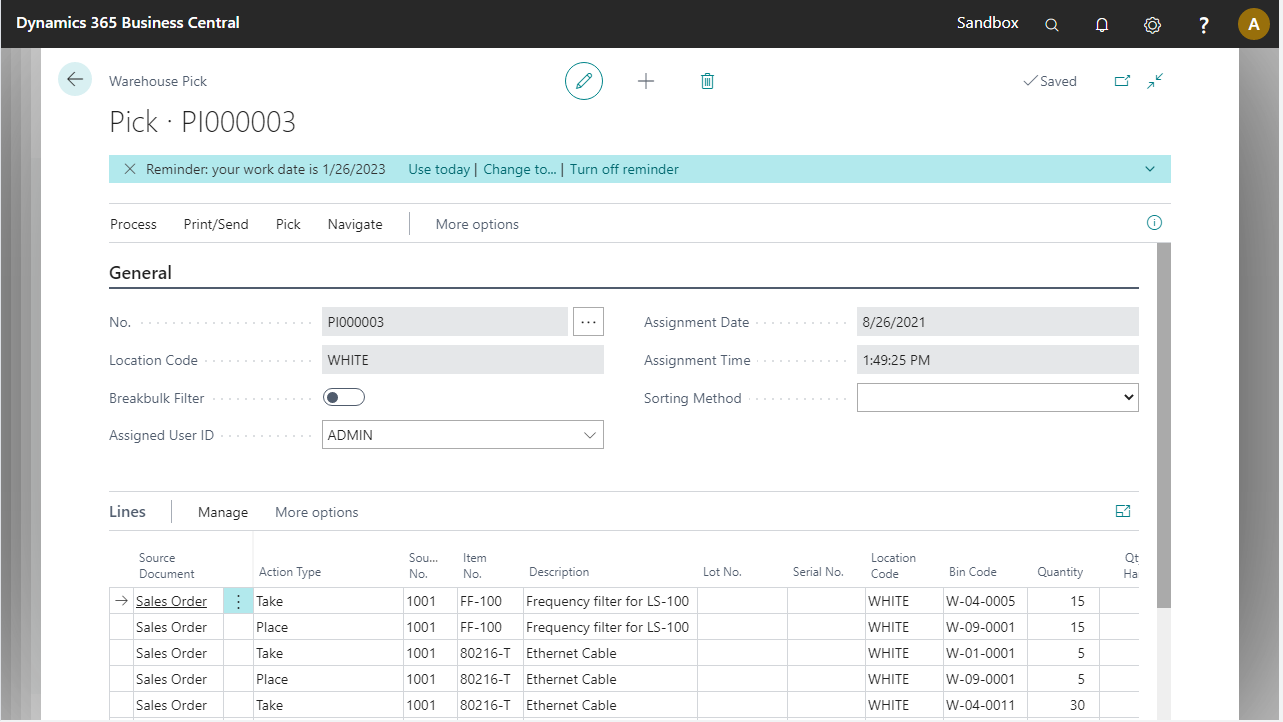
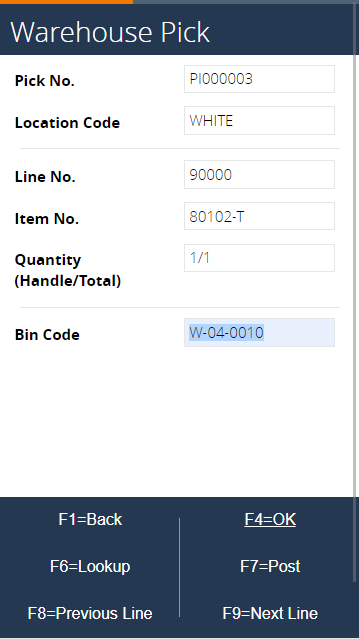
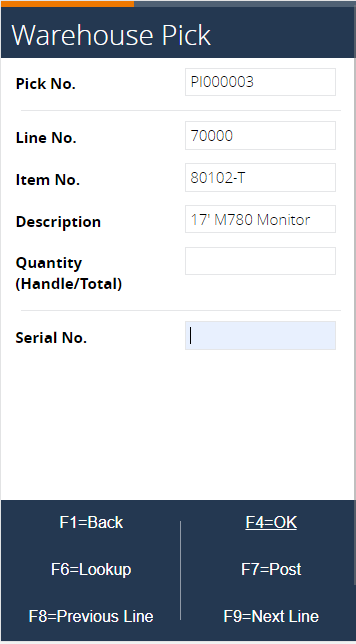
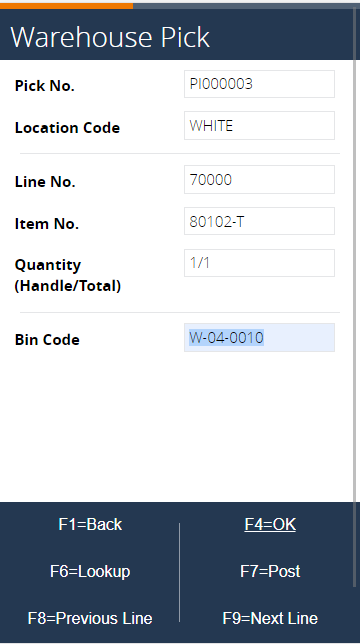
In the next page, the sequential process selects a line that still needs to be processed. In this case, it selected one of the lines for the serial tracked item 80102-T.

You can go to the next or previous line to handle a different line first. Press Next Line. Notice the line has now changed to a different one.

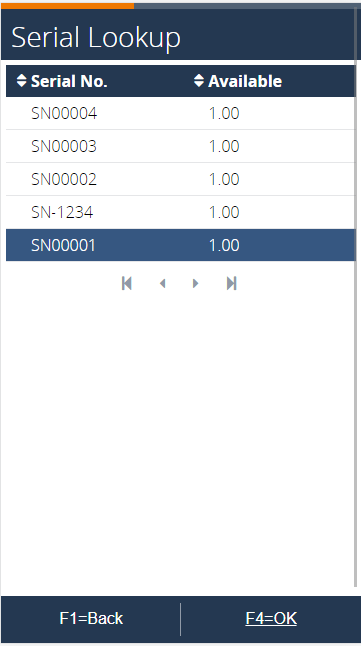
Select a serial number from the lookup and press F4=OK.
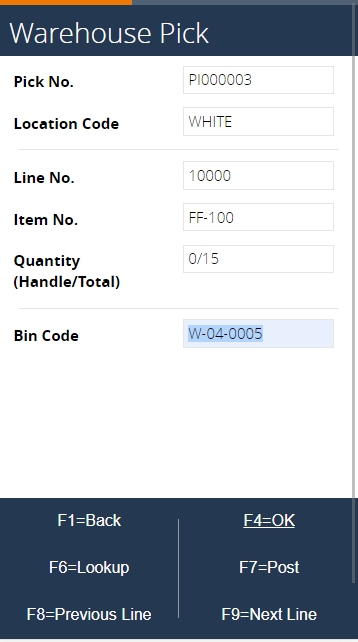
The Bin Code is defaulted from the Warehouse Pick document generated in Business Central. Enter a bin because it is mandatory for location WHITE.
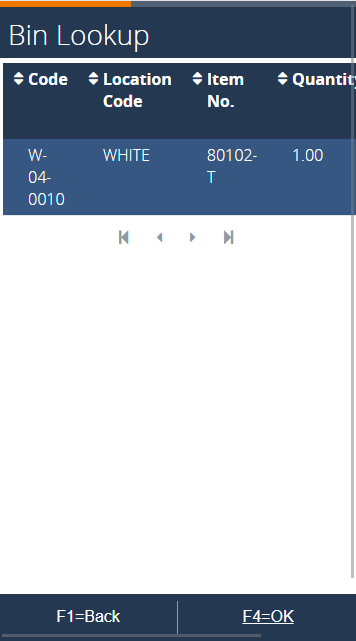
Use F6=Lookup to select a bin. The bin content of the item is shown for the Pick zone, the zone of the pick line. Select the bin.
After confirming the bin, the warehouse pick lines are updated in Business Central.
To see the result in BC, go to the Warehouse Pick document. The Bin Code and Qty. To Handle are filled in for both the Take and Place line, and the split line functionality is applied. The quantity was not needed in this case because it is always one for serial tracked items.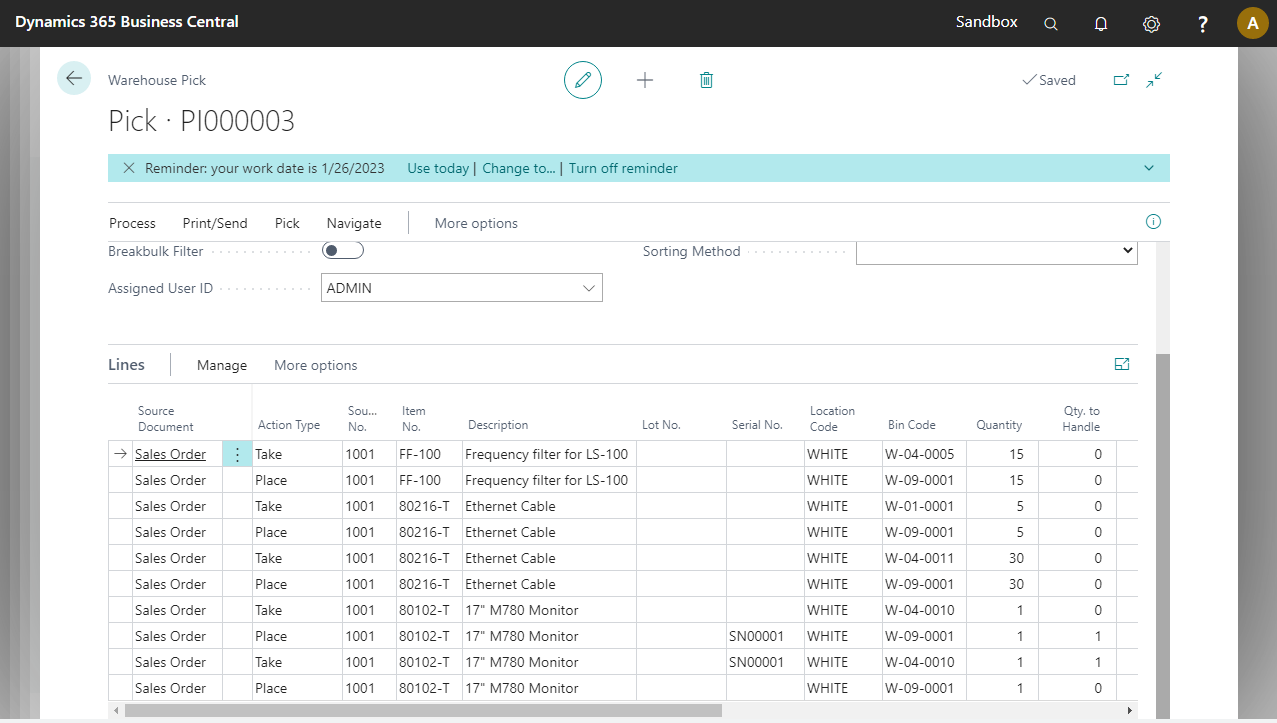
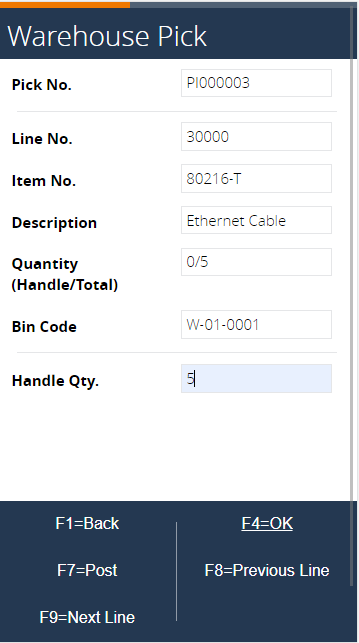
The process moved to the next item, 80216-T, a lot tracked item.
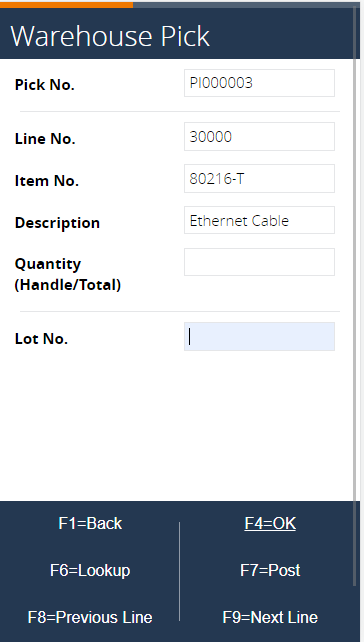
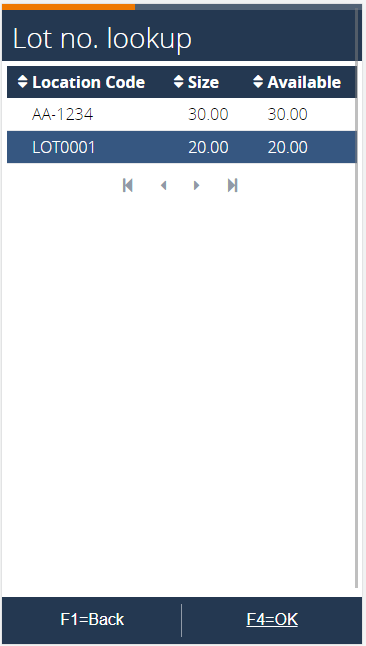
Select a lot number from the lookup.
Accept the bin code.
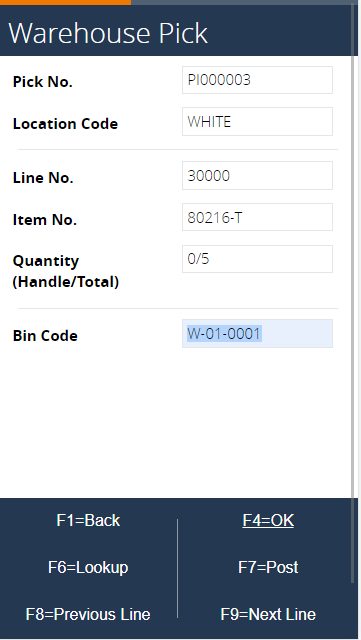
Enter a Qty. To Handle of five.
Afterwards, repeat the steps for the next line and enter a quantity of 30. The warehouse pick lines are updated.
To see the result in BC, check the updated warehouse pick lines.
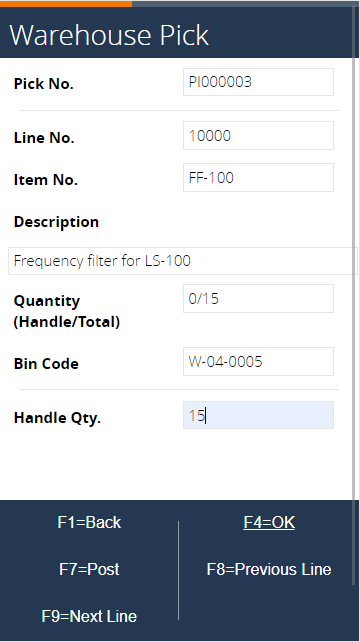
Next is the FF-100 line, which is not a tracked item. Accept the bin code and press F4=OK.
Enter a quantity of 15 and press F4=OK.
The page returns to the line that was skipped earlier.
Select a serial number and accept the bin.
All lines are handled and the following page appears.
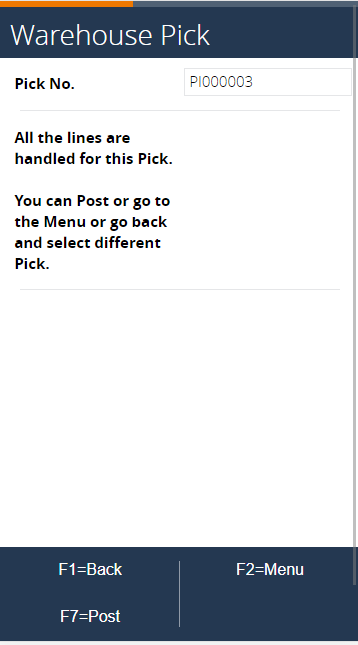
Press F7=POST. This creates a registered pick.
To see the result in BC, find it in the Registered Warehouse Pick List page.