ANY Process Demo: Sales Quote
Overall process flow
The Create Sales Quote process supports the creation of a new sales quote in Microsoft Dynamics BC, using customer-specific price and discount agreements.
After selecting a customer by number or by searching in the customer list with a search filter at the customer name, enter a delivery date and optionally a delivery address.
A sales quote header is then created in Microsoft Dynamics BC. The quote reference can be entered.
Next, create sales quote lines by entering the item code, quantity, price, and discount. The process always shows the total quote amount and total discount amount.
After entering the quantity of an item, an inventory availability check is performed.
Finally, after entering all sales quote lines, an overview of the lines is shown. Lines can be added, changed, or deleted. After confirmation of the lines, the next sales quote can be entered.

Steps
Make sure you have already set up the prerequisites for this process.
After logging in, select the Create Sales Quote menu button.
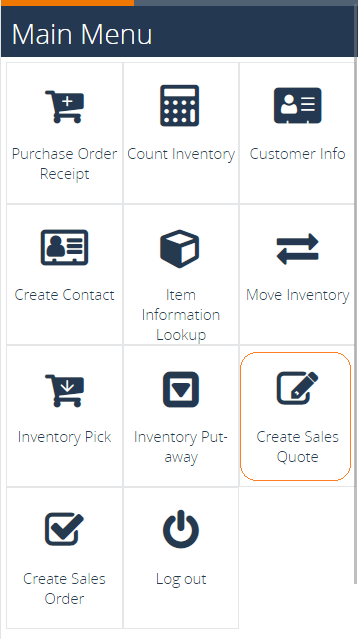
The next page appears.
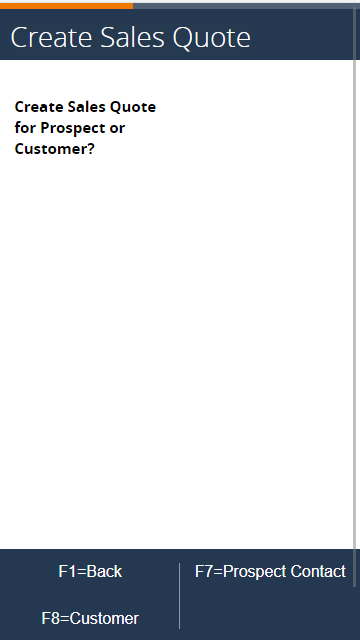
Scenario 1: Using the prospect contact
This part of the process applies to sales quote creation for a prospect, a contact without a linked customer. Press F7=Prospect Contact.
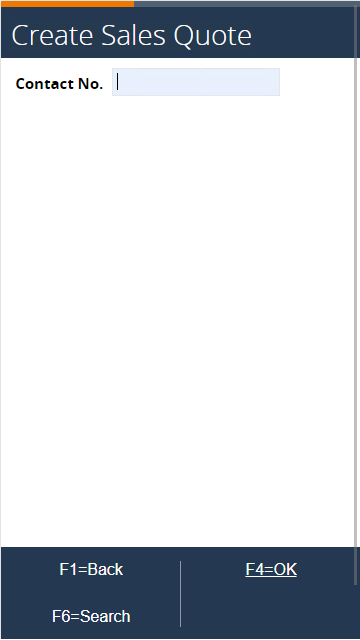
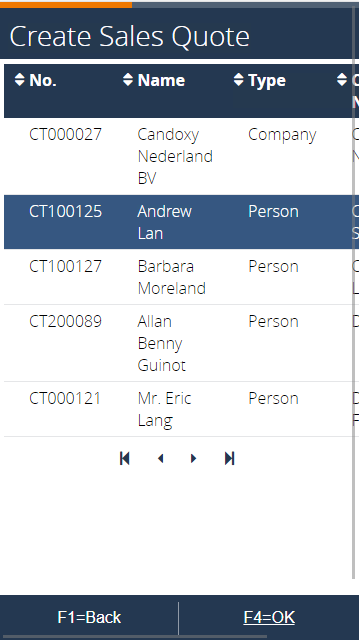
Enter the Contact No. or press F6=Search to search the contact list of Microsoft Dynamics BC.
Enter a contact name in the search filter.
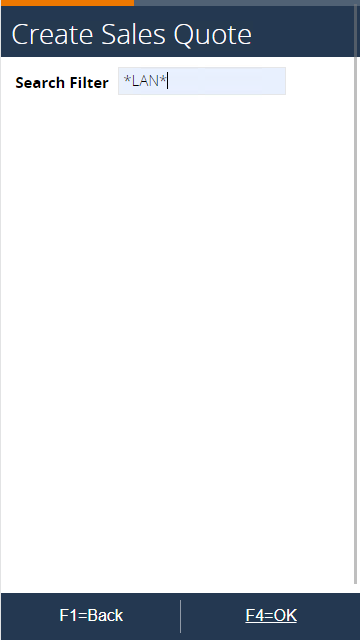
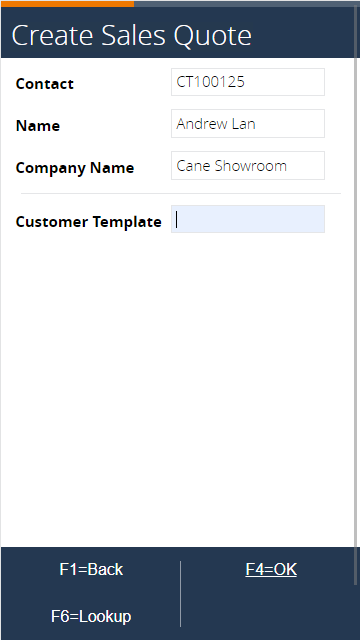
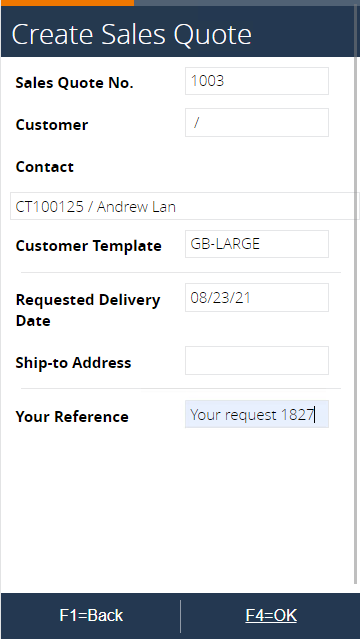
In the search list, select the contact and press F4=OK. Because there is no customer linked to the contact "Andrew Lan" of the "Cane Showroom," select this prospect for this demo case.
Enter the Customer Template.
Use F6 for lookup of the Customer Templates.
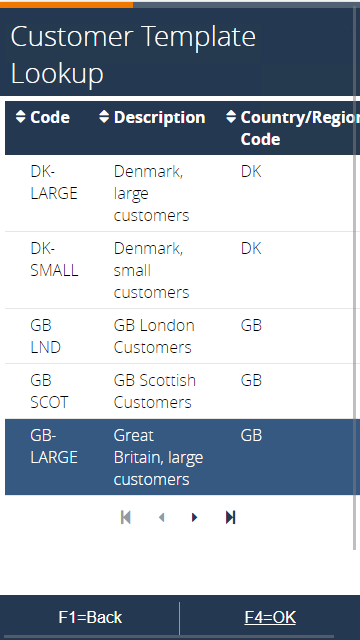
Select the Customer Template and confirm by pressing F4=OK.
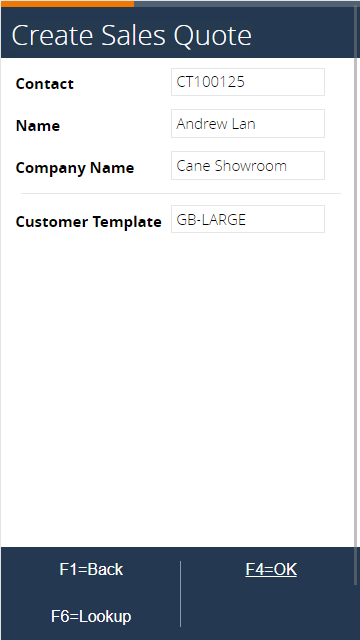
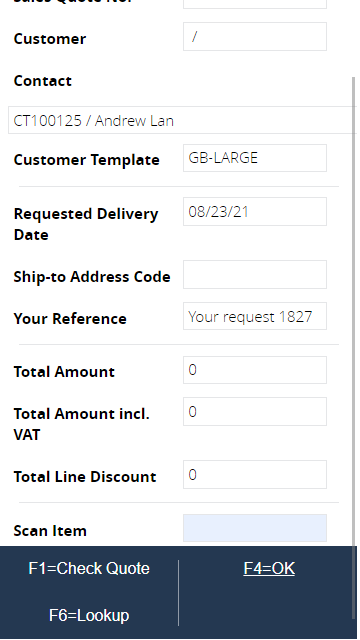
Enter the Requested Delivery Date.
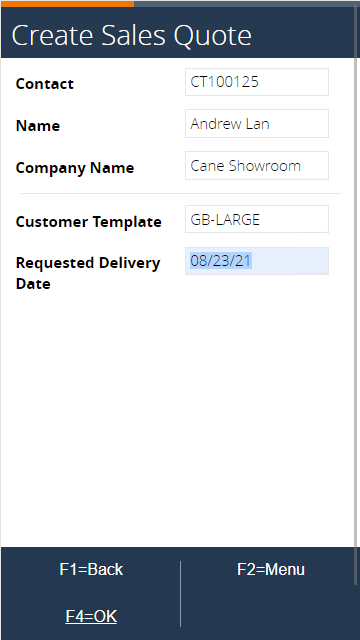
Press F4=OK. A new sales quote is created in Microsoft Dynamics BC. The quote number is generated based on the Number Series S-QUO, defined in the mobile process configuration (see document SLSQUOTEHDRCREATE2).
Continue with step 19.
Scenario 2: Using the customer
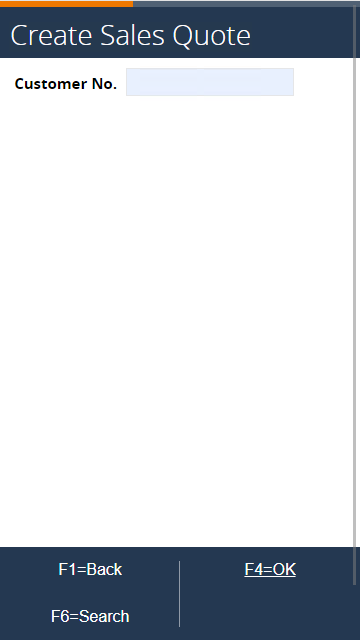
This part of the process applies to sales quote creation for existing customers. Press F8=Customer. Enter the Customer No. or press F6=Search to search the customer list of Microsoft Dynamics BC.
Enter the search filter at customer name.

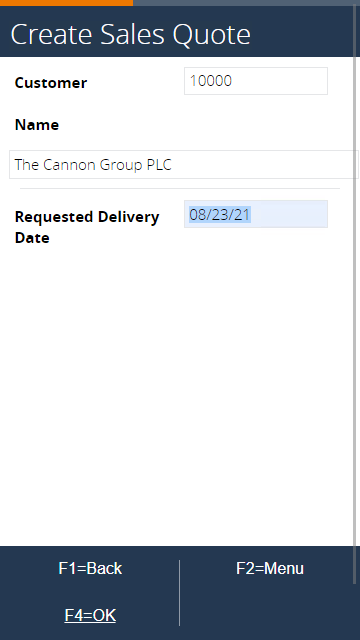
Select the customer and press F4=OK.

Enter the Requested Delivery Date.
Optionally, enter a Ship-to Address.

Use F6 for lookup of the Ship-to Addresses of the customer.
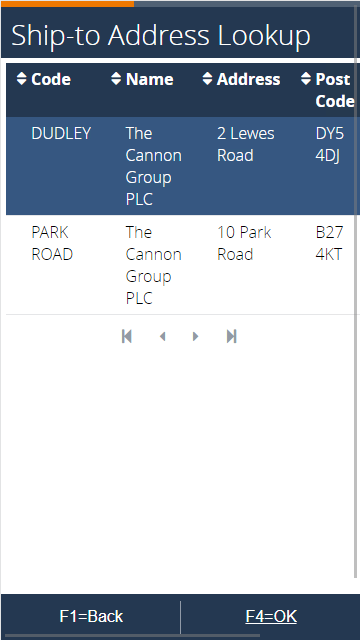
Select the Ship-to Address and confirm by pressing OK.
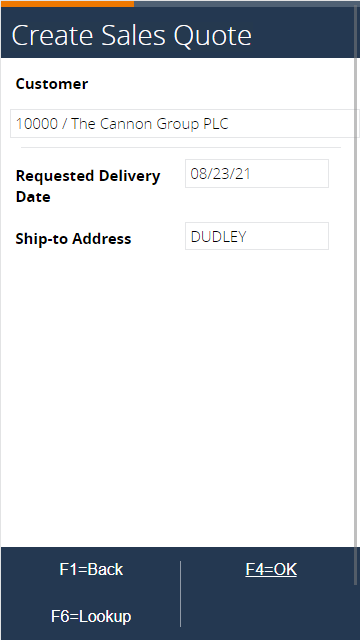
Press F4=OK. A new sales quote is created in Microsoft Dynamics BC. The quote number is generated based on the Number Series S-QUO, defined in the mobile process configuration (see connection SLSQUOTEHDRCREATE1).
From this step on, execute the steps of the Create Sales Quote process with a prospect selected in step 5. If you execute the steps with a customer, the layout of the pages is slightly different (for example, when selecting a customer, the customer template is empty).
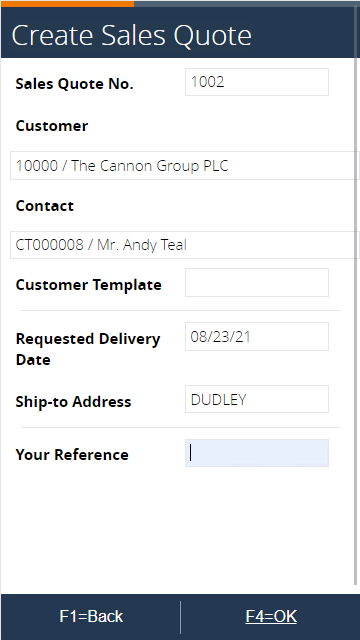
The sales quote header in Microsoft Dynamics BC is created based on the customer master data and the entered data.
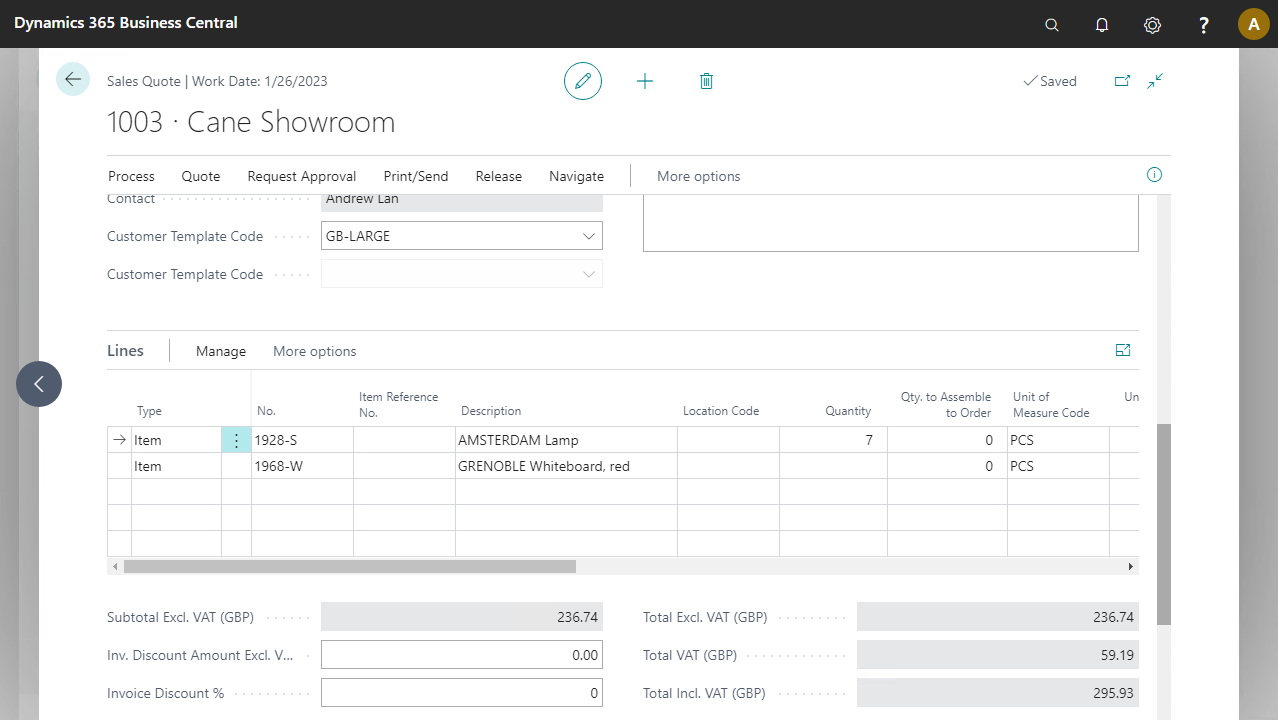
 To see the result in BC, go to Sales & Marketing > Order Processing > Sales Quotes and navigate to the sales quote created for Andrew Lan. Select to show the detailed data of the sales quote. The highlighted fields can be shown by selecting the Show more fields option.
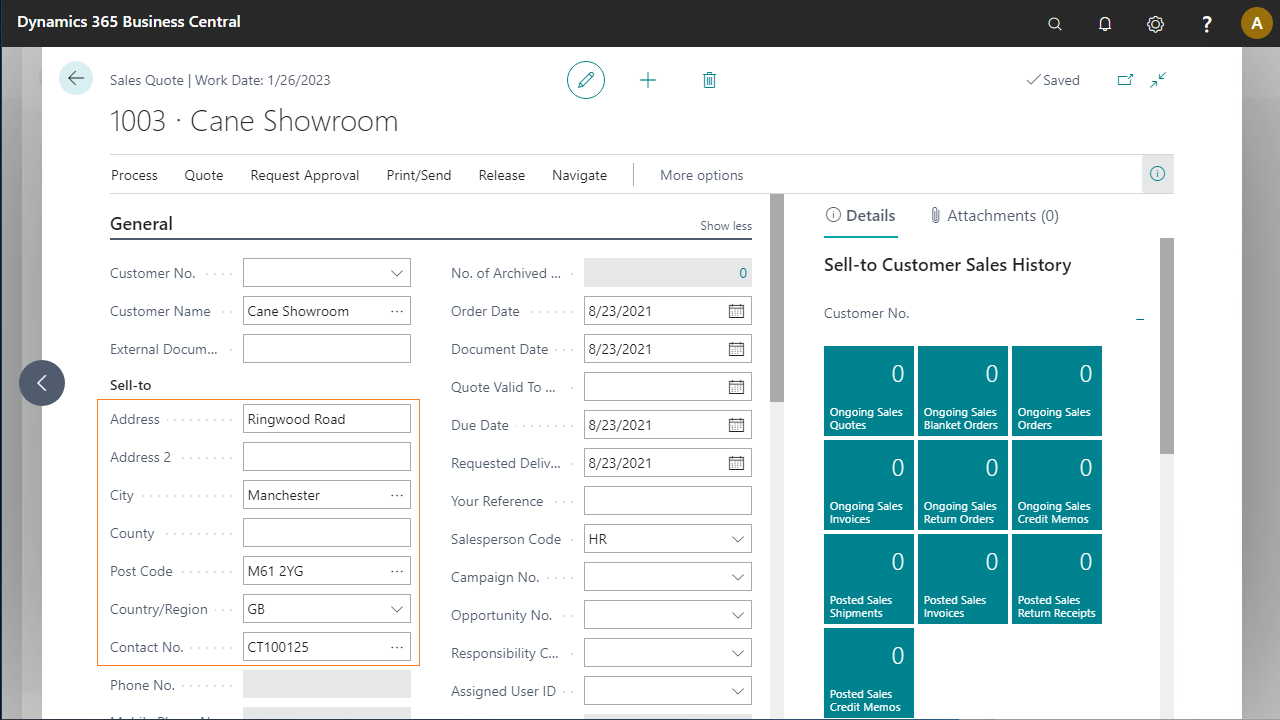
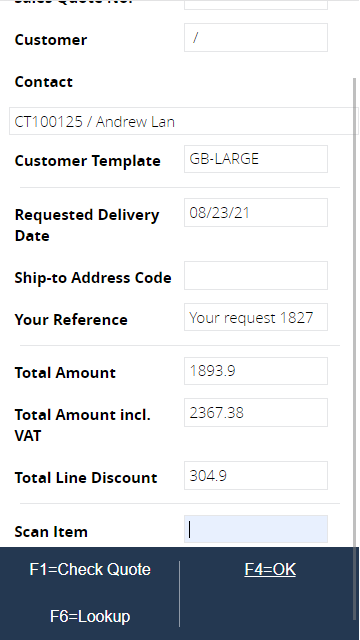
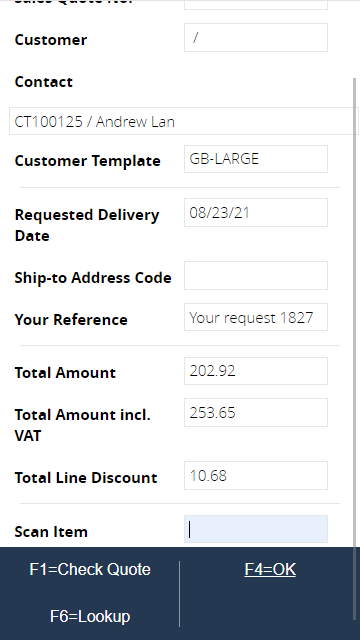
Enter the reference field. After pressing OK, the Your Reference field (hidden field) of the sales quote in Microsoft Dynamics BC is updated.
You can now enter the sales quote lines.
Enter item number 1928-S or use F6=Lookup to get a list of items.
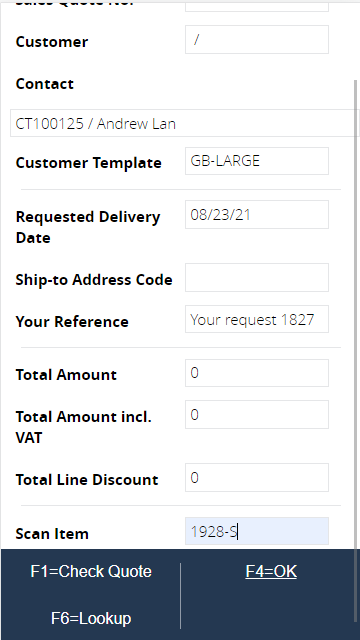
After pressing F4=OK, a new sales quote line in Microsoft Dynamics BC is created with the item number defined.
To see the result in BC, go to Sales & Marketing > Order Processing > Sales Quotes, navigate to your sales quote, and double-click to show the detailed order line data.The Item Number is filled in; the Quantity is still empty.

Enter the quantity of the item (for example, seven) and press F4=OK.
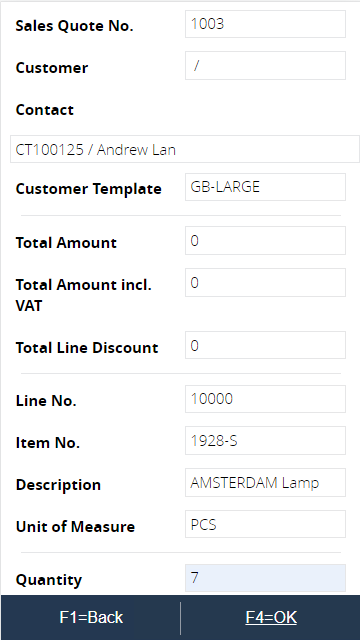
After entering the quantity, the current sales quote line in Microsoft Dynamics BC is updated.
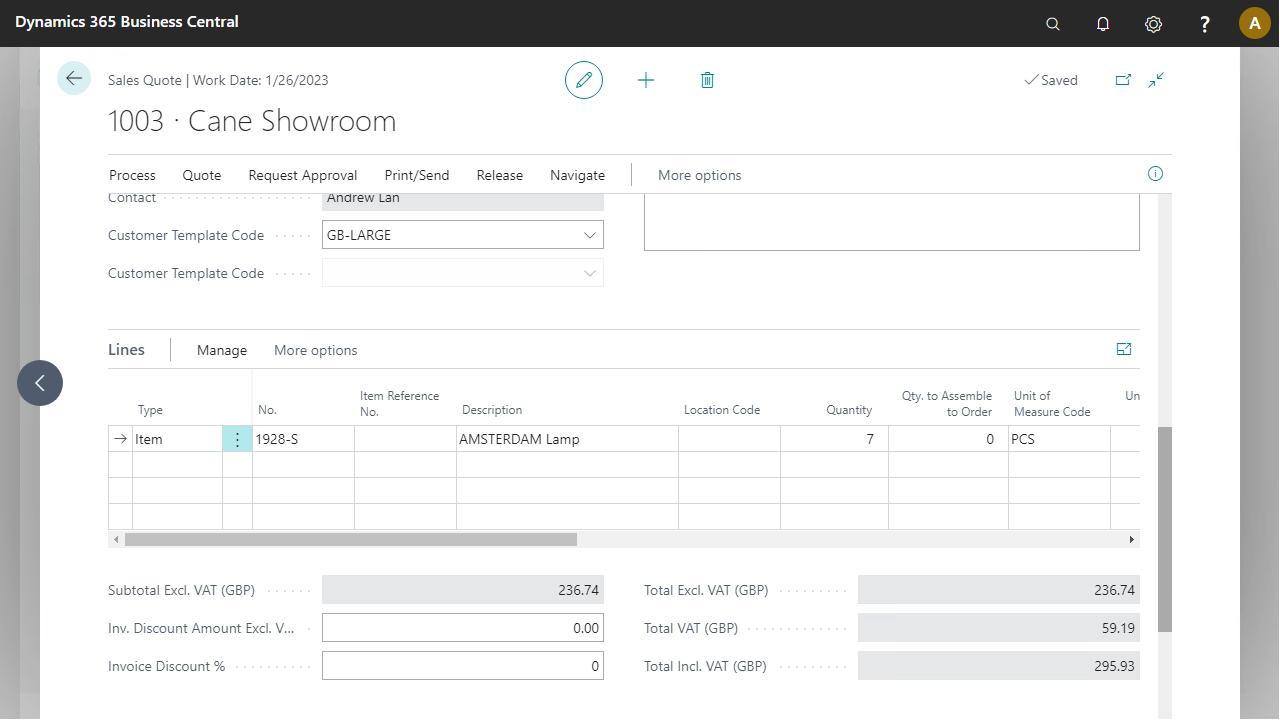
To see the result in BC, go to Sales & Marketing > Order Processing > Sales Quotes, navigate to your sales quote, and double-click to show the detailed order line data.The Quantity is now updated. The Unit Price and the Line Discount are populated as well.
By updating the Quantity in the mobile process, these price and discount fields are updated because of the validation rules of the Sales Line table in Microsoft Dynamics BC.
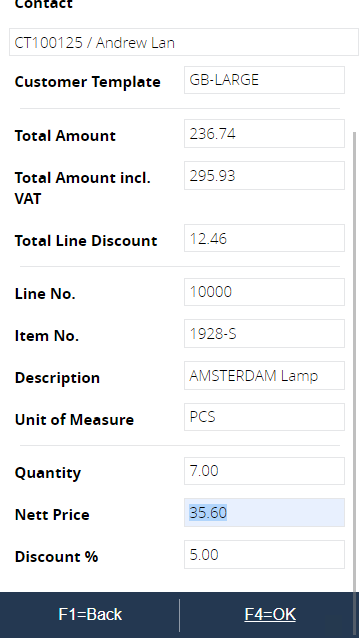
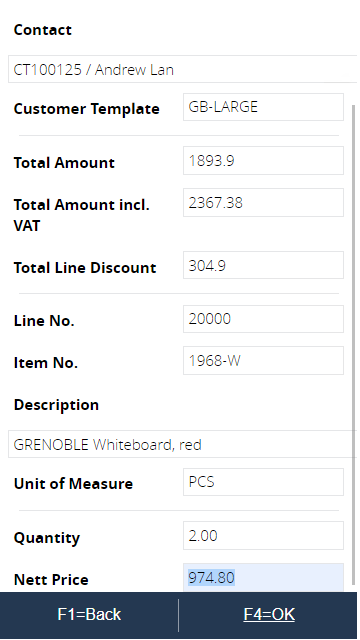
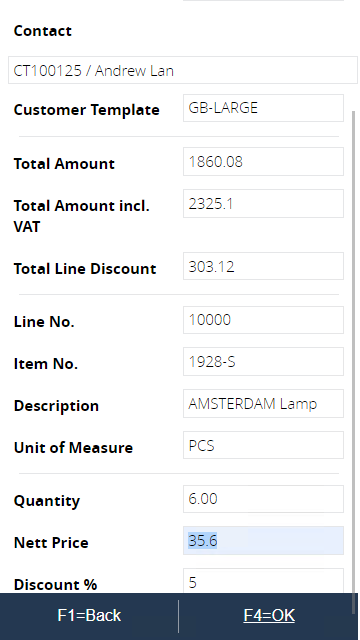
After entering the Quantity, the Net Price and Discount % are defaulted based on the updated sales quote line and the customer-specific price and discount list. The Total Quote Amount and Total Line Discount are calculated in the customer currency. Decide if the Net Price and/or Discount % needs to be changed, or accept the pre-defined values and press F4=OK.
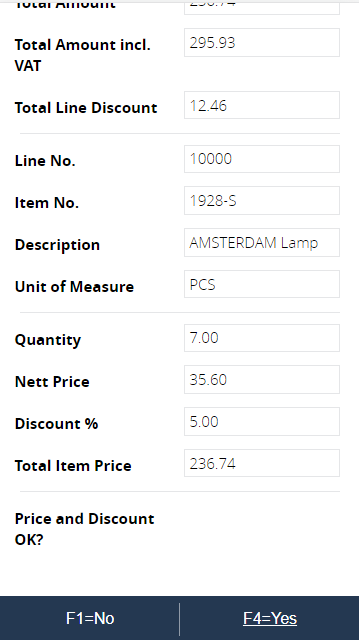
Confirm these values by pressing F4=Yes. If the price or discount is not correct, press F1=No to change and go back to step 27.
Enter another item (for example, 1968-W).
After pressing OK, a second sales quote line in Microsoft Dynamics BC is created with the item number defined.
To see the result in BC, go to Sales & Marketing > Order Processing > Sales Quotes, navigate to your sales quote, and double-click to show the detailed order line data.A second order line is created. The Item Number is filled in; the Quantity is still empty.
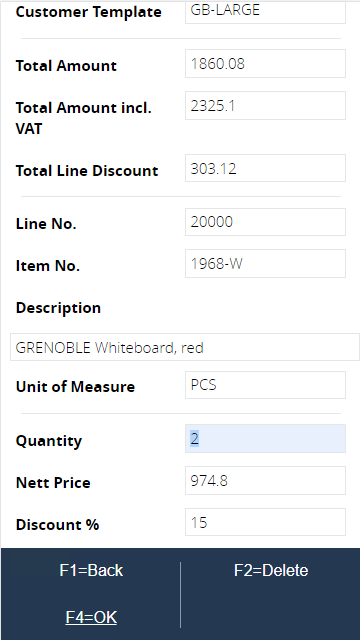
The item data is displayed. Enter the quantity of two.
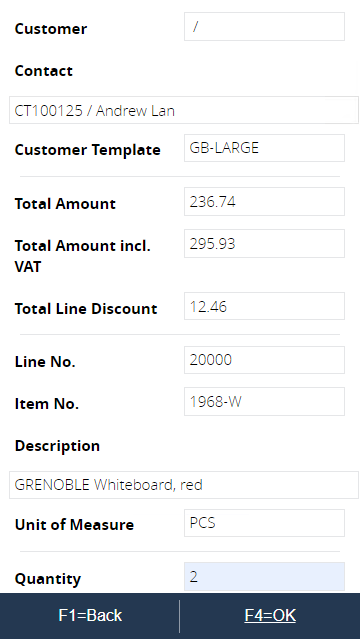
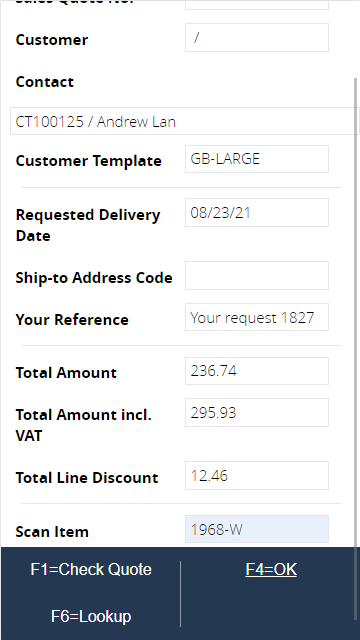
The system presents the price and discount. Confirm those. Note: the Total Amount and Total Line Discount are updated.
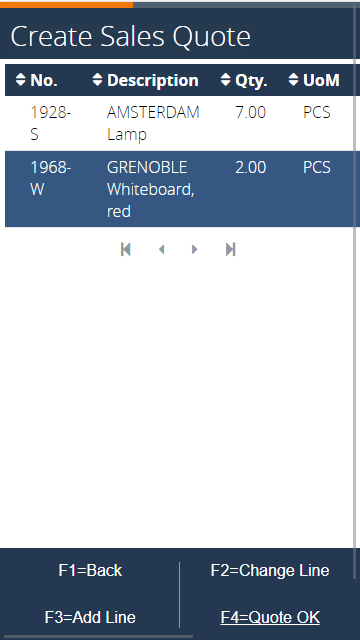
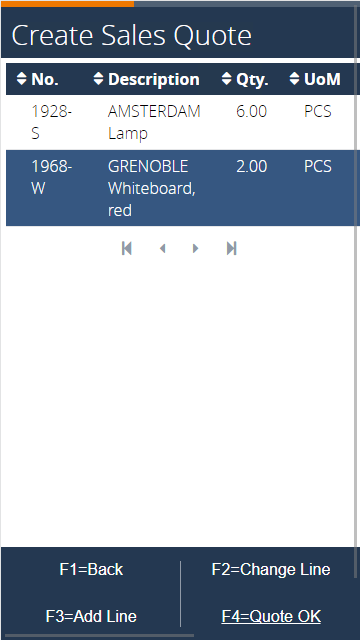
Press F7=Check Quote.
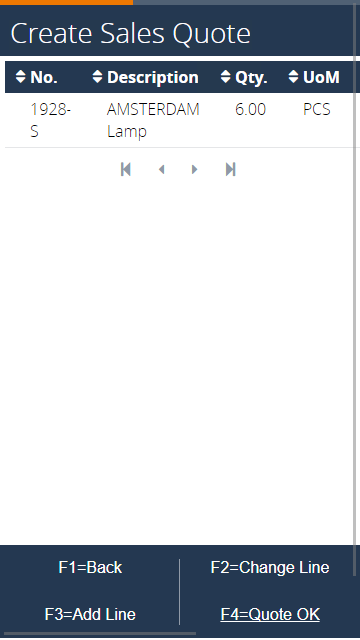
The next page appears. After selecting a line, one of the following functions can be executed: F2=Change Line to change or delete a line; F3=Add Line to add a new line; or F4=Quote OK to confirm the quote and return to the beginning of the process (step 2).
F2: Change Line
Select the first line and press F4=OK. Change the quantity to six.
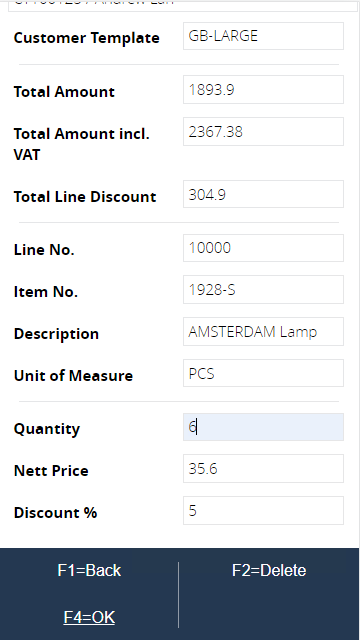
Press F4=OK and then change the Net Price and/or discount.
Press F4=OK and the next page appears. Select the last line.
Press F2=Change Line. Next, press F2=Delete.
The last line is deleted from the quote.
F3: Add Line
Press F3=Add Line. A new quote line can be added here. The flow returns to step 24.
When no new line should be entered, press F1=Check Quote. The next page appears.
Press F4=Quote OK to return to step 2 and leave the process.