ANY Process Demo: Purchase Receipt
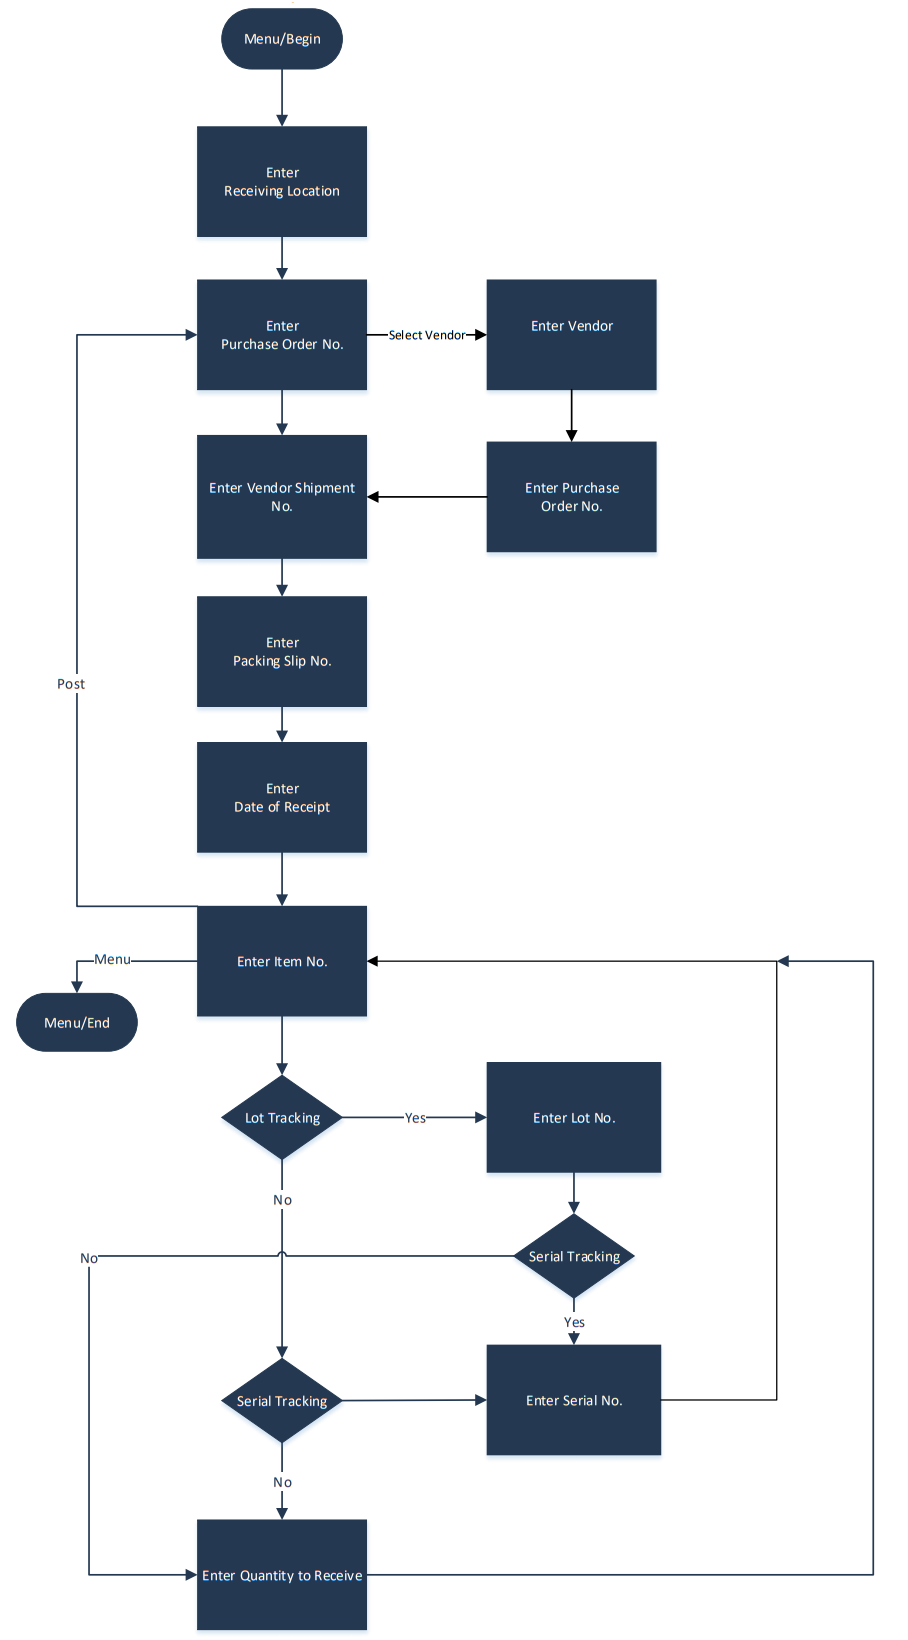
Overall process flow
The Purchase Order receipt process supports order-based goods receipt, without the use of bins and warehouse documents.
Steps
Make sure you have already set up the prerequisites for this process.
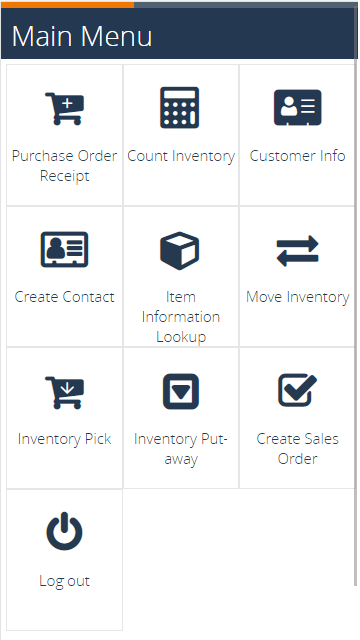
Select the Purchase Order Receipt menu button.
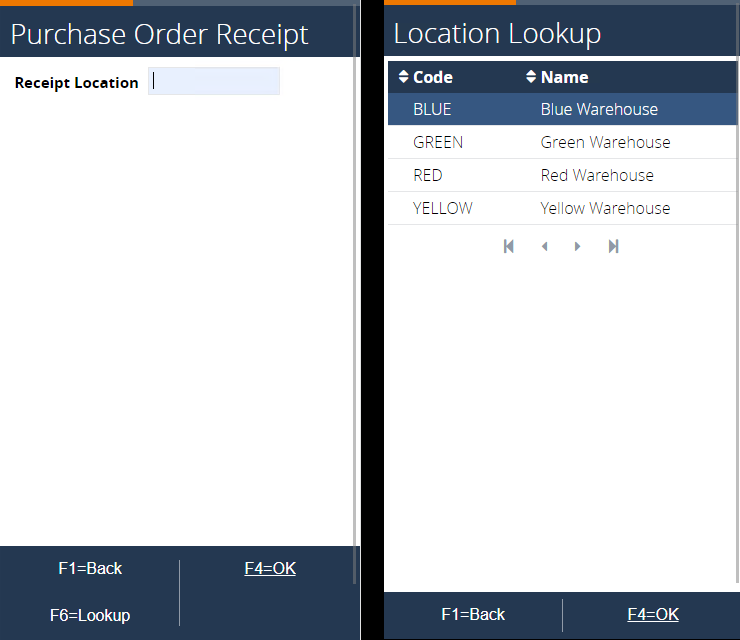
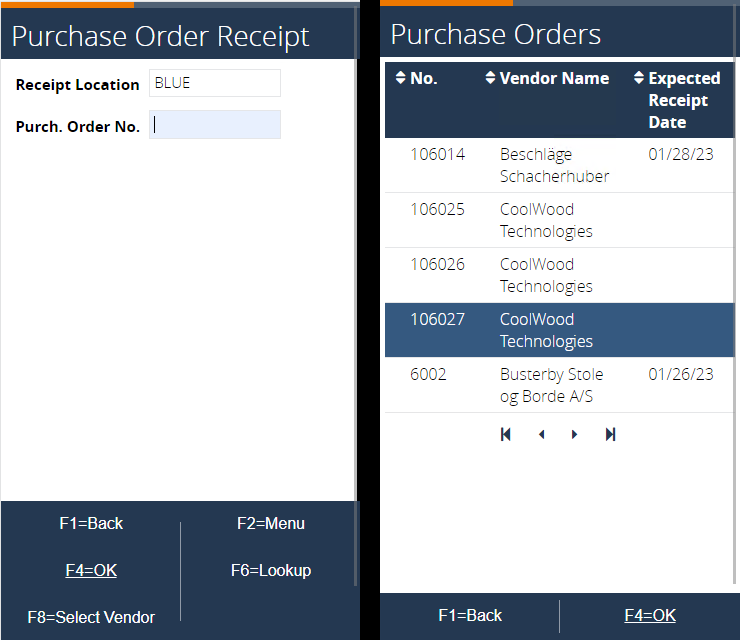
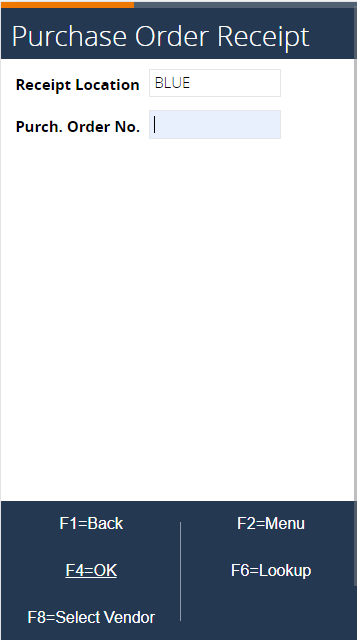
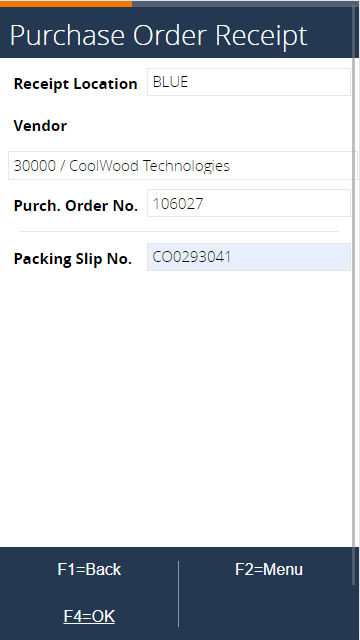
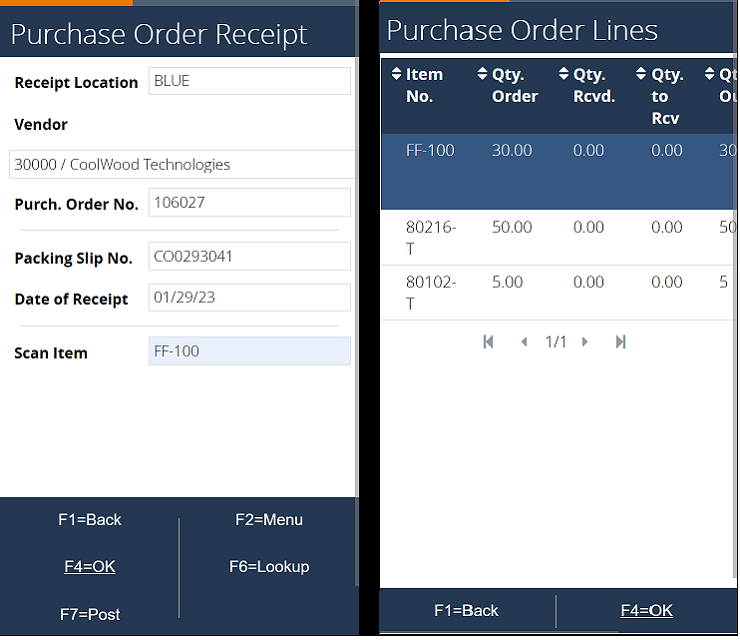
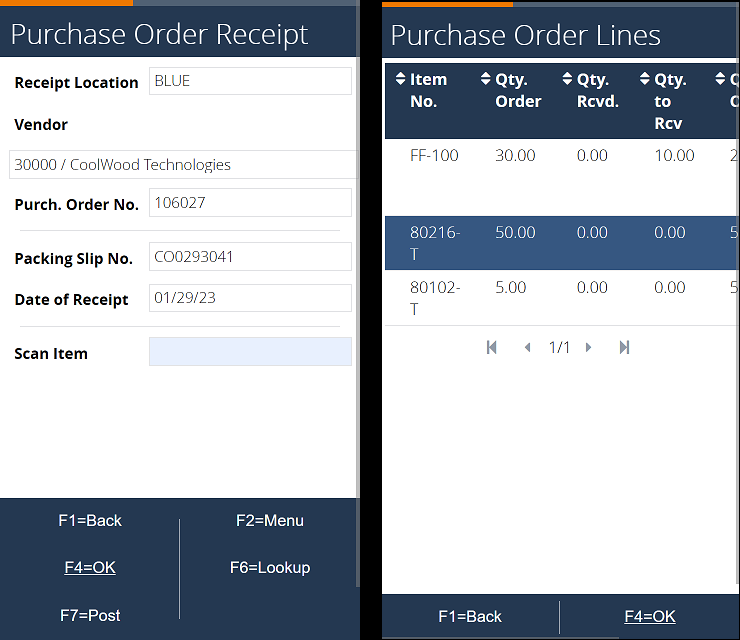
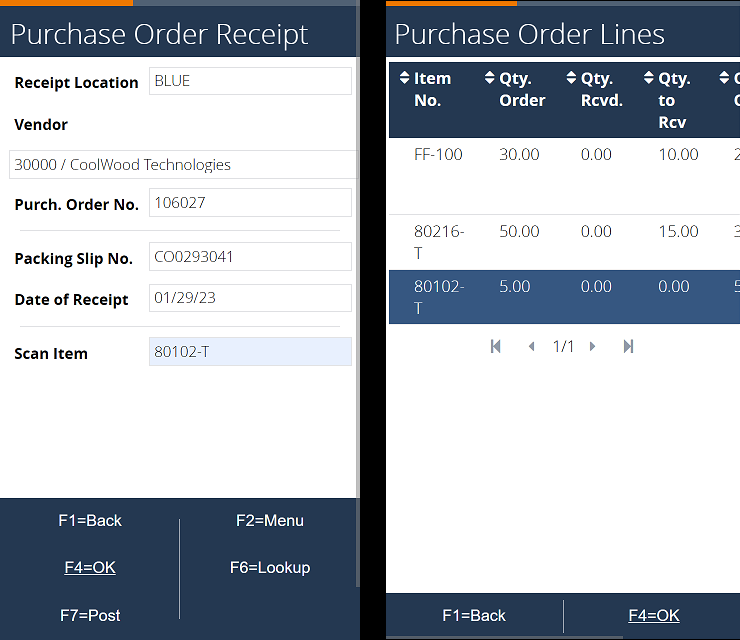
The following page appears. Enter location BLUE, or use F6=Lookup to select the location from a list. Confirm with F4=OK.
Enter the purchase order number or use F6=Lookup to view purchase orders not yet fully received. Confirm with F4=OK and continue with step 7, or go through F8=Select Vendor.
Intermezzo: Use of F8=Select Vendor
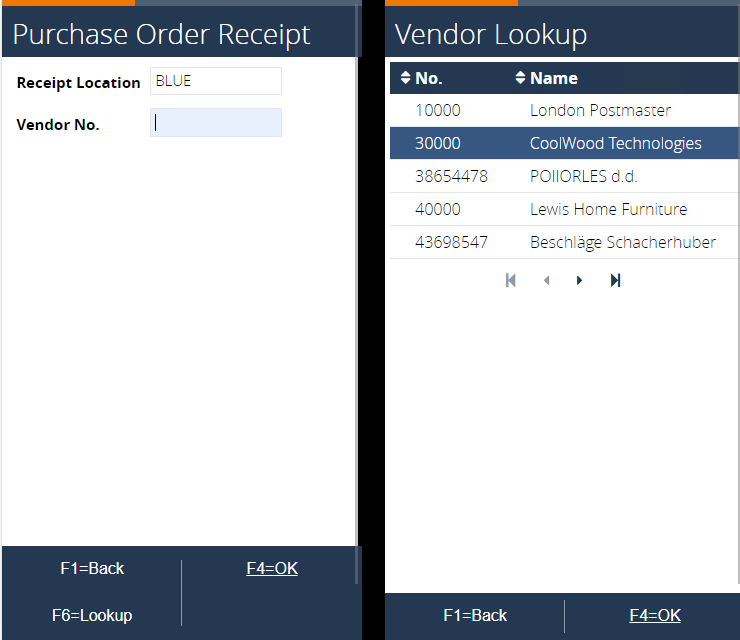
If the order number in the previous step is unknown, select a vendor to view their open orders. Press F8=Select Vendor.
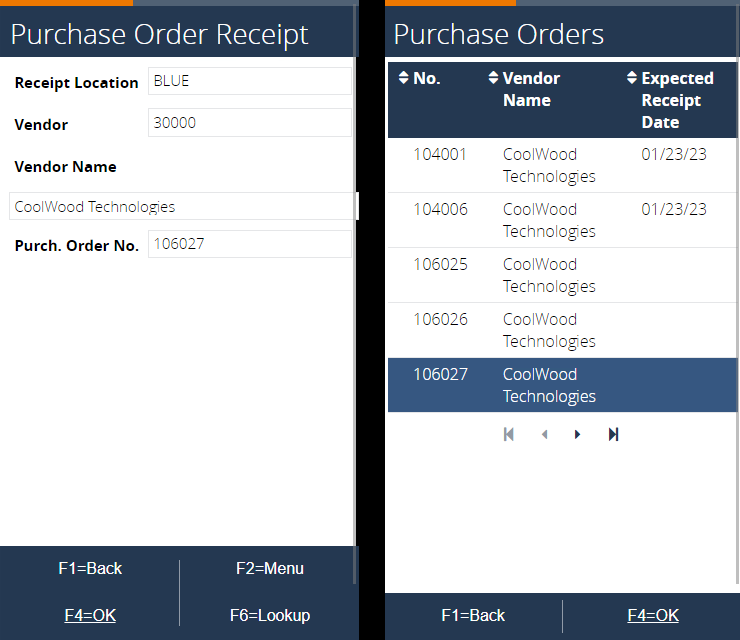
Enter vendor number 30000 Coolwood Technologies, or press F6=Lookup to select the vendor from a list. This list contains only vendors with open orders. Confirm with F4=OK.
In the next page, enter the order number from the vendor, or use F6=Lookup to show the list of open orders from the previously selected vendor.
Order details
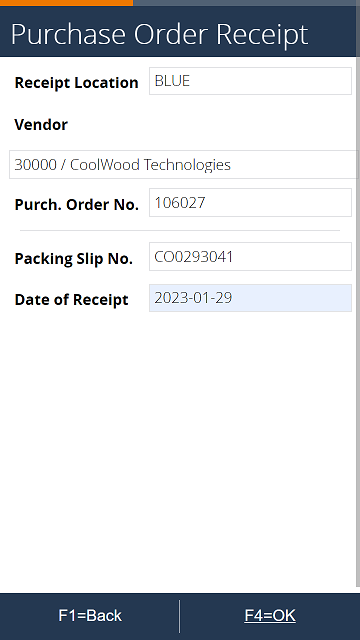
Enter a packing slip number and confirm with F4=OK.
Next, enter the receipt date. The current date is shown by default. Confirm with F4=OK.
After confirming the receipt date, the purchase order header in Microsoft Dynamics BC is updated.
 To see the result in BC, open your purchase order. The Posting date is populated with the entered receipt date. The Vendor Shipment No. is updated with the packing slip number.
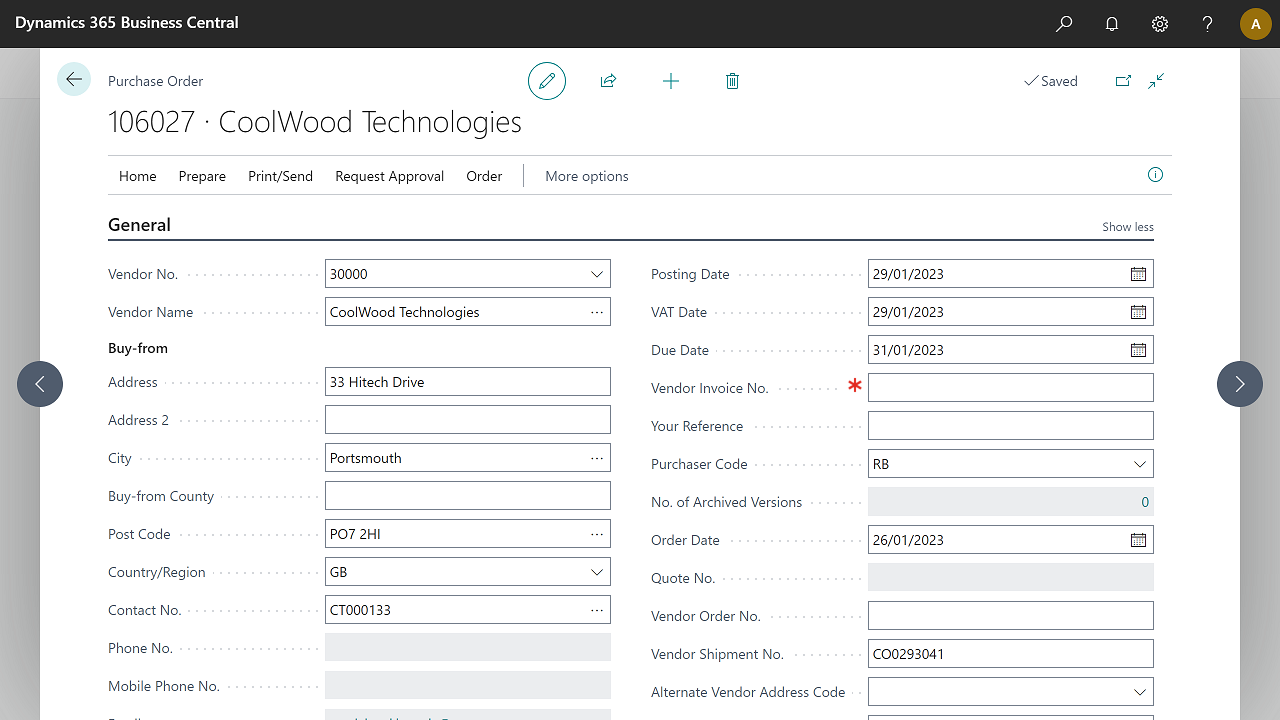
Order lines
The next pages handle the order lines. Scan an incorrect item number (for example, 70003) and confirm. Notice the error message.
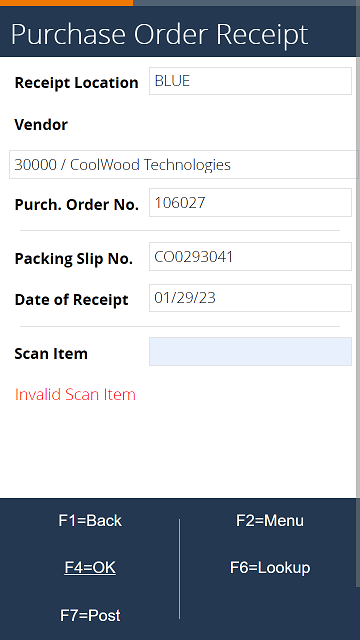
Enter a valid item number, or use F6=Lookup to show the order lines. Confirm with F4=OK. Select the first line, FF-100, which is not tracked.
The next page requests the quantity to receive. Enter a quantity larger than ordered.
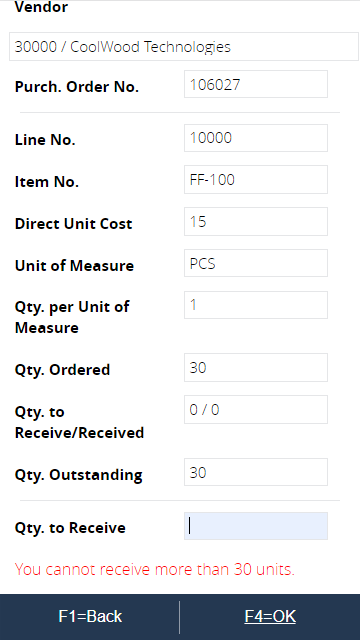
Enter a quantity to receive of 10 and continue with F4=OK.
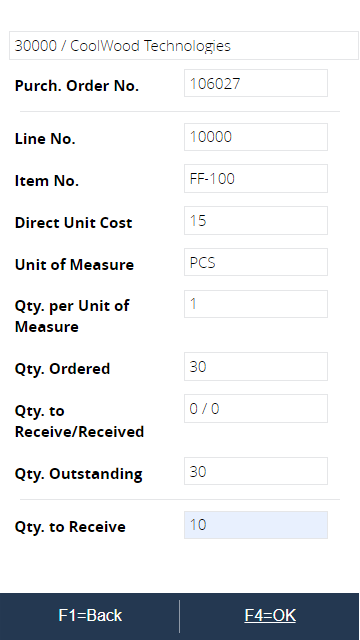
After confirming the quantity, the purchase order line is updated.
To see the result in BC, got to the purchase order line. It is updated with the entered quantity.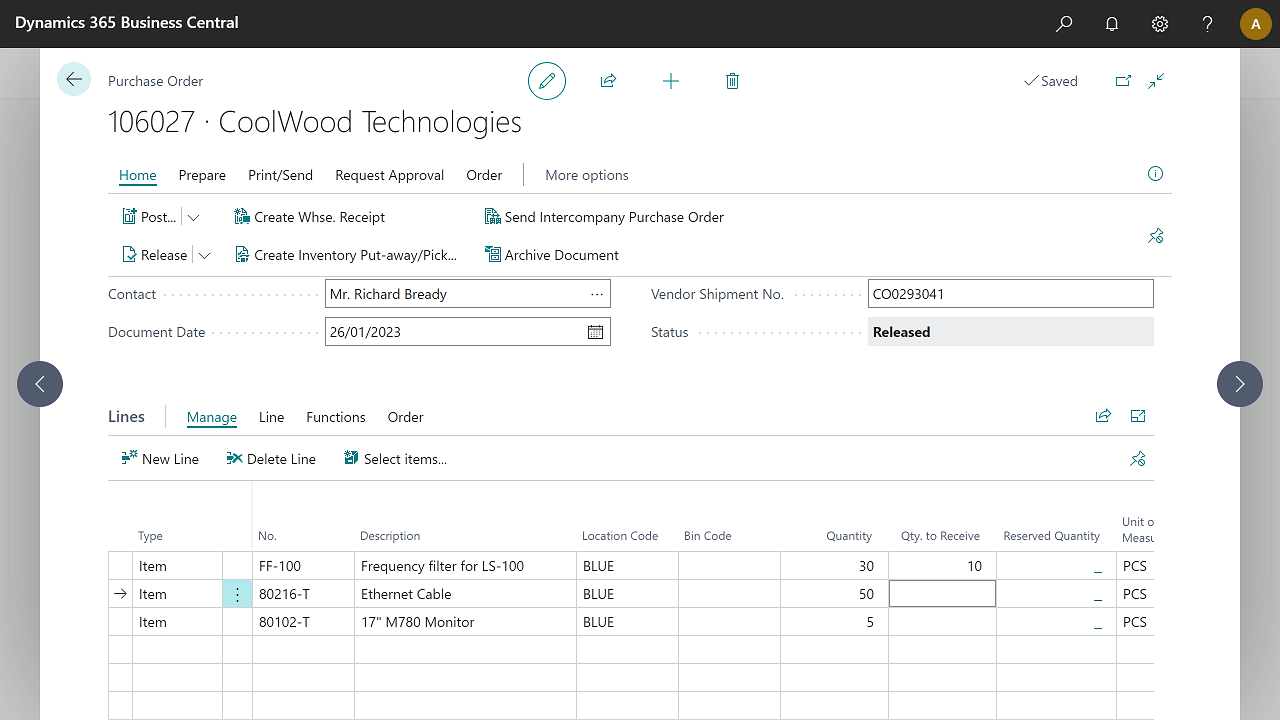
The process returns to the scan item step, allowing the next line to be handled. Press F6=Lookup to view the order lines. Notice that the Qty. to Receive and the Quantity outstanding are updated.
Item tracking
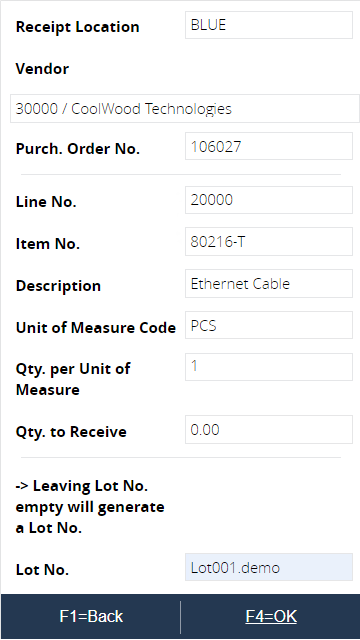
The next step asks for the lot number. Enter one (Lot001.demo) or leave it blank to generate a new lot when updating the line. Press F4=OK to continue.
After the lot number, enter the quantity. Enter a quantity of 15 and press F4=OK to proceed.
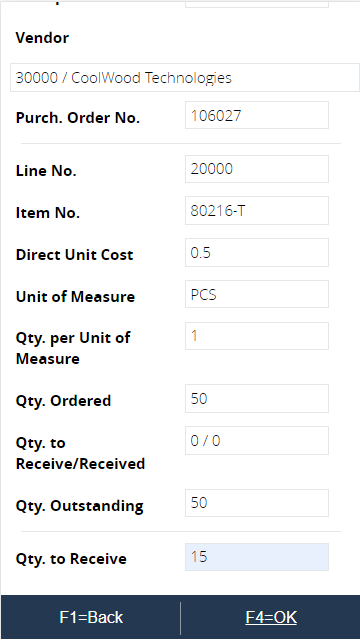
When the quantity is confirmed, the purchase order line is updated.
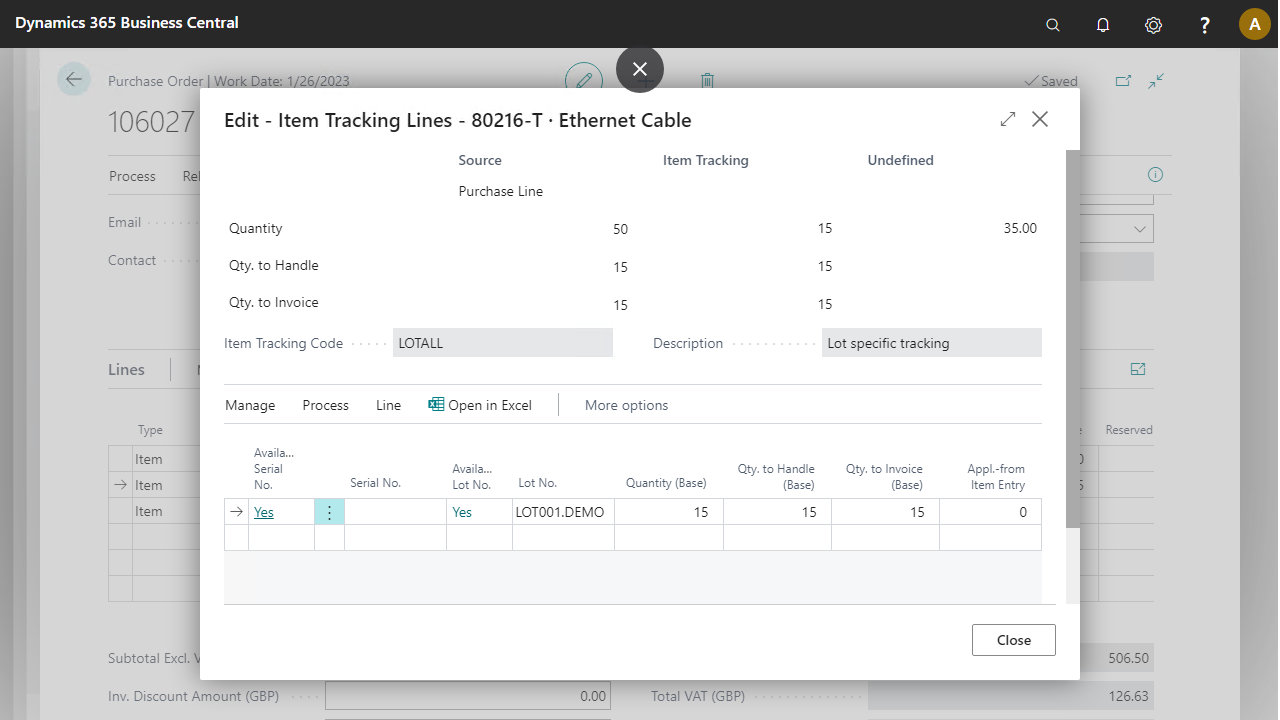
To see the result in BC, select the second line and in the subpage line items, select Item tracking lines to show the related item tracking lines.
The item tracking window shows the same amount assigned to the entered lot.
The process returns to the scan item step. Enter item 80102-T or select it from the lookup activity.
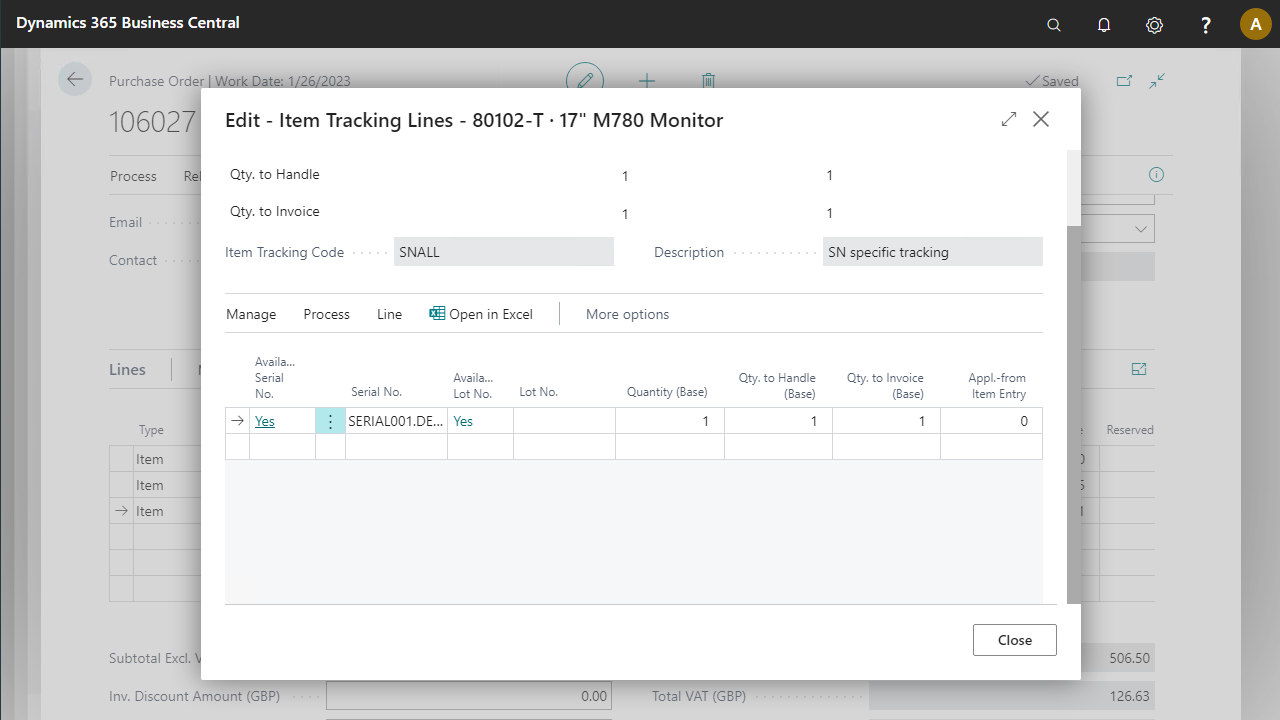
The next step asks for the serial number. Enter one (Serial001.demo) or leave it blank to generate a new serial number when updating the line. Press F4=OK to continue.
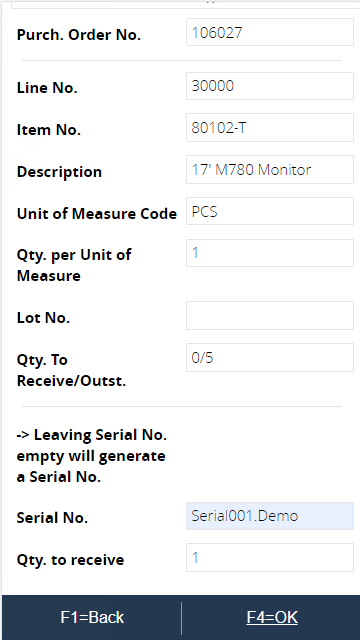
After confirming the serial number, the purchase order line is updated.
To see the result in BC, select the third line and in the subpage line items, select Item tracking lines to show the related item tracking lines.The item tracking shows that the new serial number is added.