ANY Process Demo: Create Sales Order
Overall process flow
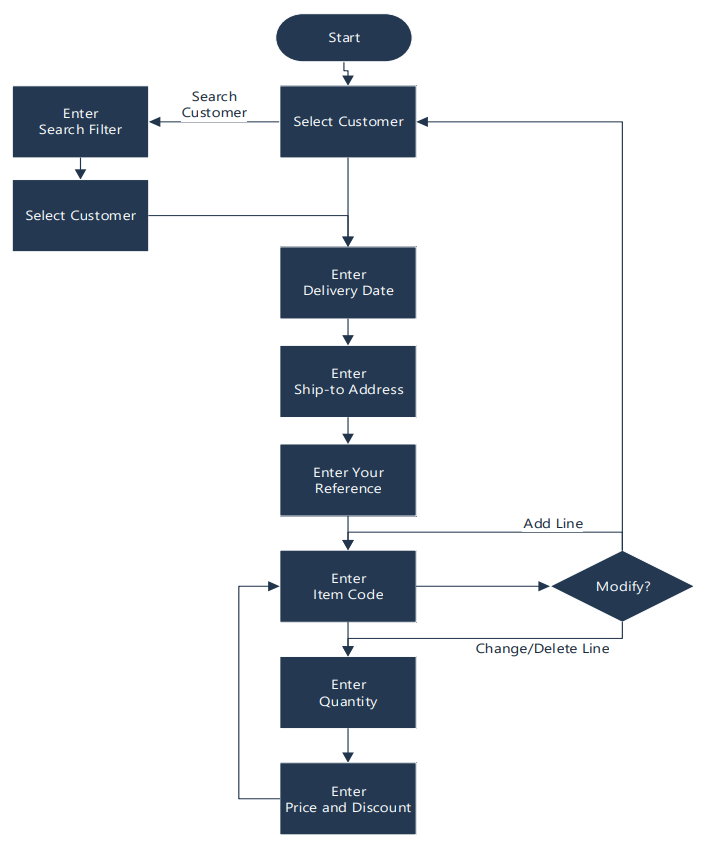
The Create Sales Order process supports the creation of a new sales order in Microsoft Dynamics BC, using customer-specific price and discount agreements.
After selecting a customer by number or by searching in the customer list with a search filter at the customer name, enter a delivery date and optionally a delivery address. A sales order header is then created in Microsoft Dynamics BC. The order reference can be entered.
Next, create sales order lines by entering the item code, quantity, price, and discount. The process always shows the total order amount and total discount amount.
After entering the quantity of an item, an inventory availability check is performed.
Finally, after entering all sales order lines, an overview of the lines is shown. Lines can be added, changed, or deleted. After confirmation of the lines, the next sales order can be entered.
Steps
Creating a sales order with lines
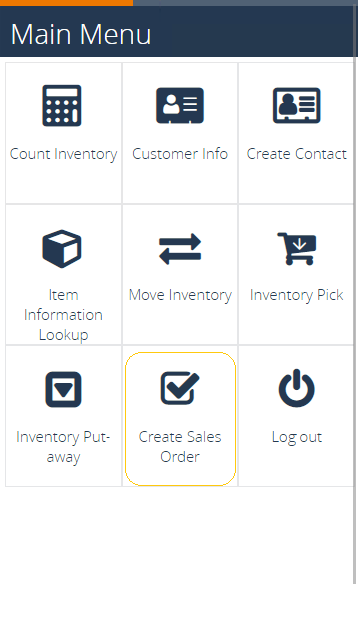
After logging in, select the Create Sales Order menu button.
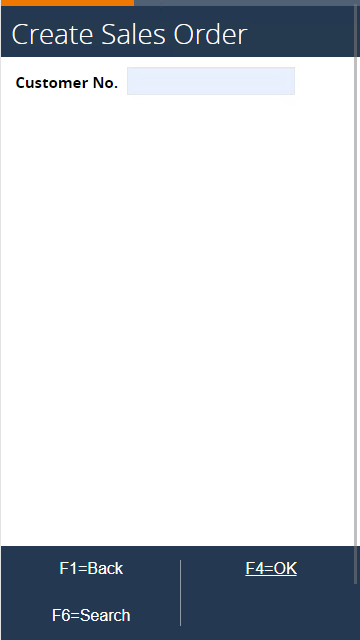
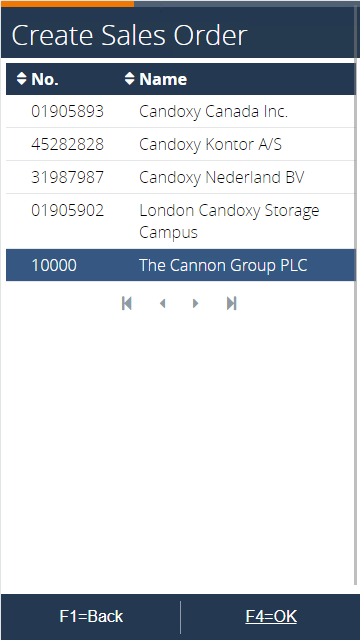
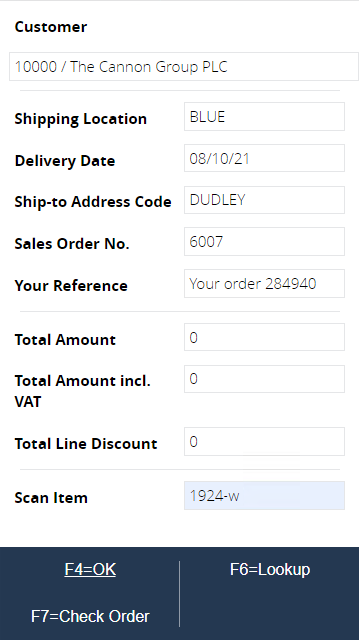
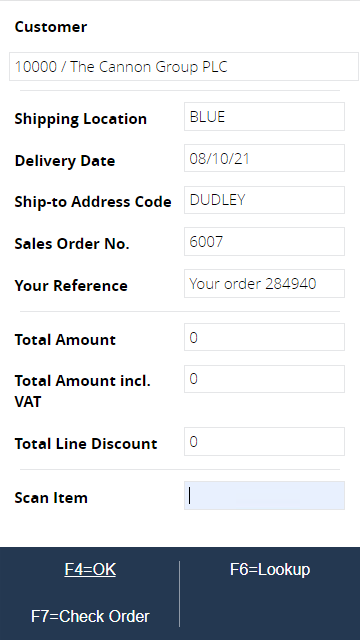
The next page appears. Scan the customer number. For now, use F6=Search to find the customer.
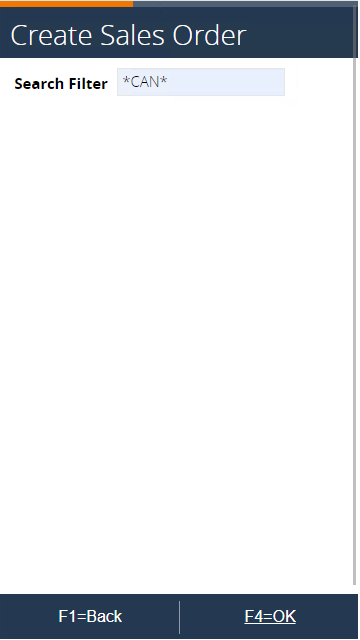
Enter a search filter to search for the customer and press F4=OK to proceed.
Select the customer (The Cannon Group PLC) and press F4=OK.
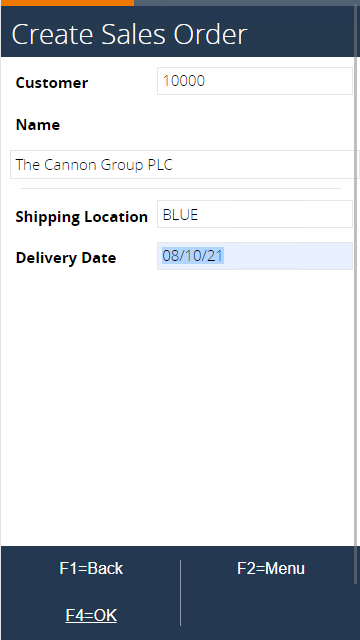
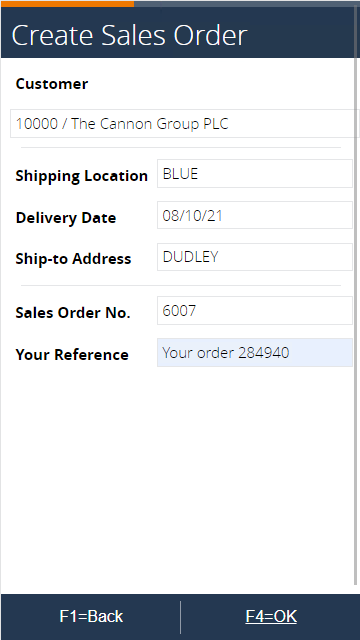
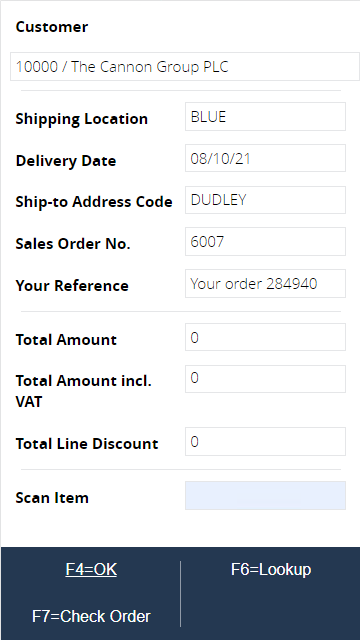
Enter the Delivery Date and confirm by pressing F4=OK. Notice the shipping location is displayed. This default comes from the Customer card under the Shipping fast tab.
Optionally enter a Ship-to Address. Press F6=Lookup to view a list.
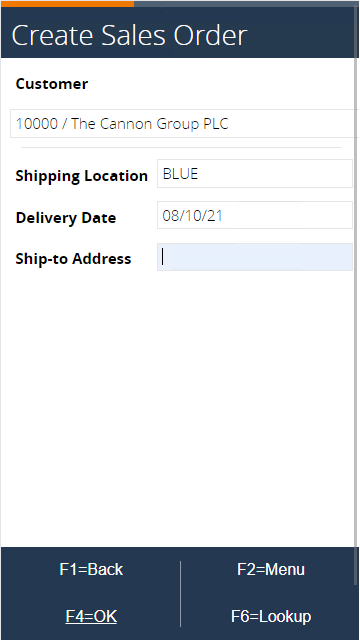
Select any address from the list and confirm with F4=OK.

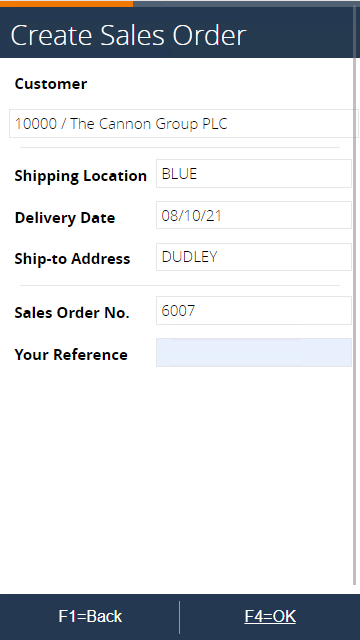
After pressing F4=OK, a new sales order is created in Microsoft Dynamics BC. The order number is generated based on the Number Series S-ORD-D, defined in the mobile process configuration (see connection SLSORDERHEADERCREATE).
The sales order header in Microsoft Dynamics BC is created based on the customer master data and the entered data.
 To see the result in BC, go to Sales & Marketing > Order Processing > Sales Orders and navigate to the last sales order.
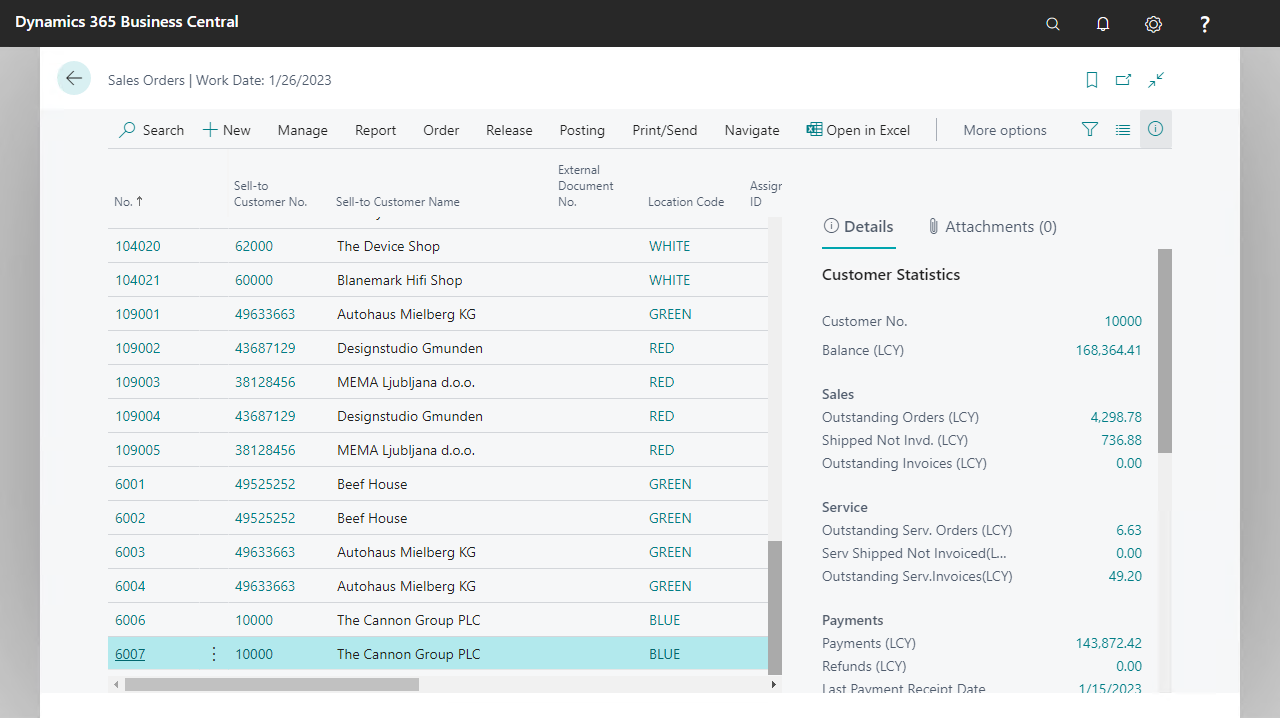
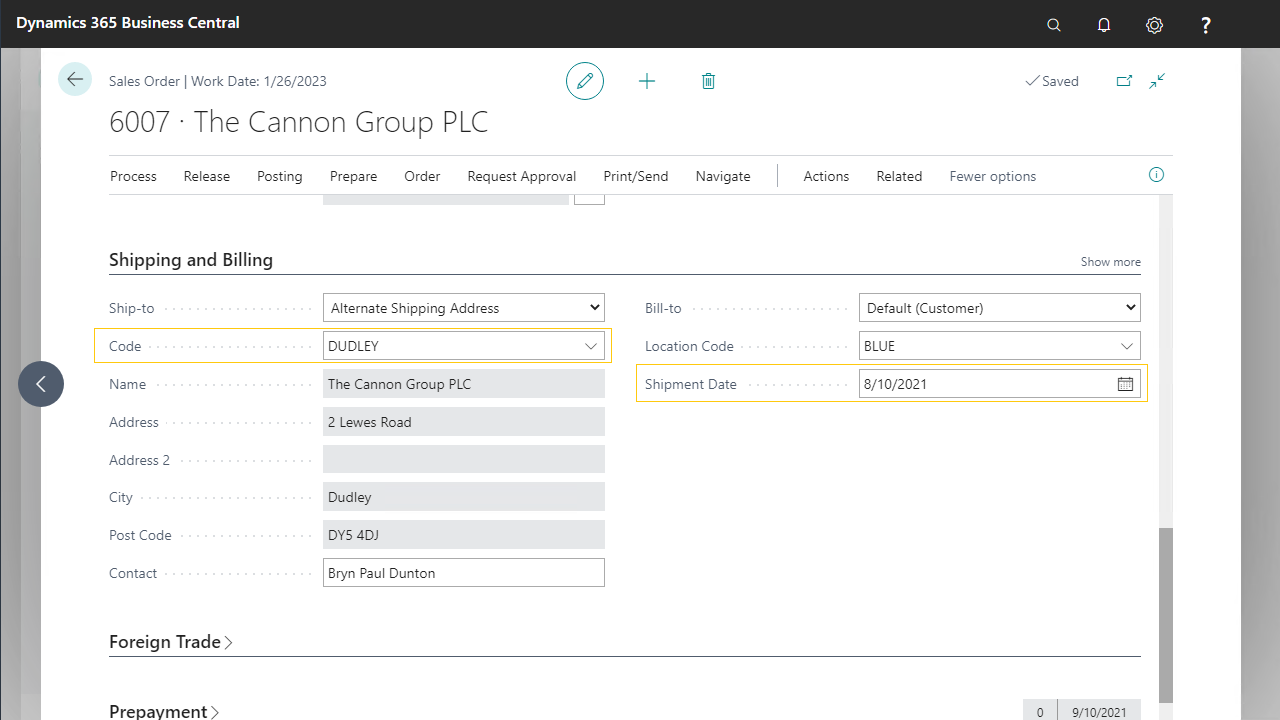
Double-click on that line, or select edit/view in the ribbon to show the detailed order data. The Ship-to Code, address information, and Shipment Date are populated with the entered data.
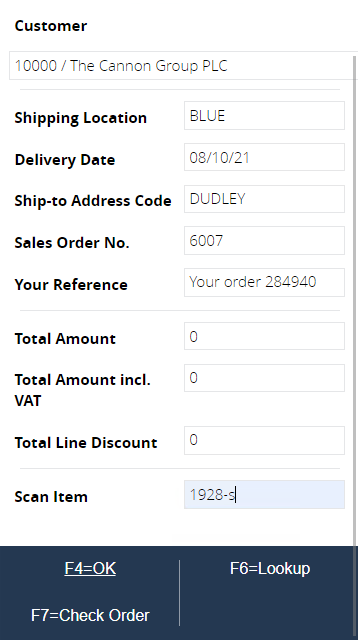
Enter the reference field. After pressing F4=OK, the system updates the Your Reference field (hidden field) of the sales order in Microsoft Dynamics BC.
New sales lines can now be created.
Enter item number 1928-s (or use F6=Lookup to get a list of items).
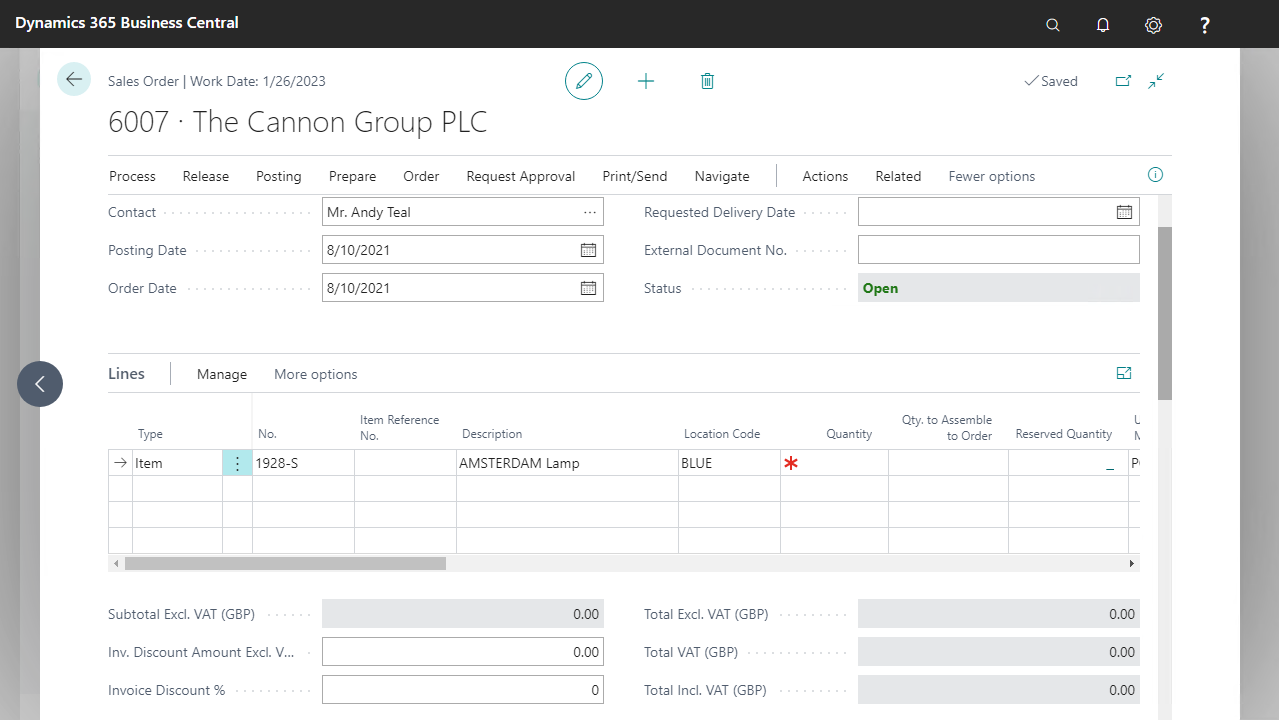
After pressing F4=OK, a new sales order line in Microsoft Dynamics BC is created with the item number defined.
To see the result in BC, go to Sales & Marketing > Order Processing > Sales Orders, navigate to your sales order, and open the card page.The Item number and Location Code are filled in; the Quantity is still empty.
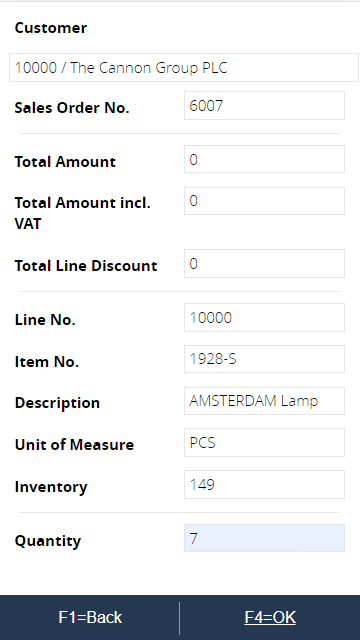
In the Factbox of the Sales Line Details, the availability is shown. This is also displayed on the next page.
Enter the quantity of the item (for example, seven) and confirm with F4=OK.
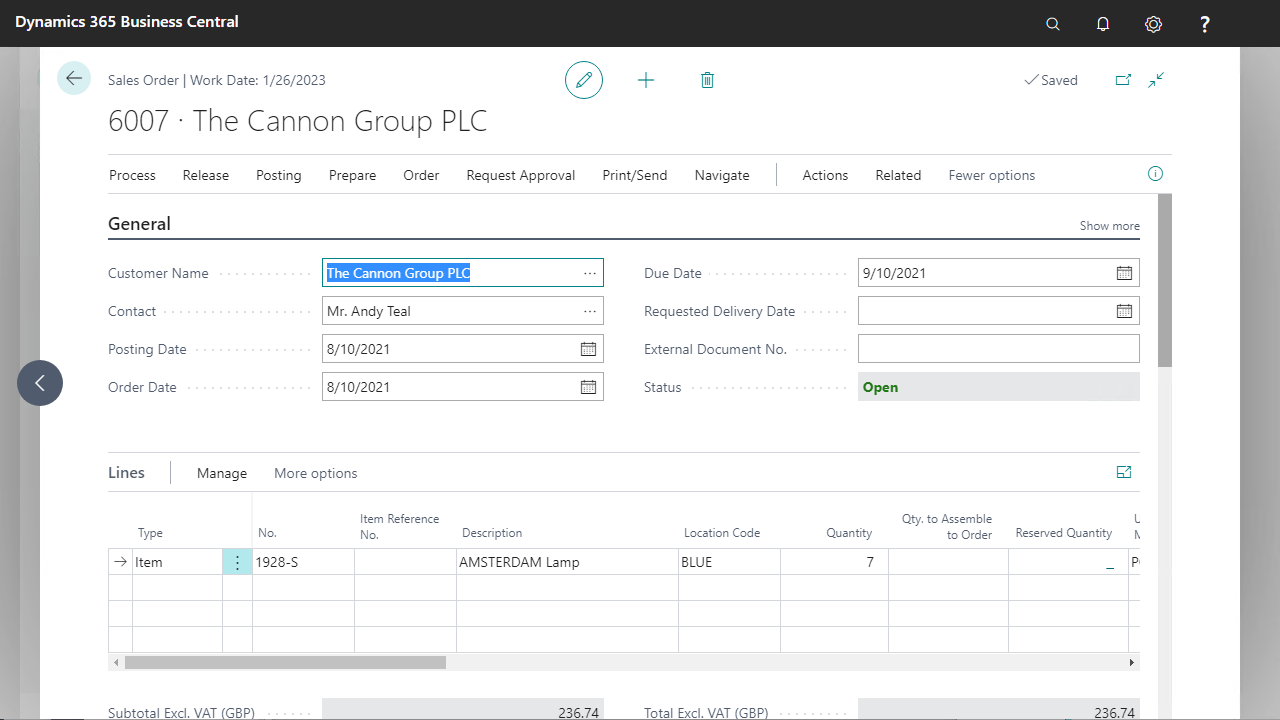
After you confirm the quantity, the system updates the current sales order line in Microsoft Dynamics BC.
To see the result in BC, go to Sales & Marketing > Order Processing > Sales Orders, navigate to your sales order, and open the card page.The system now updates the Quantity and fills the Unit Price and Line Discount fields as well. By updating the Quantity in the mobile process, the system updates these price and discount fields because of the validation rules of the Sales Line table in Microsoft Dynamics BC.
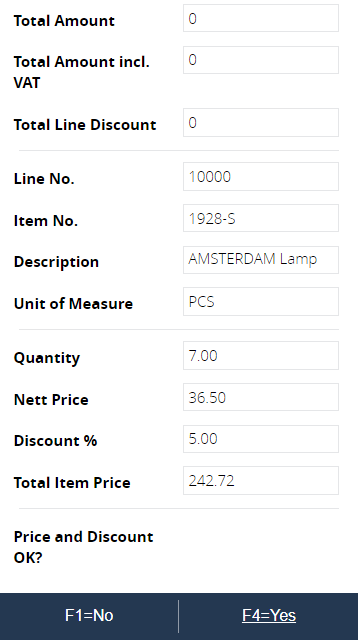
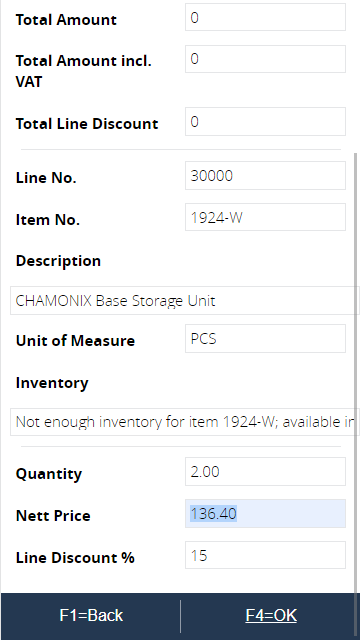
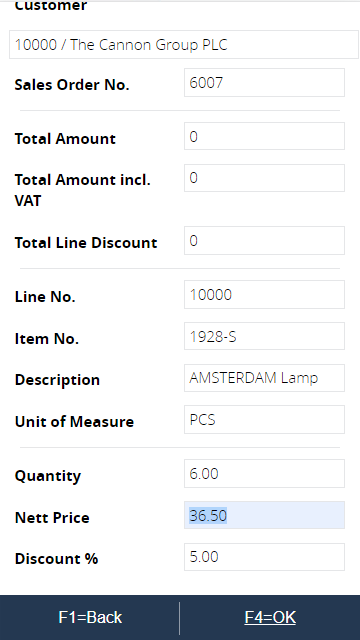
After entering the Quantity, the Net Price and Discount % are defaulted based on the updated sales order line and the customer-specific price and discount list. Change the price and discount as needed.

The last step is confirming the entered data. Press F4=Yes to confirm, or F1=No to change and go back to step 13.
Enter another item (for example, 1968-W) to add a new sales line to the order.
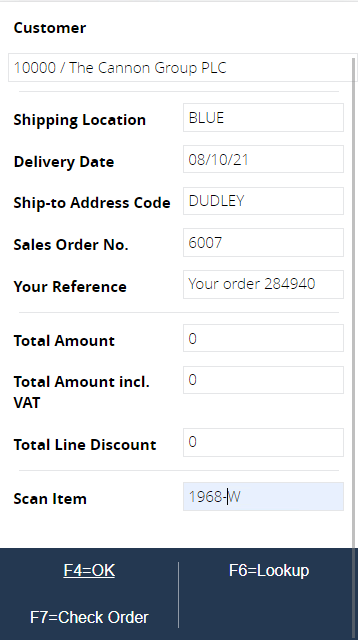
After pressing F4=OK, a second sales order line in Microsoft Dynamics BC is created with the item number defined.
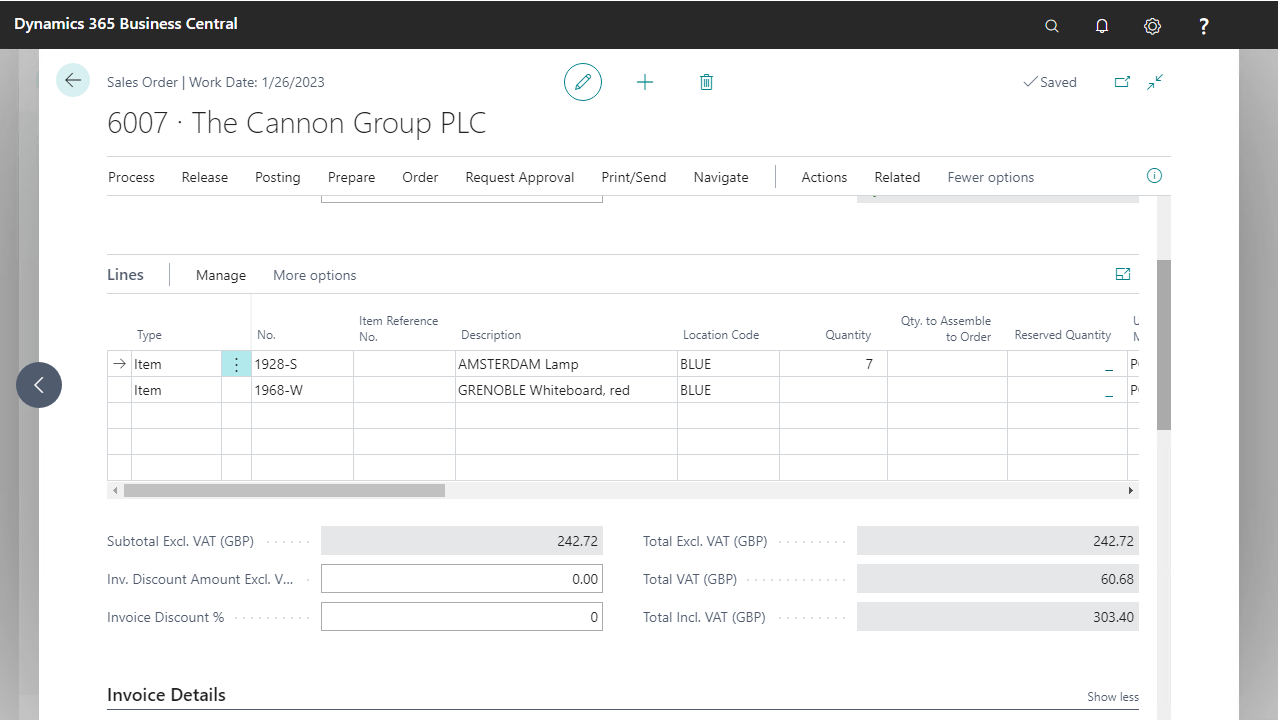
To see the result in BC, go to Sales & Marketing > Order Processing > Sales Orders, navigate to your sales order, and open its card page.The Item No. and Location Code are filled in; the Quantity remains empty.
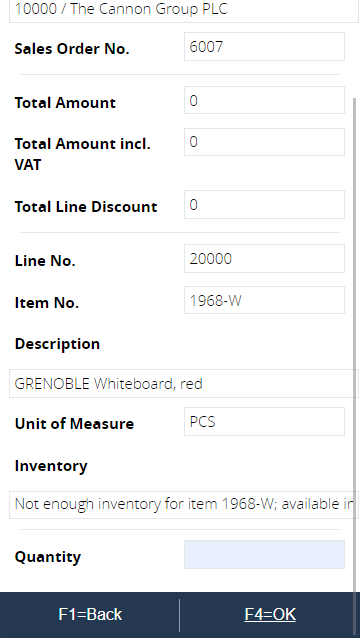
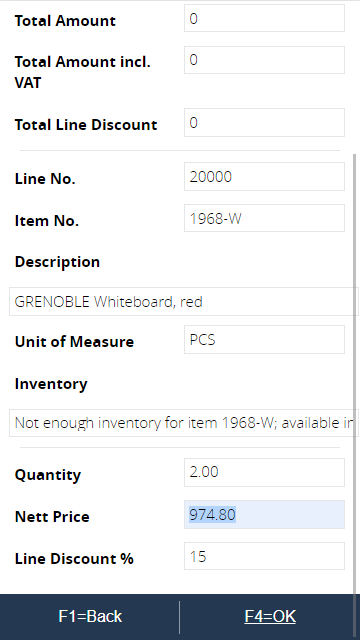
The item data is displayed. A warning alerts the user that the item is not available at the current moment on location BLUE. Enter the quantity of two and confirm with F4=OK.
The system presents the price and discount. Confirm these also with F4=OK (three times). Notice the total amount and discount are updated.
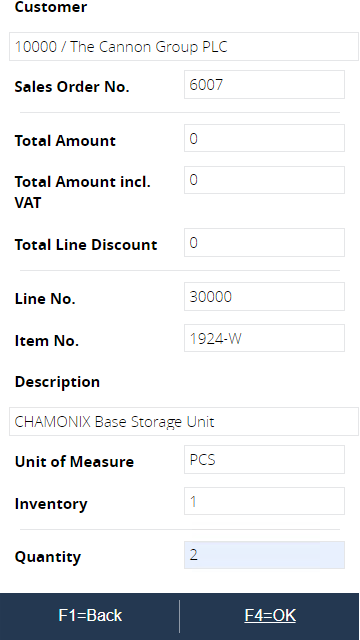
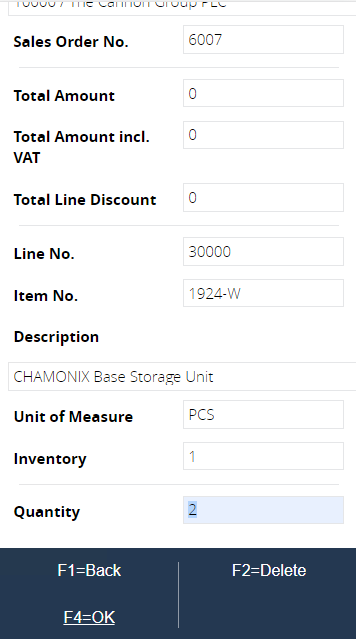
Enter item code 1924-W and confirm again with F4=OK.
Enter a quantity of two.
The current inventory is insufficient and a warning is displayed. Confirm the price and discount.
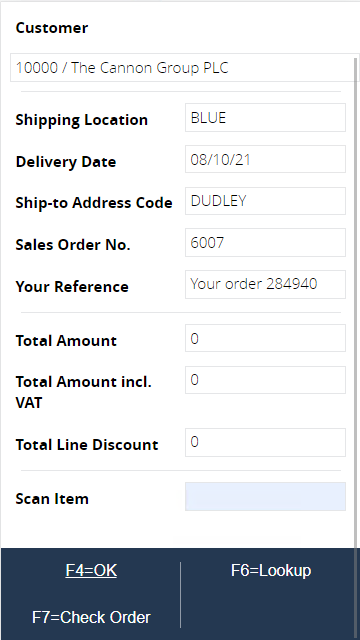
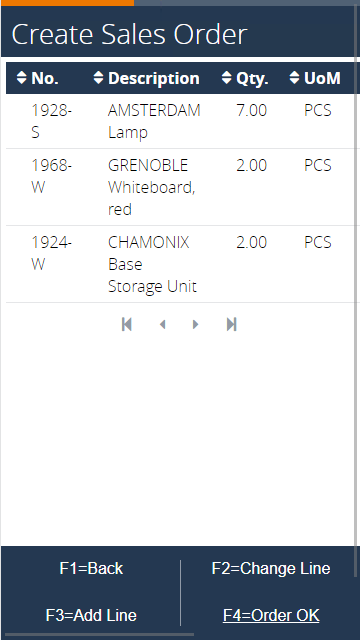
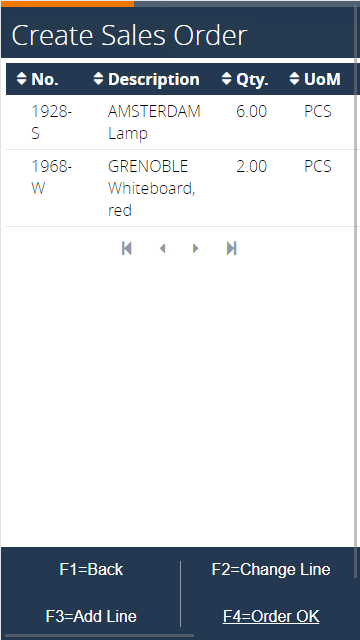
Press F7=Check Order to review the created lines in the process.
The following page appears. After selecting one of the lines, the following actions can be performed: F2=Change Line to modify or delete a line; F3=Add Line to add a new line to the order; or F4=Order OK to confirm the order is completed and return to the start of the process (step 2).
F2: Changing or deleting a line
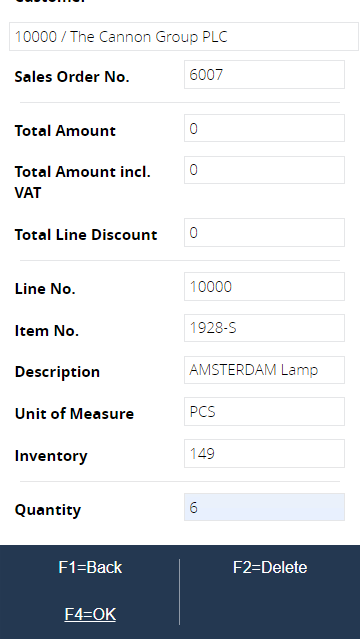
Select the first line and press F2=Change Line. In the following page, change the quantity to six. Confirm with F4=OK.
The following page allows you to change the Net Price and discount.
After confirming the changes, the check order page is displayed again. Select the last line and press F2=Change Line.

The next page appears. Press F2=Delete Line to remove the line from the order.
After removing the line, the order overview is displayed again.
F3: Adding a new line
Press F3=Add Line. The scan item page appears (see step 13).
When no new line should be added, press F7=Check Order. The previous page appears.
Press F4=Order OK to confirm that the order is completed, ending at step 2. Afterwards, press F1=Back to leave the process.