ANY Process Demo: Create Contact
Overall process flow
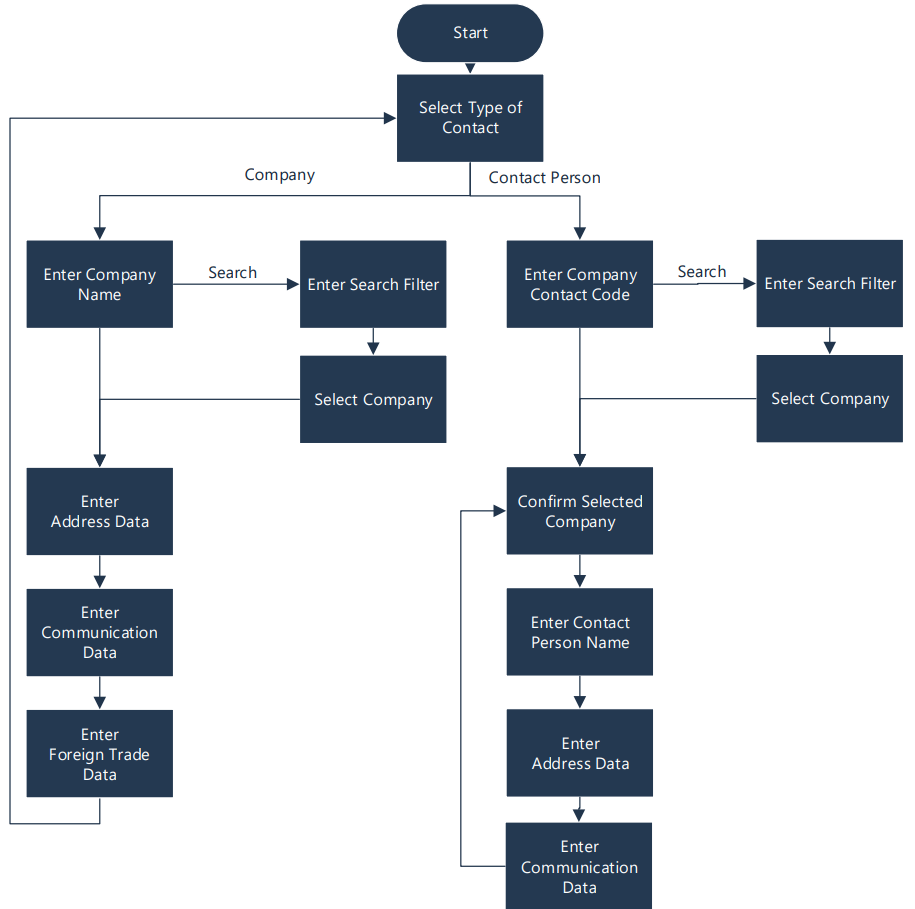
The Create Contact process supports the creation and maintenance of a contact as a company and/or as a contact person:
- Company: After selecting the type of contact, the user can search for existing companies or enter the name of a new company to add. Then address, communication, and foreign trade data should be filled out.
- Contact Person: Whether entering a new contact person or maintaining one, identify the company for the person first. After that, enter the data for a new or existing contact.
Steps
Make sure you have already set up the prerequisites for this process.
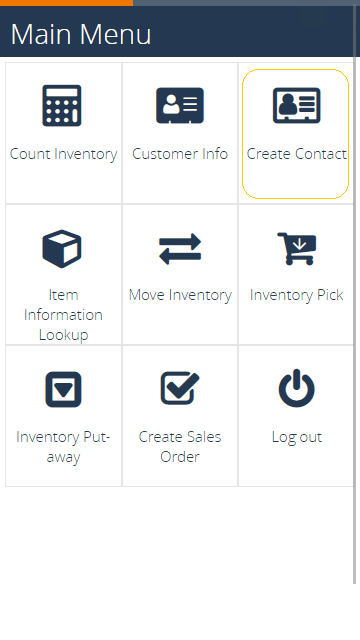
After logging in, select the Create Contact menu button.
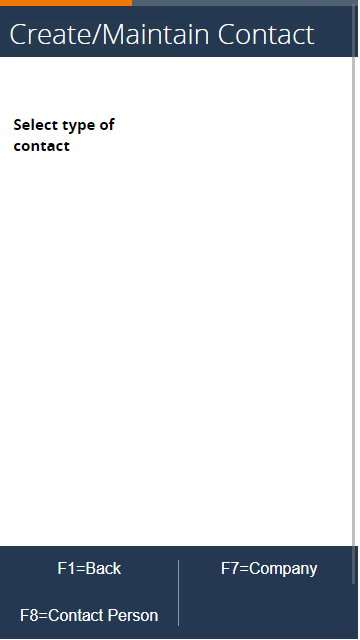
The next page appears. Press F7=Company to continue.
Companies
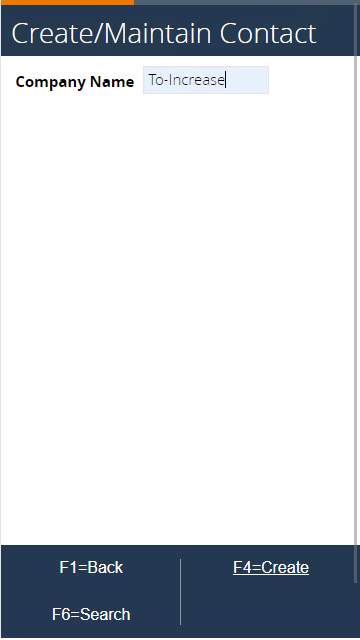
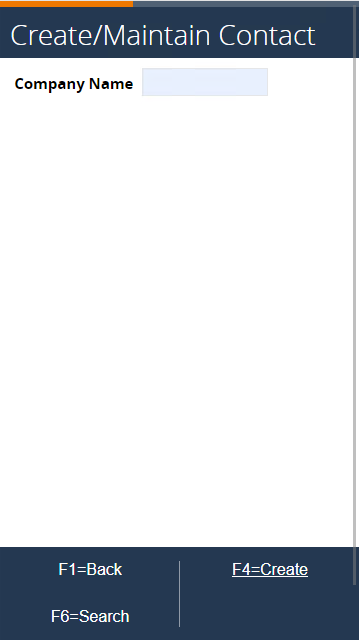
Enter a name to add a new contact of type company and press F4=Create to continue.
After pressing F4=Create, a new contact of type Company is created in Microsoft Dynamics BC.
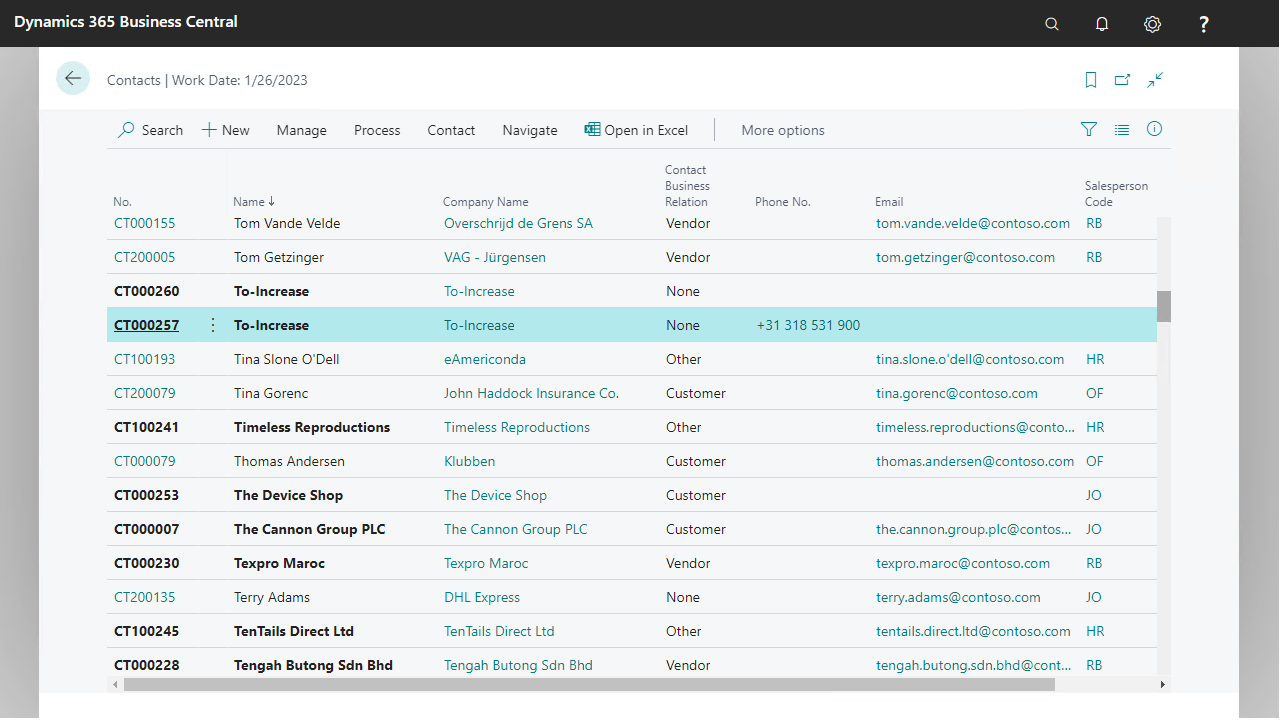
 To see the result in BC, go to Sales & Marketing > Sales > Contacts and search for your contact from step 3.
Notice that when a new contact is created, a new contact number is used from the number series and the name is populated.
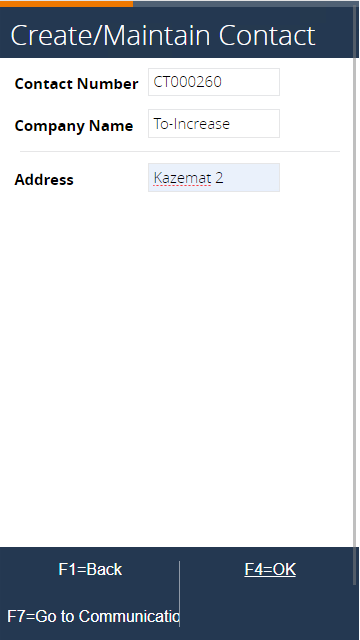
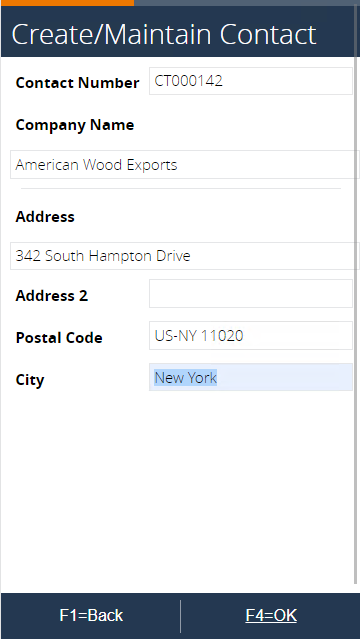
In the mobile client, enter the address (mandatory). Press F4=OK to continue. (F7=Go to Communication Data skips the entire address section and continues with step 11.)
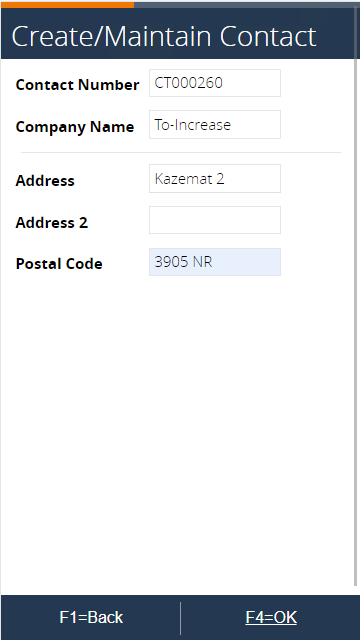
Enter the optional address 2 field and confirm with F4=OK.

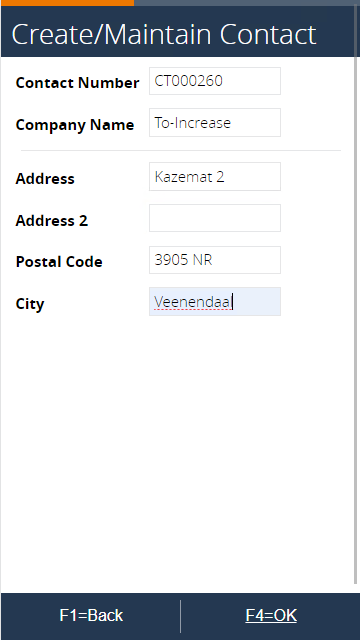
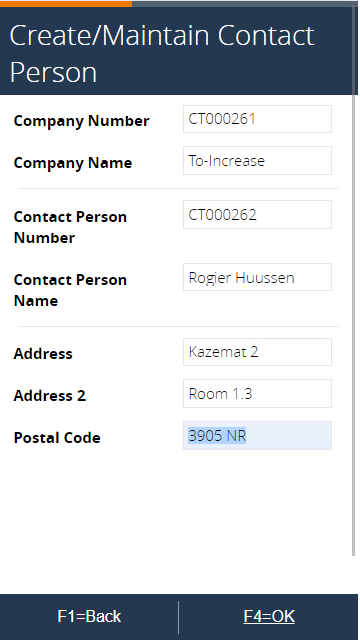
Enter the postal code of the company (mandatory field) and continue with F4=OK.
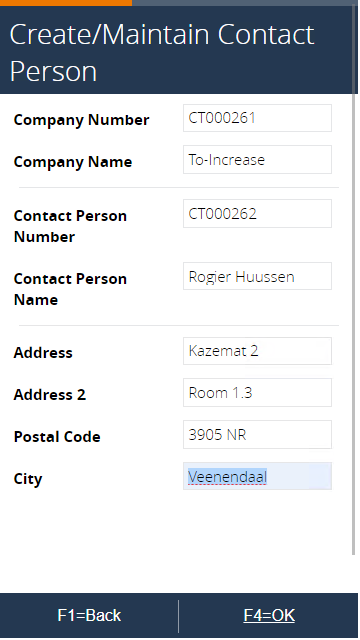
Enter the city from the contact and confirm with F4=OK.
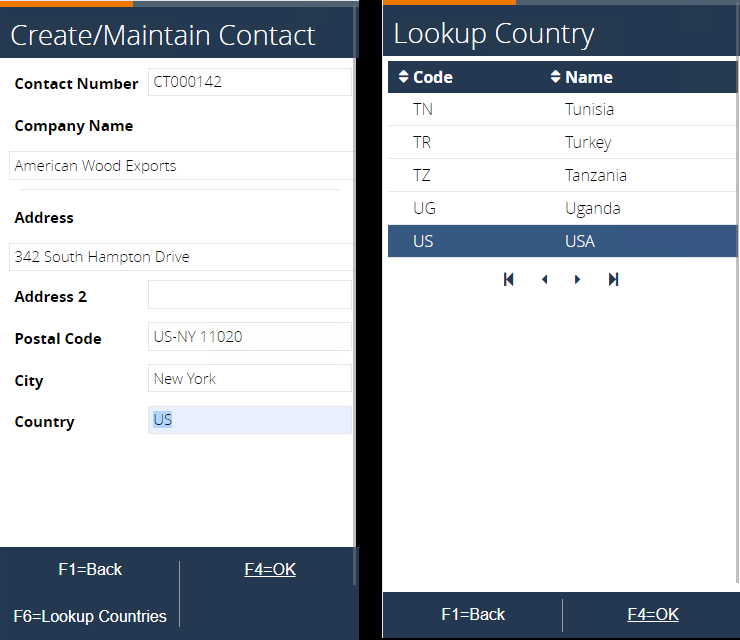
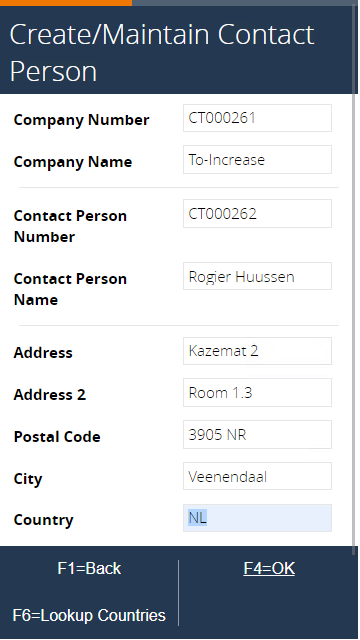
Optionally enter the country, or use F6=Lookup Countries to show a list to choose from.
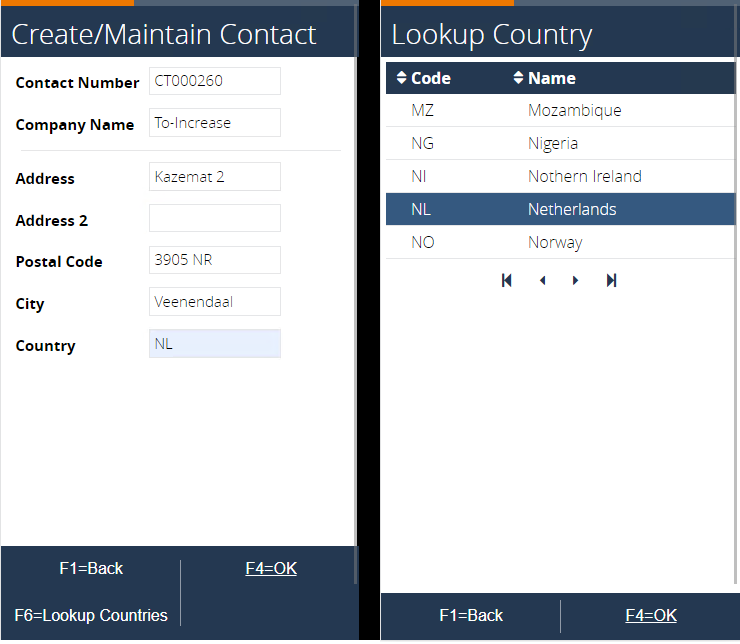
Press F4=OK. The system updates the contact in Microsoft Dynamics BC.
To see the result in BC, open the previously opened contact card. Note that the system updates the address fields.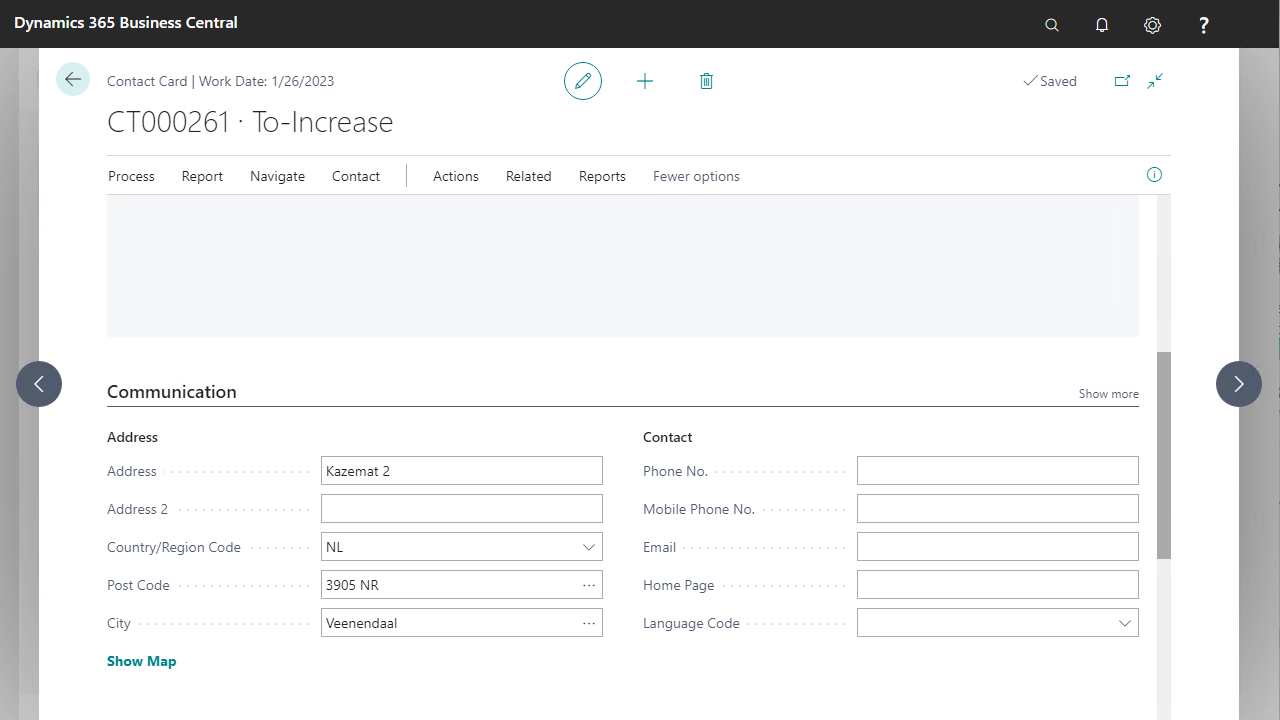
Next, maintain the communication data of the contact. Enter the phone number (optional field).
Afterwards, the system presents the fax number (also an optional field).
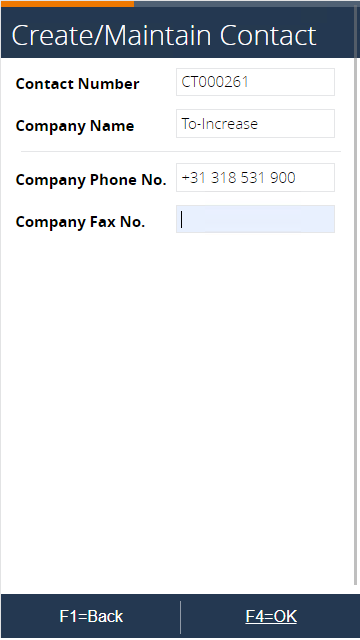
Next, the system presents the language. Enter a language code or use F6=Lookup language to view a list.
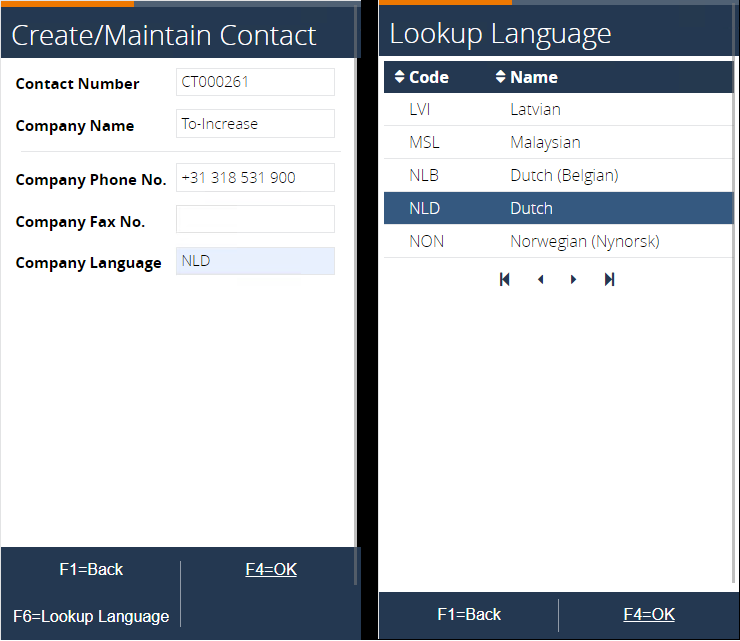
After you enter the language and confirm with F4=OK, the system updates the contact.
To see the result in BC, open the previously opened contact card. The system updates the language field.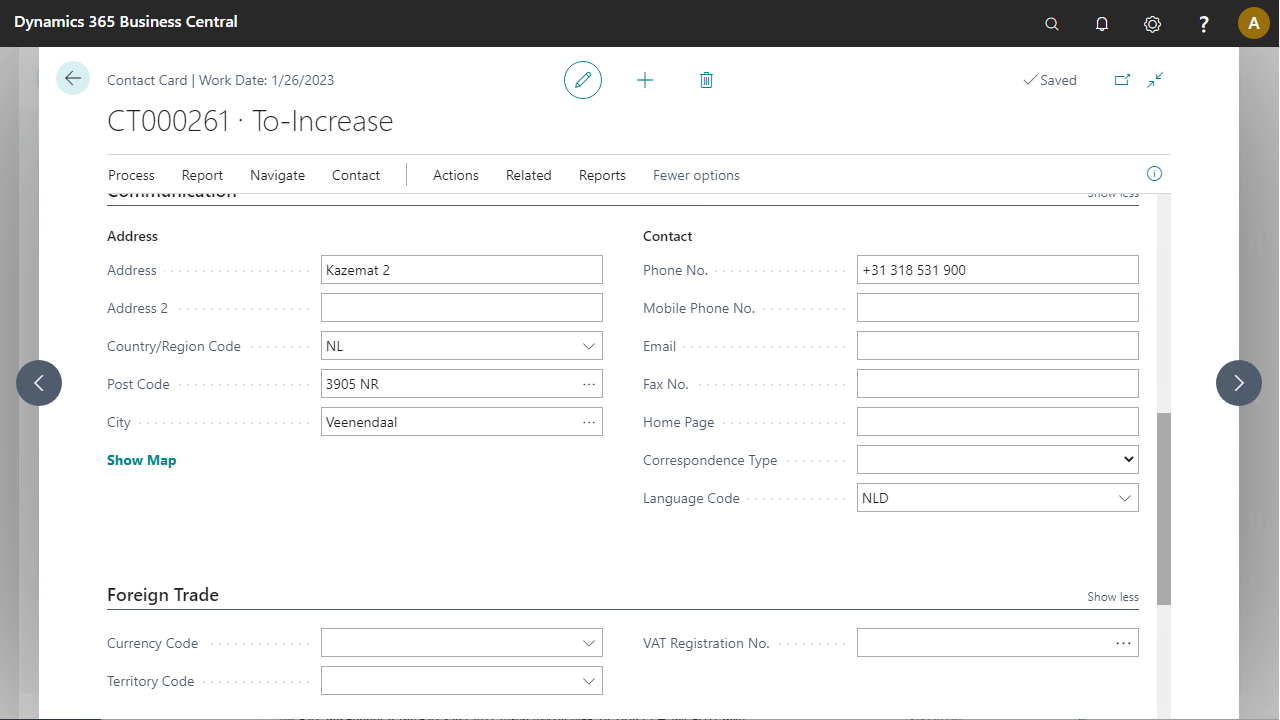
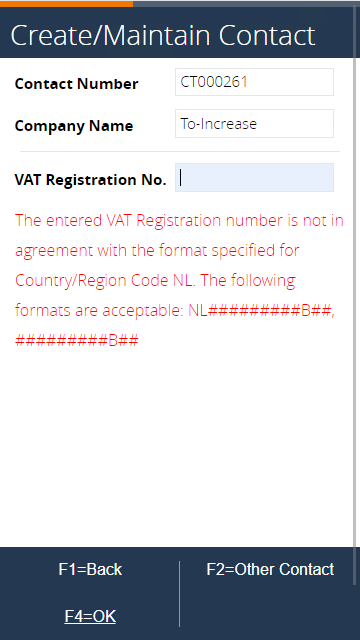
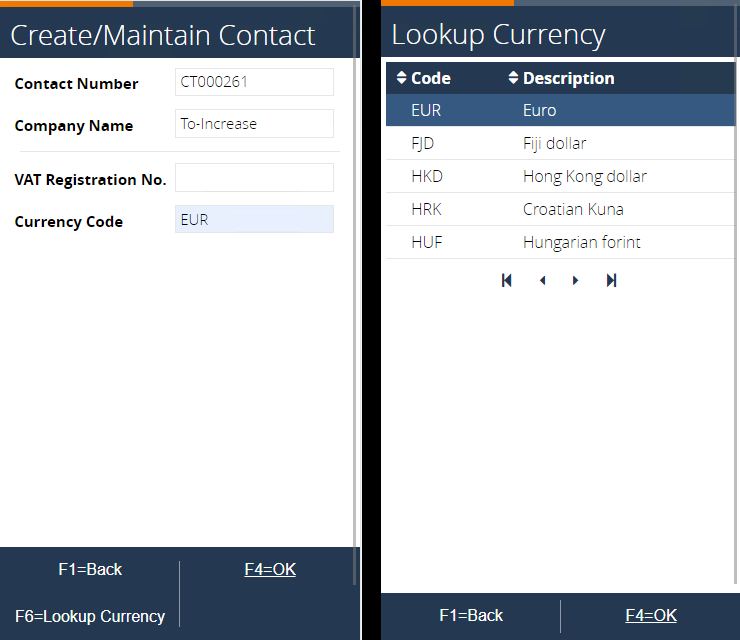
In the mobile client, enter the VAT registration number (optional). Press F4=OK to confirm. If you entered data, an error message will likely appear, otherwise, step 16 is shown.
Enter the currency code (optional), or use F6=Lookup Currency to select from a list. Press F4=OK to confirm.
 To see the result in BC, open the previously opened contact card. Notice the VAT number and currency.
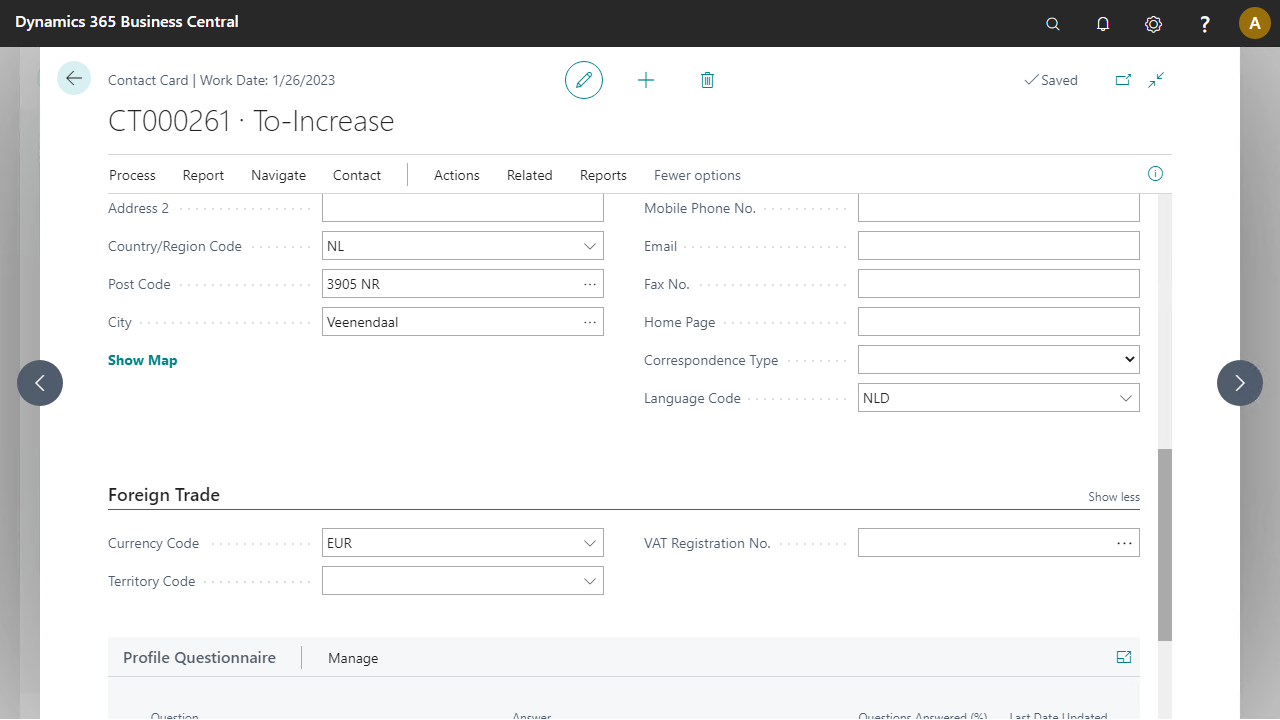
The creation of the company is completed and the process returns to its starting point. Press F6=Search to search for an existing company.
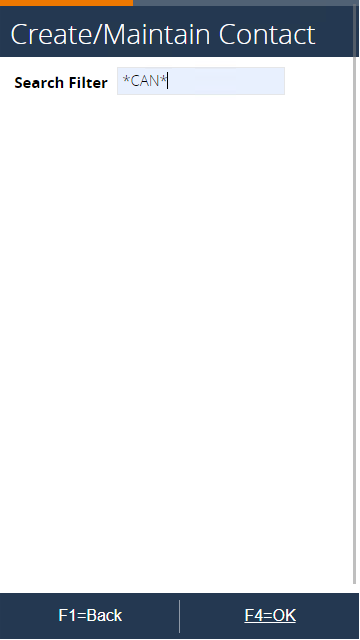
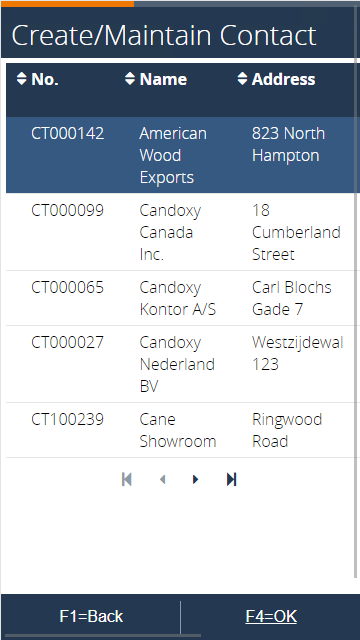
Enter the search filter at company name and confirm with F4=OK.
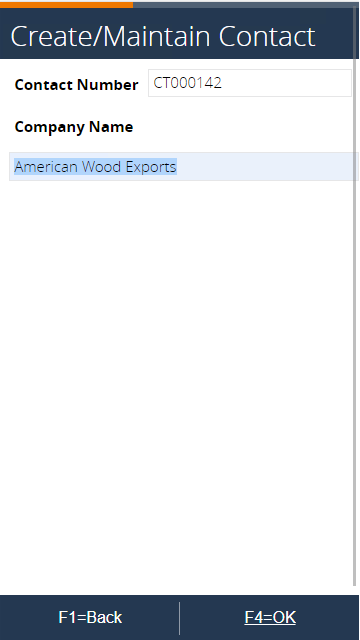
In the search list, select the contact and press F4=OK.
First modify the company name. Press F4=OK to go to the next step.
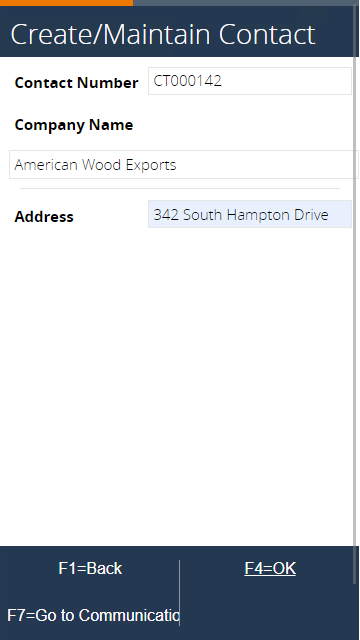
Change the address from 723 North Hampton Drive to another address (for example, 342 South Hampton Drive).
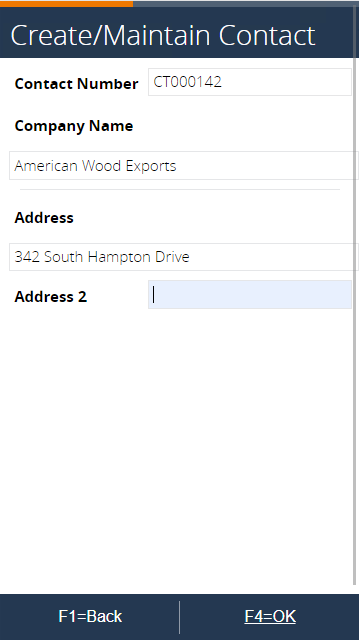
Optionally fill out Address 2.
Change the postal code (for example, from US-NY 11010 to US-NY 11020).

Leave the city as it is and press F4=OK to go to the next step.
Confirm the country, or use F6=Lookup Countries to select any country from a list.
Press F4=OK. The system updates the contact in Microsoft Dynamics BC.
To see the result in BC, notice that the address and post code have changed.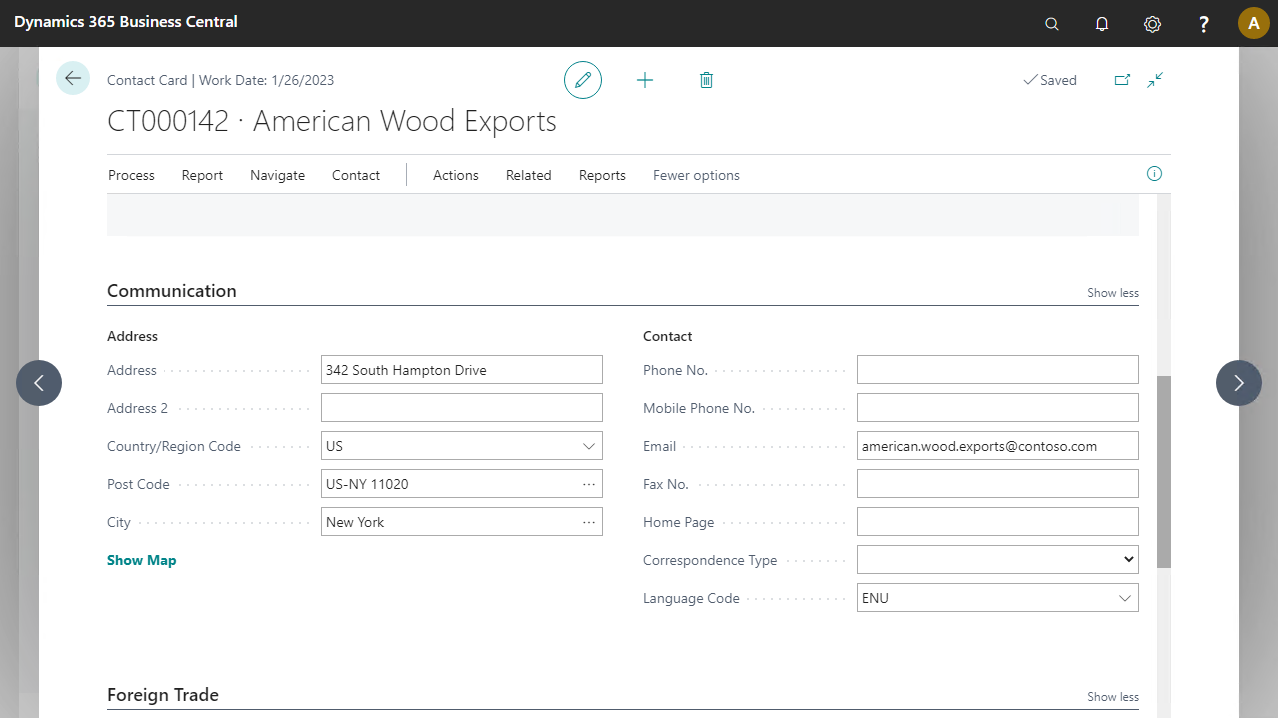
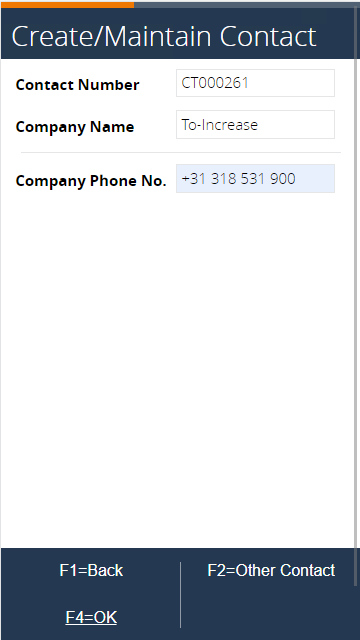
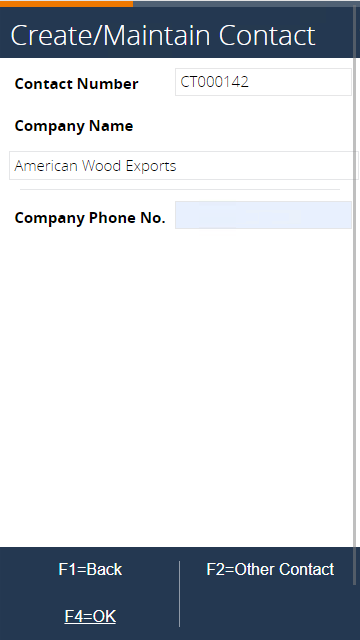
Next is the contact data that you can maintain. Press F2=Other Contact to continue.
Contact persons
This part of the process applies to creating or maintaining a contact of type Contact Person.
Press F8=Contact Person to continue.
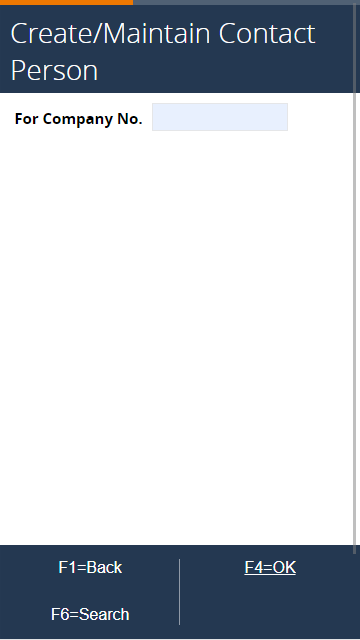
Press F6=Search to search for the company where the contact person is linked. Alternatively, scan the company number to skip ahead to step 32. If you do not enter a company number and press F4=OK, you can maintain a contact person without a link to a company. The process continues at step 32.
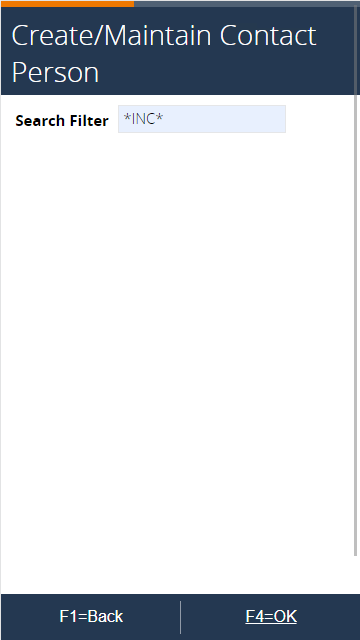
Enter a search filter to find the desired company faster in the list.
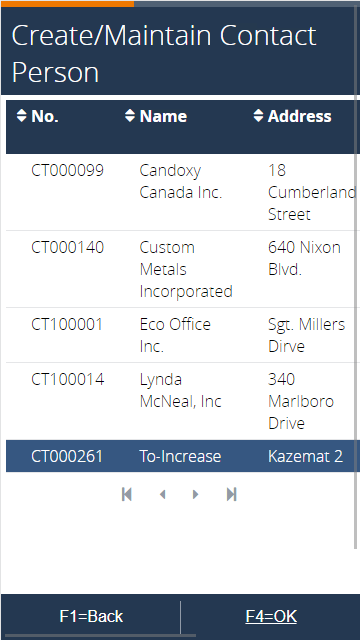
In the list, select the desired company. If no companies appear, the filter may be too strict. Press F1=Back to modify the filter.
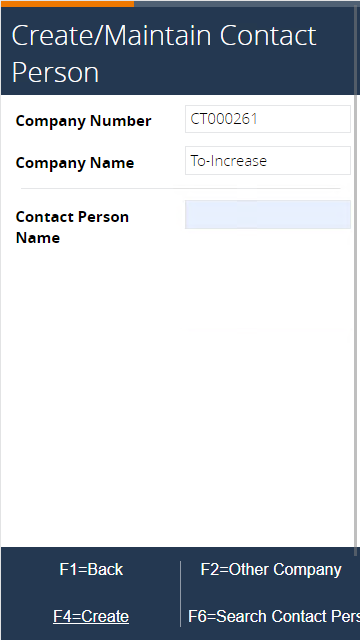
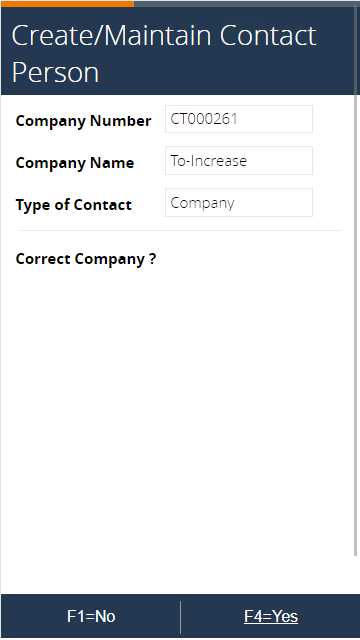
Confirm the selected company number. For verification, the type of contact = company is displayed. Press F4=Yes to confirm, or press F1=No to go back.
In this activity you have two choices. Use option 1 to continue with this script. Enter the name of a new contact and press F4=Create to add a new contact person. Search for an existing contact via F6=Search Contact Persons.
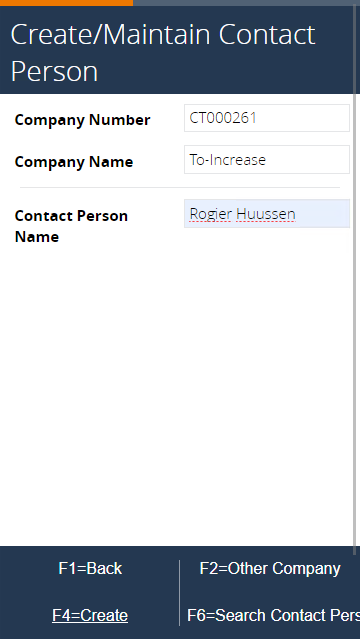
Press F4=Create. A new contact of type Person is created in Microsoft Dynamics BC.
To see the result in BC, search for the newly created contact on the Contacts page.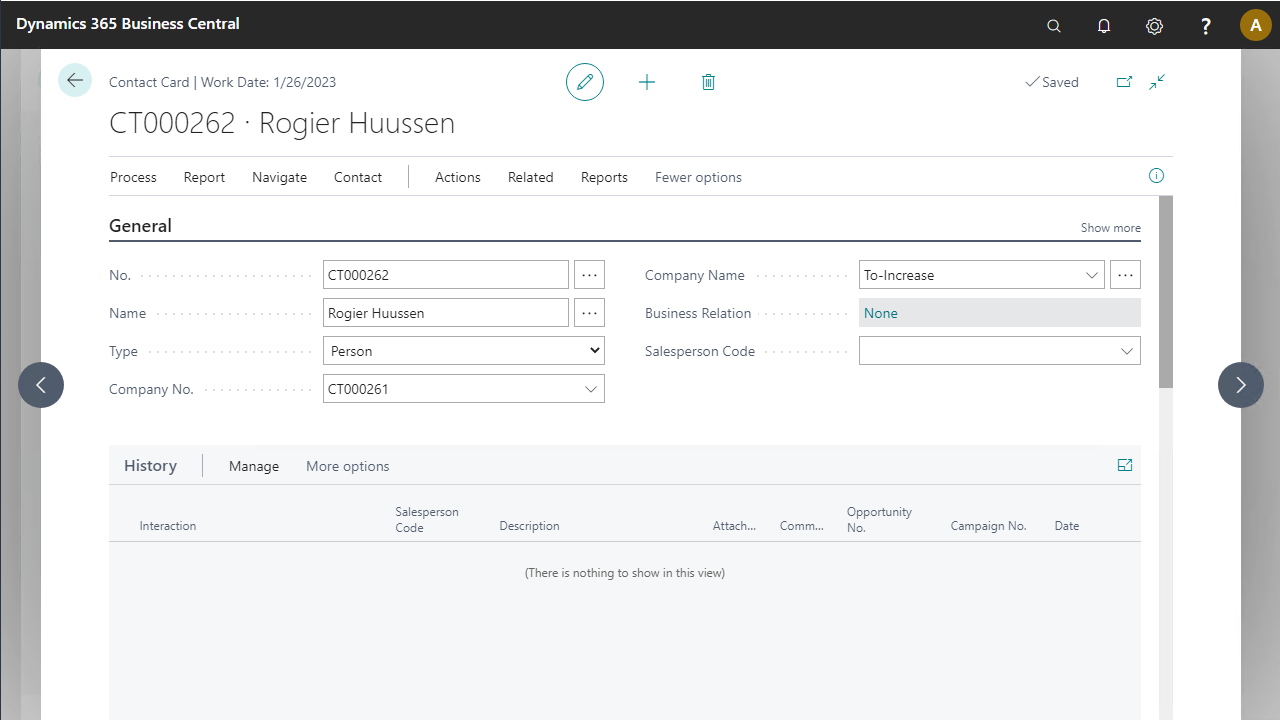
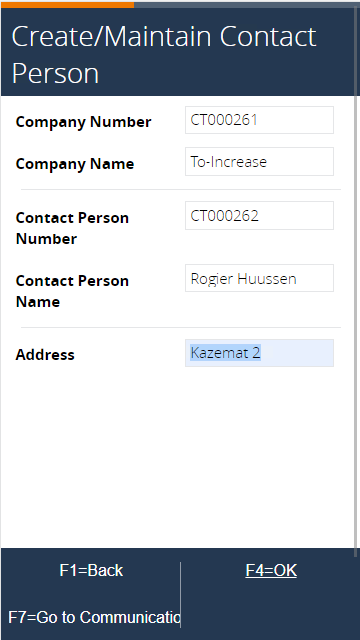
In the mobile client, enter the address (mandatory) for the new contact. By default, the address data of the related company is inherited. Press F7=Go to Communication Data to move ahead to step 41.
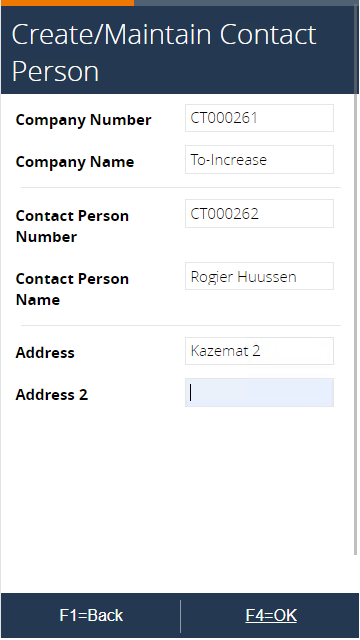
Optionally enter a second part of the address and continue with F4=OK.
Next, enter or confirm the postal code (mandatory).
Then enter the city (mandatory).
Optionally enter the country. Use F6=Lookup Countries to show the countries in a list.
Press F4=OK. The system updates the contact in Microsoft Dynamics BC.
To see the result in BC, follow the steps described in step 34. If the contact card is still open, refresh the page. Notice that the address details are updated on the contact card.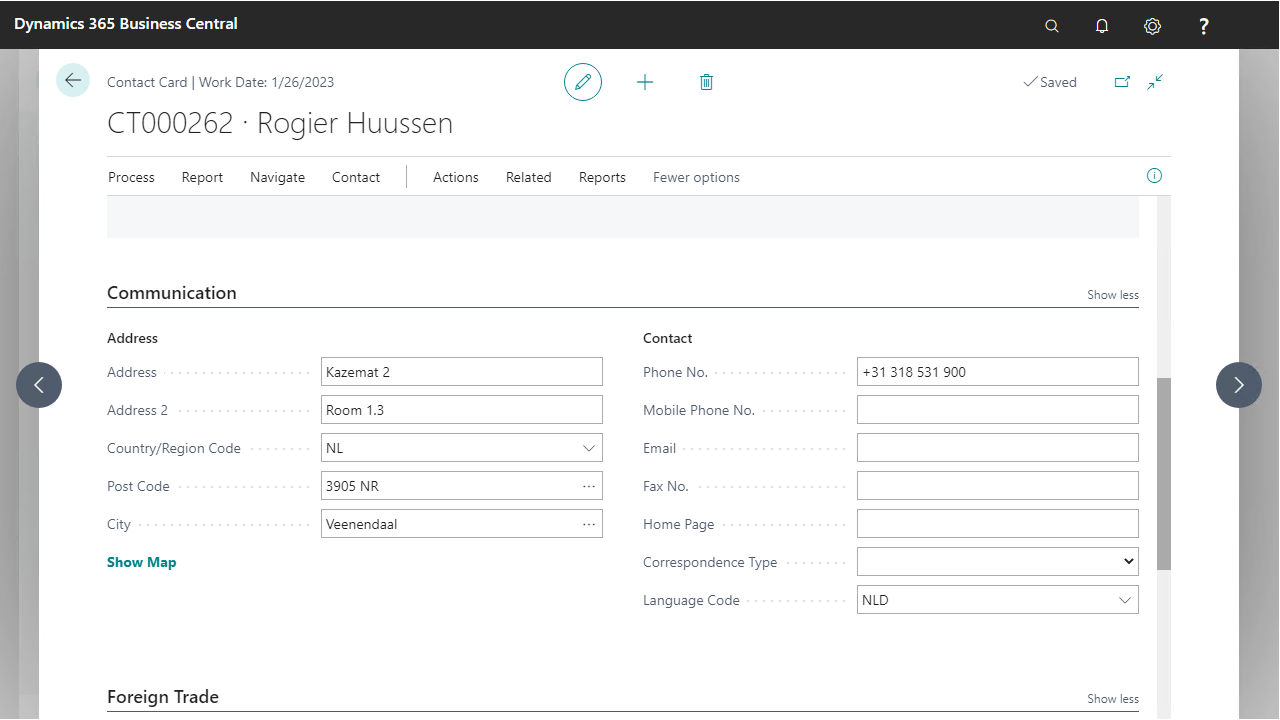
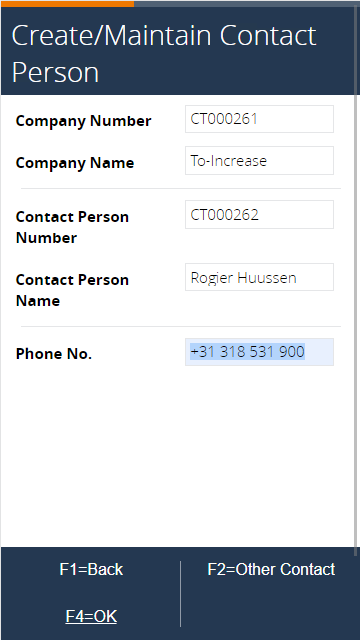
The following steps are about maintaining the contact data. Enter the personal phone number of the contact (optional).
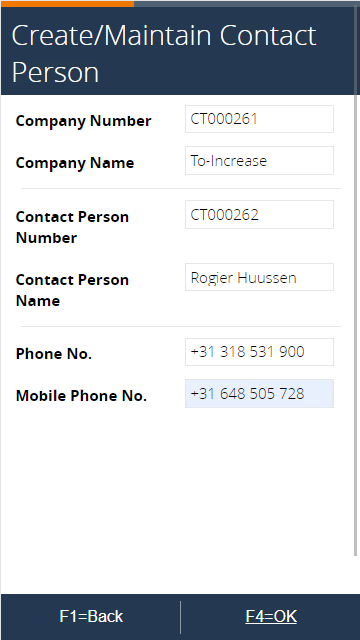
Next, enter the mobile phone number (also an optional field).
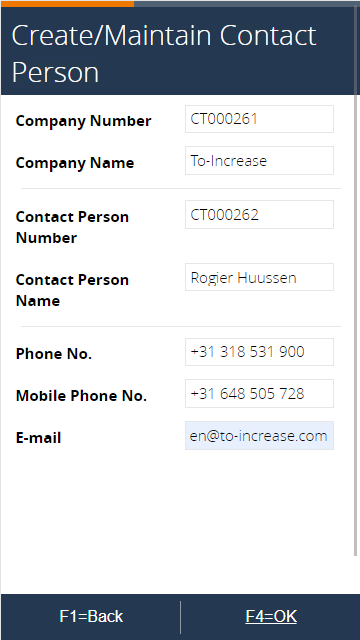
After that, enter the email address. Press F4=OK to confirm.
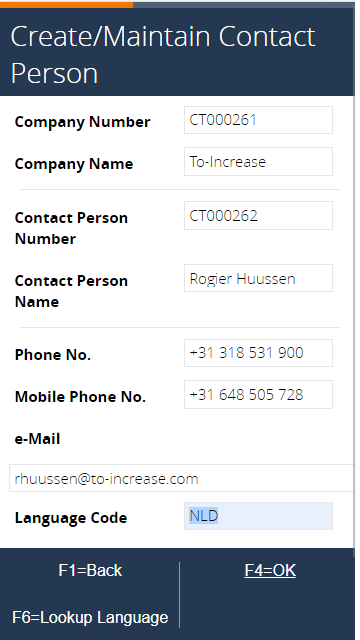
Finally, choose the language of the contact. Enter the language code or use F6=Lookup Language to select a language code from a list.
After you confirm the language code, the system updates the contact again in Microsoft Dynamics BC.
To see the result in BC, the contact card now shows the updated language and communication details.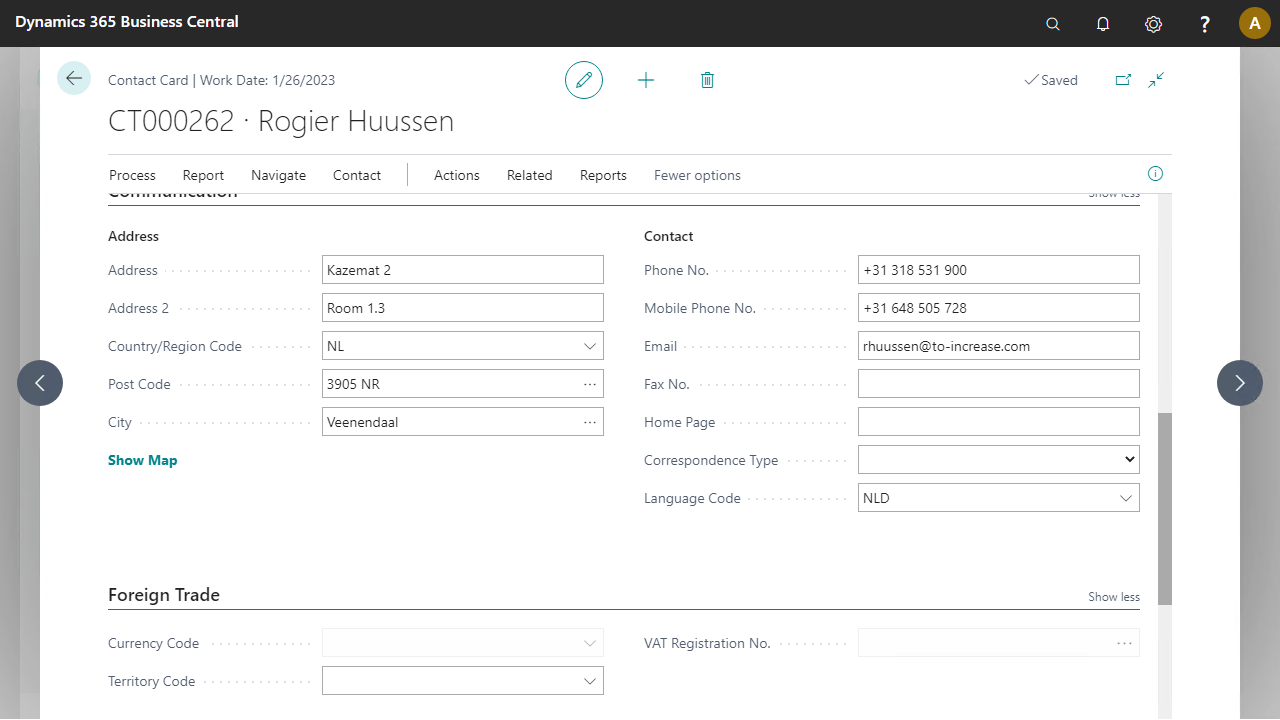
The process returns to the page shown below. Press F1=Back to go back to the previous steps and close the process.