Business Integration Solutions documentation
Walkthrough: Sales order import
About this walkthrough
This walkthrough provides an overview of how to import data into Microsoft Dynamics NAV, involving several tables. In the following example, you import sales order data into Microsoft Dynamics NAV.
Prerequisites
| Template | Description | Sample file |
|---|---|---|
| TI_CS_SALESORDER.IN | STAEDEAN Template: Import a Sales Order from File System | SalesOrderDemo.xml |
Story
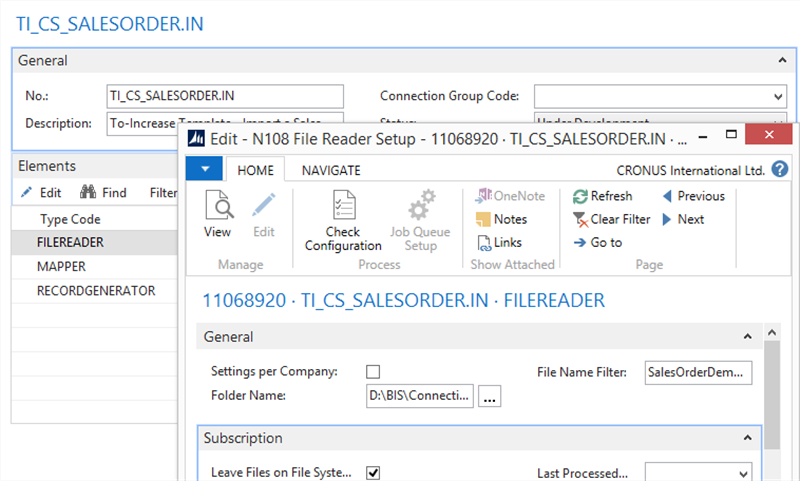
This connection uses the File Reader endpoint to read the sales order in XML format from the file system. The sales order XML file to import does not match the NAV table structures, so a Mapper activity maps the external (source) document to the internal (target) document. The Record Generator activity creates records and updates the NAV tables (Sales Header table, Sales Line table, and Item table).

Task
Setup
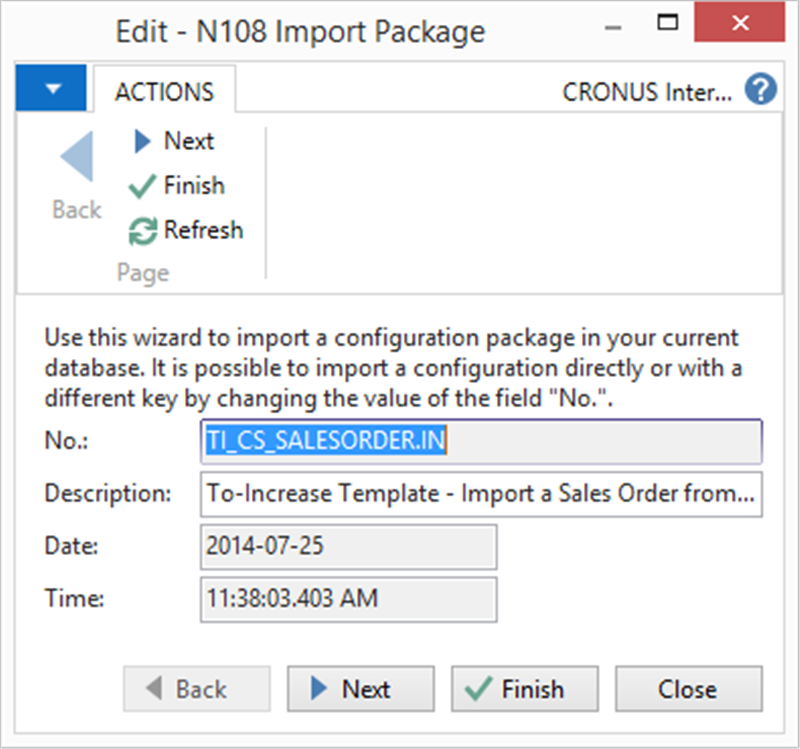
- Import the Connectivity Studio Connection-TI_CS_SALESORDER.IN.zip configuration package.
- Open the TI_CS_SALESORDER.IN connection. On the connection page, edit the File Reader settings and enter the folder name. You can also choose to leave the files on the file system.
- Copy the sample file
SalesOrderDemo.xml(from the software package) to a shared file location.
Process
- Process the connection.
- Check the result in Microsoft Dynamics NAV.
Result
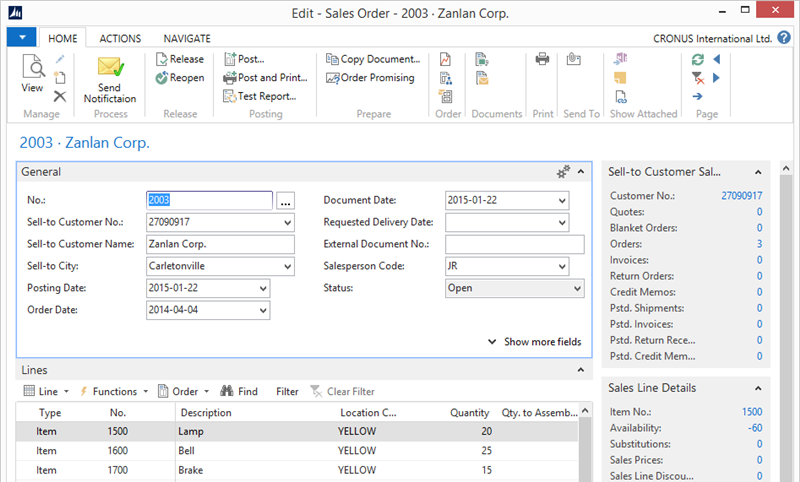
A new sales order is created and available in the Sales Header table. The Message Entries table shows which sales order was created. Use the Transaction Log to see more details for each import.